-
-
Notifications
You must be signed in to change notification settings - Fork 1.8k
FAQ New Site without 2FA Support
A site added to the list that doesn't currently support two factor authentication must fit our site criteria. If you think this site does then go ahead and follow these instructions:
-
First, fork this project and clone your fork to your computer.
-
Decide the category for the site. If nothing fits, choose
other. -
Go to _data/.yml and add add your site like this:
websites: [...] - name: <site name> url: <site link> img: <site name>.png (We'll go back to this later) twitter: <site's twitter handle> (Only if available) facebook: <site's facebook username> (Only if available) email_address: <site's support email address> (Only if available and monitored) lang: <ISO 639-1 language code> (Only for non-English websites) regions: - <region1> - <region2> - <regionN> [...]-
If the site supports HTTPS, be sure to use it in their URL, not just HTTP.
-
If the site is only used for non-English websites, then the
langfield should be lowercase ISO 639-1 codes. This will change the language used fortwitterandfacebookmessages only. It would look like this for Spanish:lang: es -
The
regionsblock is optional and may contain country codes according to ISO 3166-2 which specify the primary target market(s) for the website. If there is noregionstag, the website is considered to be available internationally.
-
-
Now choose an appropriate logo for the site. Logos are obligatory and should be EXACTLY 32 x 32 pixels. If you can't find any with those dimensions then we recommend you downscale a bigger image.
Make sure it is in PNG format and run it through an optimizer like TinyPNG.
When you're done then put the image in_img/<category>/under<site name>.png. Make sure it's the same name as defined in the .yml earlier! -
Use a git client to upload your changes to your fork. For Windows and Mac, we recommend GitHub for Desktop. If you're using Linux (Debian/Ubuntu) then look at this tutorial.
-
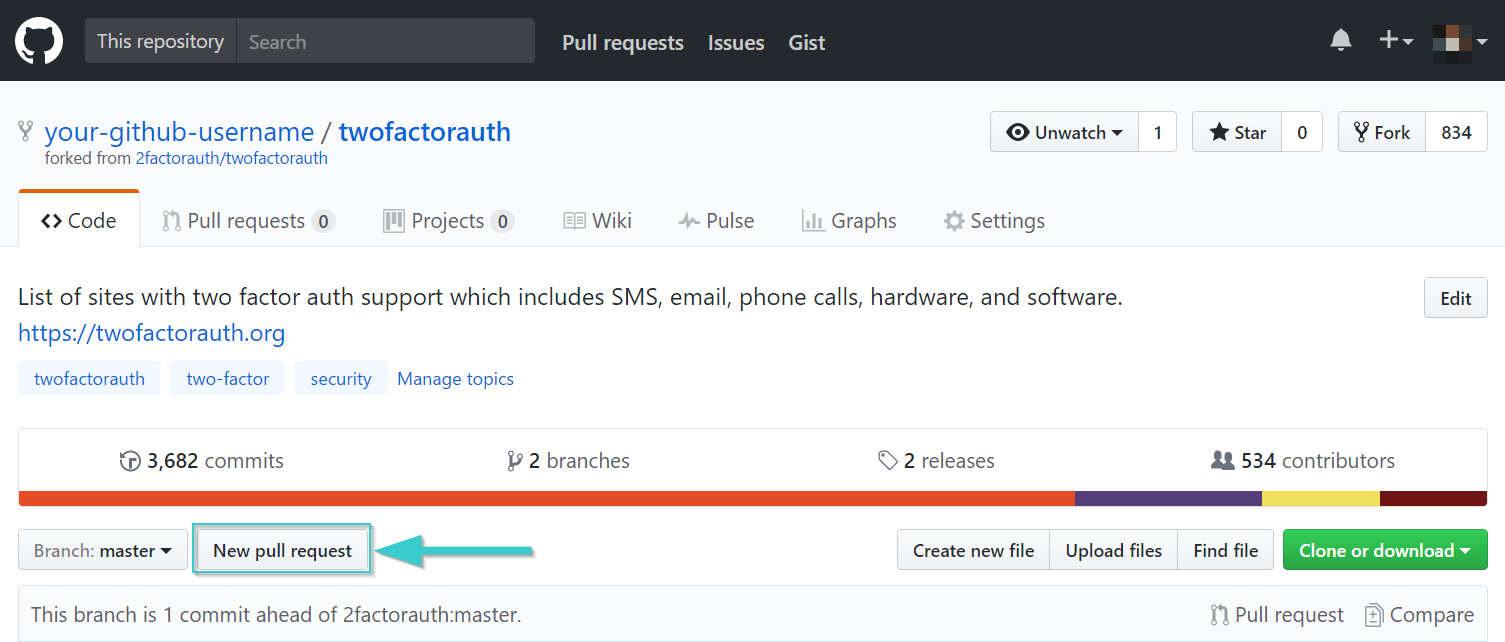
Everything done? Then make a Pull Request(PR)! Once everything looks nice it's time to request to add the site. Go to your fork on GitHub and click the
New pull requestbutton. It looks like this:
2fa.directory is made by 2factorauth and love from some awesome Contributors ❤️