

PlusNightMode makes it easy for your app to add user-configurable light mode, dark mode, automatic (OS Setting), and night mode. It is designed to work with SwiftUI.
It has long been known that exposure to light at night decreases our bodies' production of melatonin. In WWDC 23, Apple unveiled an innovative approach to tackling this problem, "Night Mode". It's a UI visual appearance that is "red-scale", meaning every single pixel on the screen is either black, or a shade of red. This is valuable for 2 main reasons. Overall less light is shown. Second, blue light (which has the most negative impact on melatonin production) is filtered out. However, currently, Apple's Night Mode is only available iOS 17's StandBy, and one single watch face. Now you can add night mode to your app with a few lines of code.
In other words, Night Mode protects your users from health hazardous, sleep-depriving light.
Simply add .observingNightMode() to the very top of your View hierarchy like so:
struct NightModeView: View {
    @Environment(\.colorSchemeMode) var colorSchemeMode // 👈🏼

    var body: some View {
      NavigationStack {
        List {
          Image(.blindingWhite)
            .resizable()
            .frame(maxWidth: .infinity)
            .aspectRatio(1.0, contentMode: .fill)
          Text("This is a text view")
          Text("Blue").foregroundStyle(.blue)
          Text("Green").foregroundStyle(.green)
          Text("Yellow").foregroundStyle(.yellow)
          NavigationLink("Go to second page", value: "second page")
        }
        .navigationTitle("Hello World!")
        .navigationDestination(for: String.self) { string in
          Text(string)
        }
      }
      .colorSchemeMode($colorSchemeMode) // 👈🏼
    }
}
This will turn that View and all of it's child views into night mode.
Please note, presented views are not considered to be child views by SwiftUI. Therefore whenever you present a View (for example in a .sheet) you must apply .observingNightMode() to that presented View as well.
struct ExampleView: View {
  @Environment(\.colorSchemeMode) var colorSchemeMode

  var body: some View {
    Button {
      isPresenting.toggle()
    } label: {
      Text("Present Sheet View")
    }
    .colorSchemeMode($colorSchemeMode)
    .sheet(isPresented: $isPresenting) {
      Text("Presented View")
        .colorSchemeMode($colorSchemeMode)
        // 👆🏼 SwiftUI will not add Night Mode to
        // presented views unless you explicitly add it
    }
  }
}
🚀 But there's an even better way to add night mode, that even responds to the device's current dark mode settings. It's called ColorSchemeMode.
PlusNightMode also comes with ColorSchemeMode, a simple wrapper struct that adds some functionality to SwiftUI's ColorScheme, including night mode. To use, simply create and store a ColorSchemeMode somewhere in your model. Then set .colorSchemeMode() at the top of your View hierarchy.
struct ExampleView: View {
  @State var colorSchemeMode: ColorSchemeMode = .night


  var body: some View {
    Text("Hello world")
      .colorSchemeMode($colorSchemeMode)
  }
}
ColorSchemeMode can have the following values:
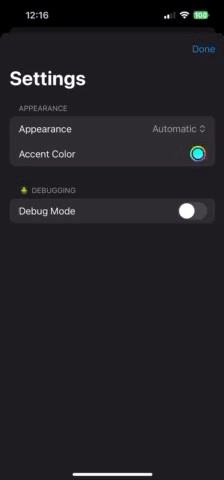
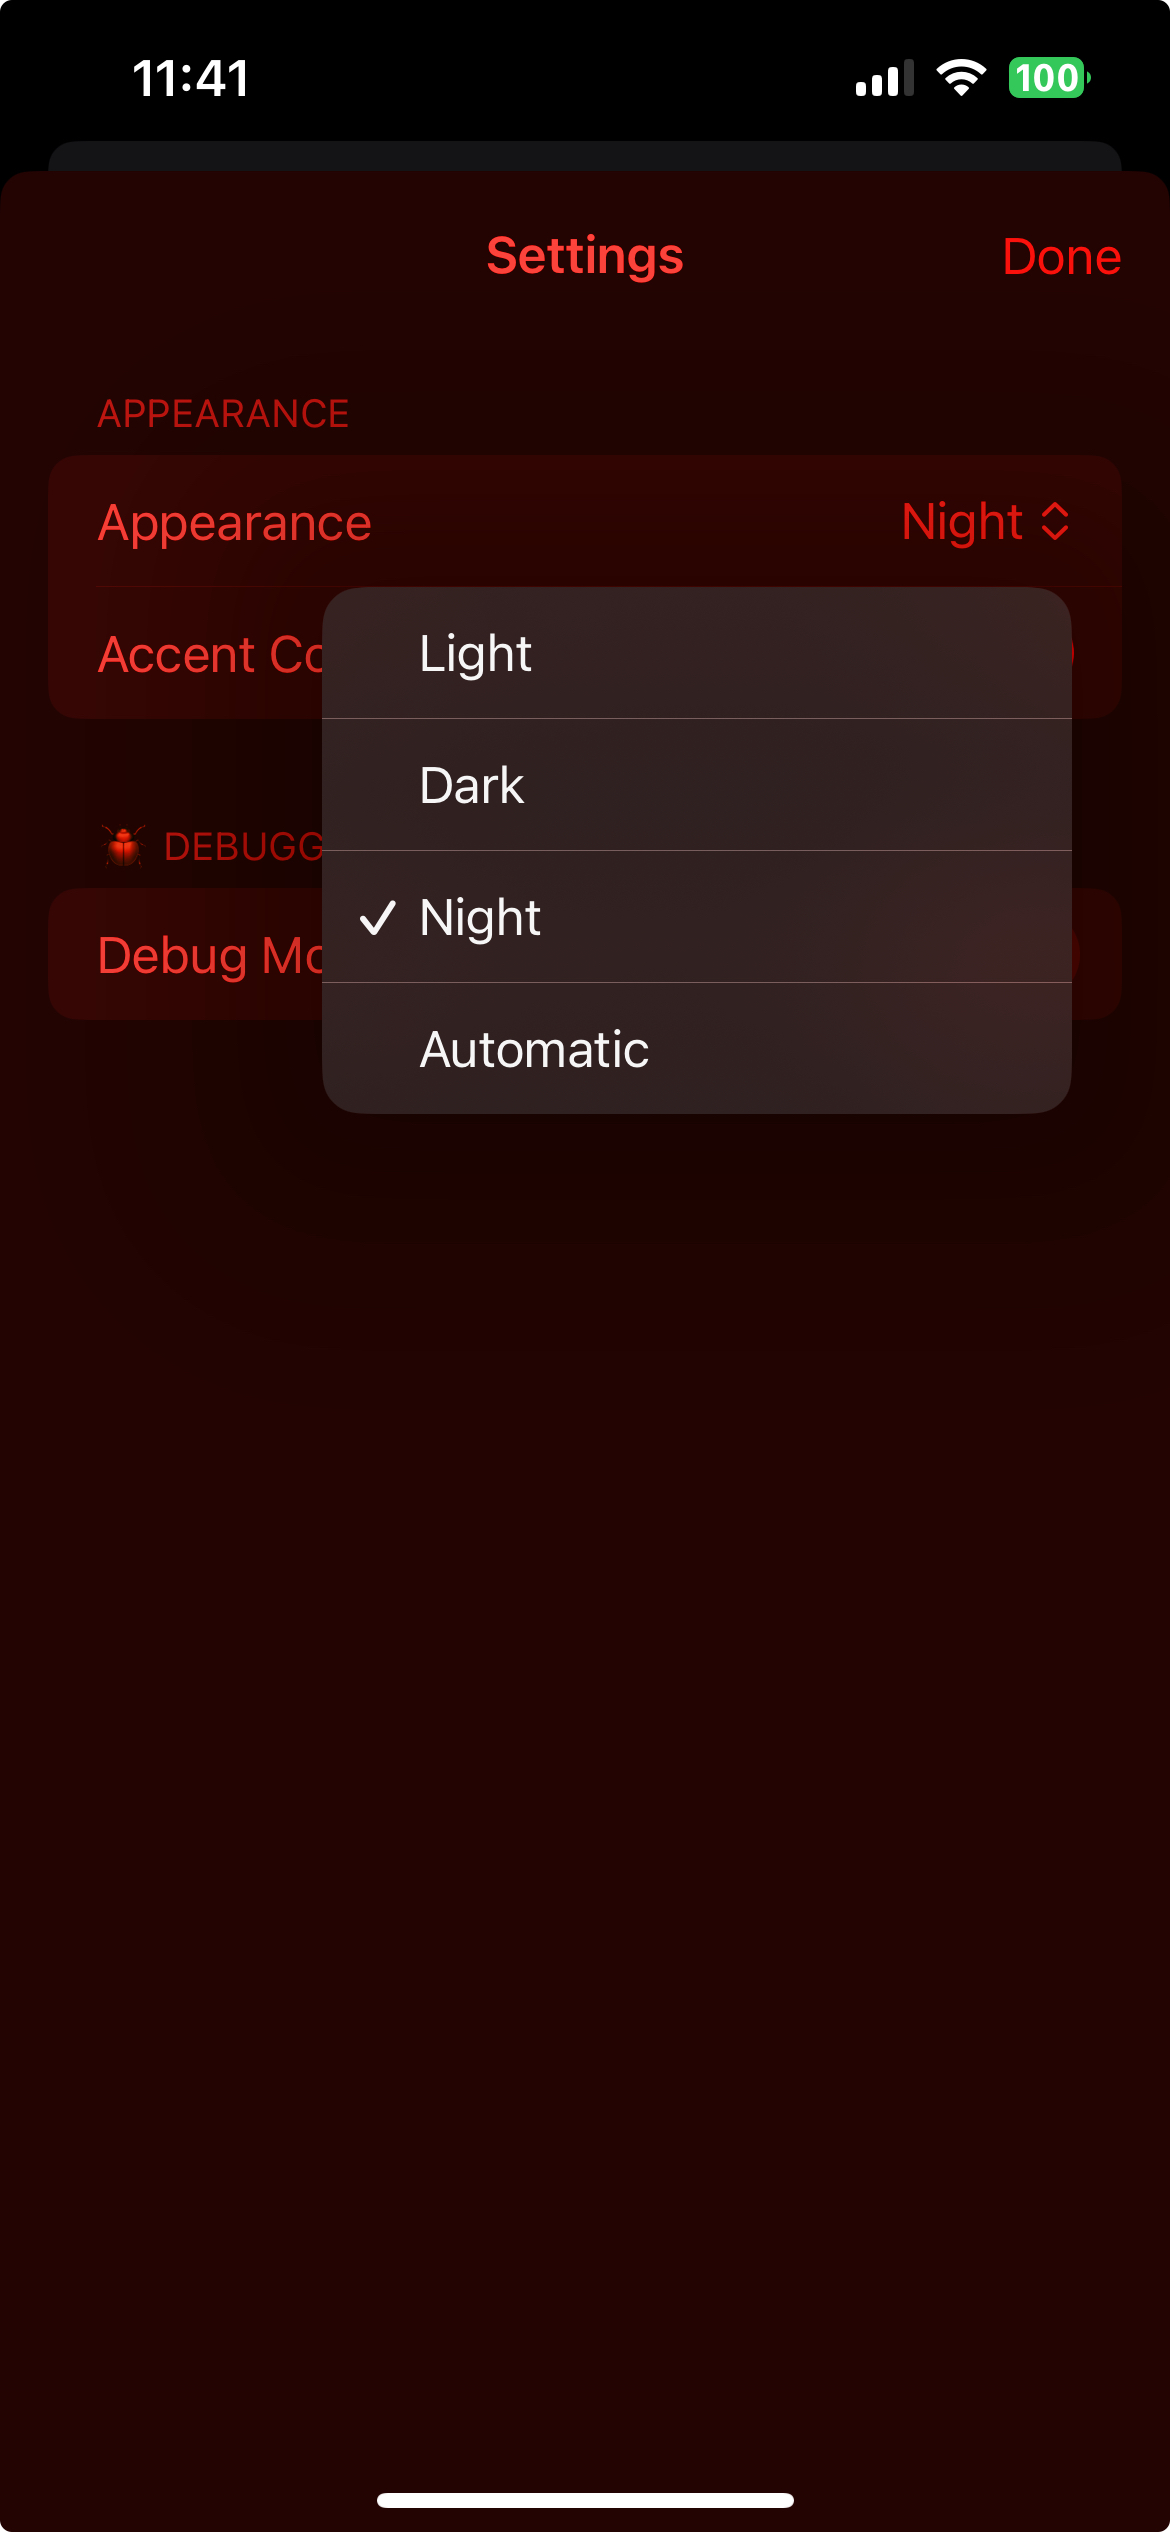
night: A monochrome red on black presentationdark: Dark modelight: Light modeauto: Automatically adjust to the device's current light/dark mode setting.
For a user-configurable ColorSchemeMode that you would like to keep in sync across the whole app, try using the EnvironmentValue:
@Environment(\.colorSchemeMode) var colorSchemeMode
// ...
MyView()
  .colorSchemeMode($colorSchemeMode)
For a ColorSchemeMode that can be also persisted even after the app is closed try using @AppStorage:
@AppStorage("colorSchemeMode") var colorSchemeMode

MyView()
.colorSchemeMode($colorSchemeMode)We can only apply night mode to views within the SwiftUI View hierarchy. This does not include system views such as the status bar at the top of the screen.
Certain SwiftUI Views cannot be styled or overlayed. For example, when a user taps a SwiftUI Menu. Notice how the presented menu is in dark mode, not in night mode. If you find a workaround please open an Issue or PR.
Be sure to test your design in all use cases. Some things to look out for:
- Night Mode will of course filter out blue light (that's the whole point of it). For this reason, blue elements can become invisible or difficult to see.
- Since Night Mode is monochrome, your UI cannot use color to communicate to the user. Therefore, it's recommended to:
- Add the SwiftUI environment value accessibilityDifferentiateWithoutColor to tell all child views when they need to use shapes, rather than colors to communicate to the user. (In an upcoming release PlusNightMode will handle this automatically.)
- Add simple logic for child views to respect accessibilityDifferentiateWithoutColor. Hacking with Swift has a very helpful tutorial on this subject.
Please feel free to open a PR.
- Swift Package Index for mentioning us in their podcast episode (at 26:00).