🌧 FluidInterfaceKit - A set of frameworks that provides advanced infrastructures for your iPhone apps (UIKit-based)
- FluidCore
- A set of utilities
- FluidRuntime
- A runtime library to enable hidden powers
- FluidGesture
- Makes a view draggable
- FluidKeyboardSupport
- Integrates the area of the keyboard with the contents of a view
- FluidPictureInPicture
- FluidSnackbar
- FluidStack
- Replacement for UINavigationController
- FluidStackRideauSupport
- FluidTooltipSupport
- Floating view over the specific point
- Displaying any target layer with touch event handling
FluidStack provides the advanced infrastructure for your iPhone apps.
Built on top of UIKit, replace UIKit standard transitions with the custom components.
It provides components that make your app more flexible - interactive and interruptible transition, free to unwind view controllers without pop or dismiss.
That would fit to create fully customized UI apps such as Snapchat, Zenly, Uber, Instagram Threads.
FluidInterfaceKit's essential component is FluidStackController, which stacks view controllers with customized transitions.
Apps run with this component, only stacking but it can get flexibility instead.
💔 Please take care of the risks to using this framework; the meaning of using this detaches from Apple's UIKit ecosystem. For instance: the history menu of the back bar button, page-sheet modal, and accessibility. This framework tries to follow the updates of UIKit as long as.
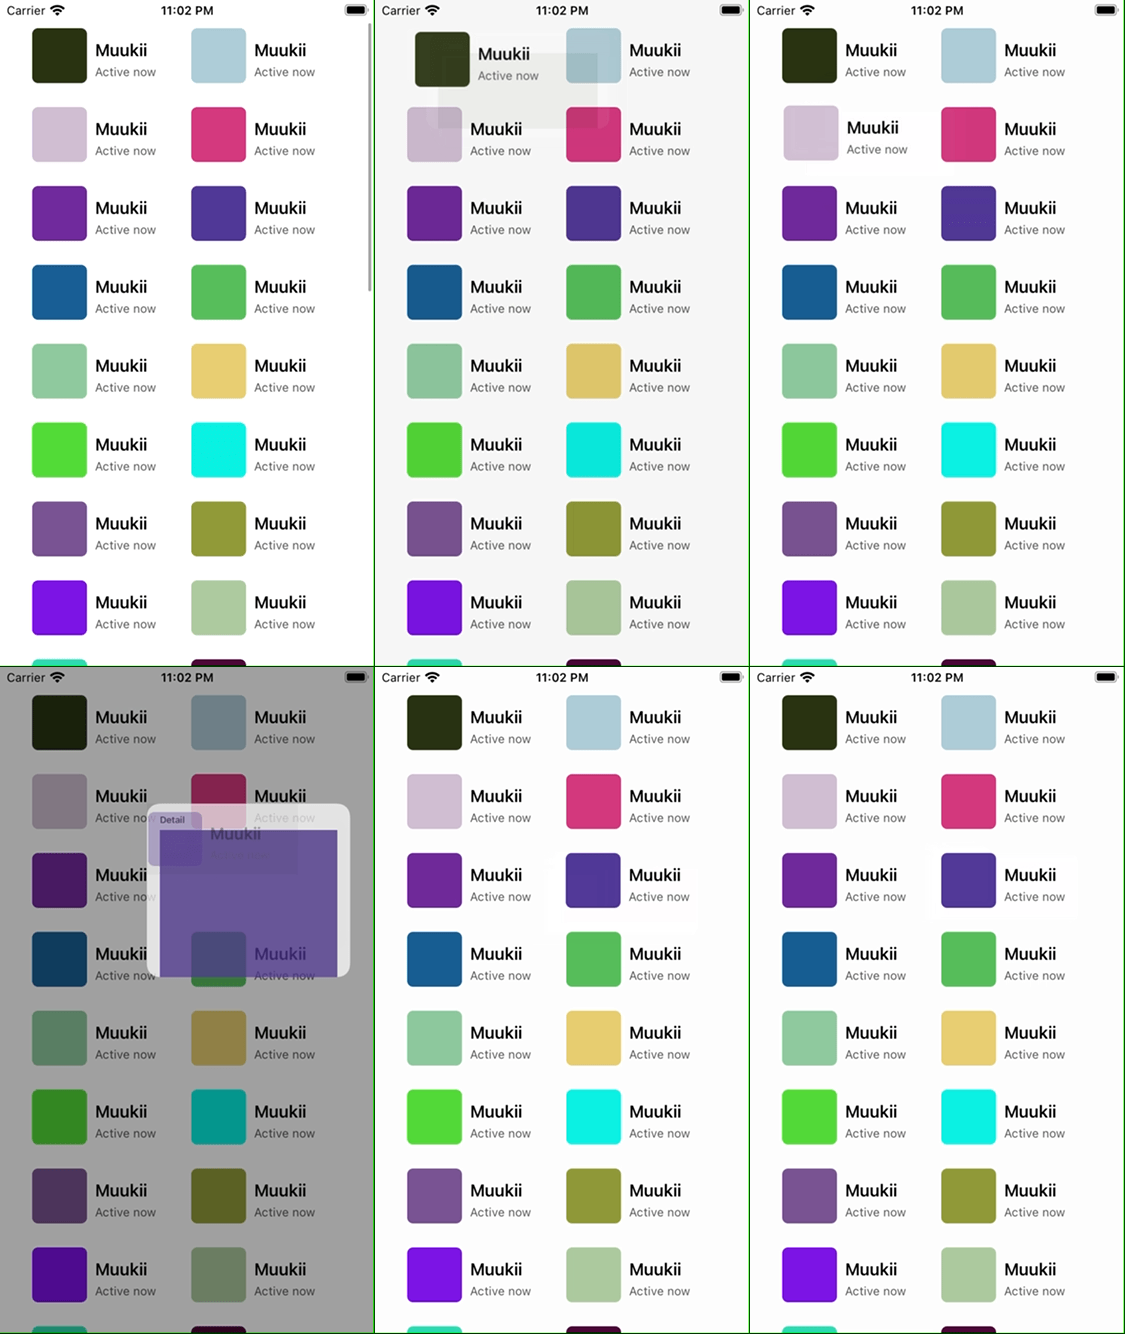
| Instagram Threads like | Apple like |
|---|---|
 |
 |
Normally, UIKit allows us to get screen management with UIViewController.present, UIViewController.dismiss, UINavigationController.push, UINavigationController.pop.
In the case of a view controller that needs to display on modal and navigation, that view controller requires to support both.
In modal, what if it uses navigationItem, should be wrapped with UINavigationController to display.
Moreover, that view controller would consider how to dismiss itself unless handled by outside.
Pop or dismiss which depends on the context.
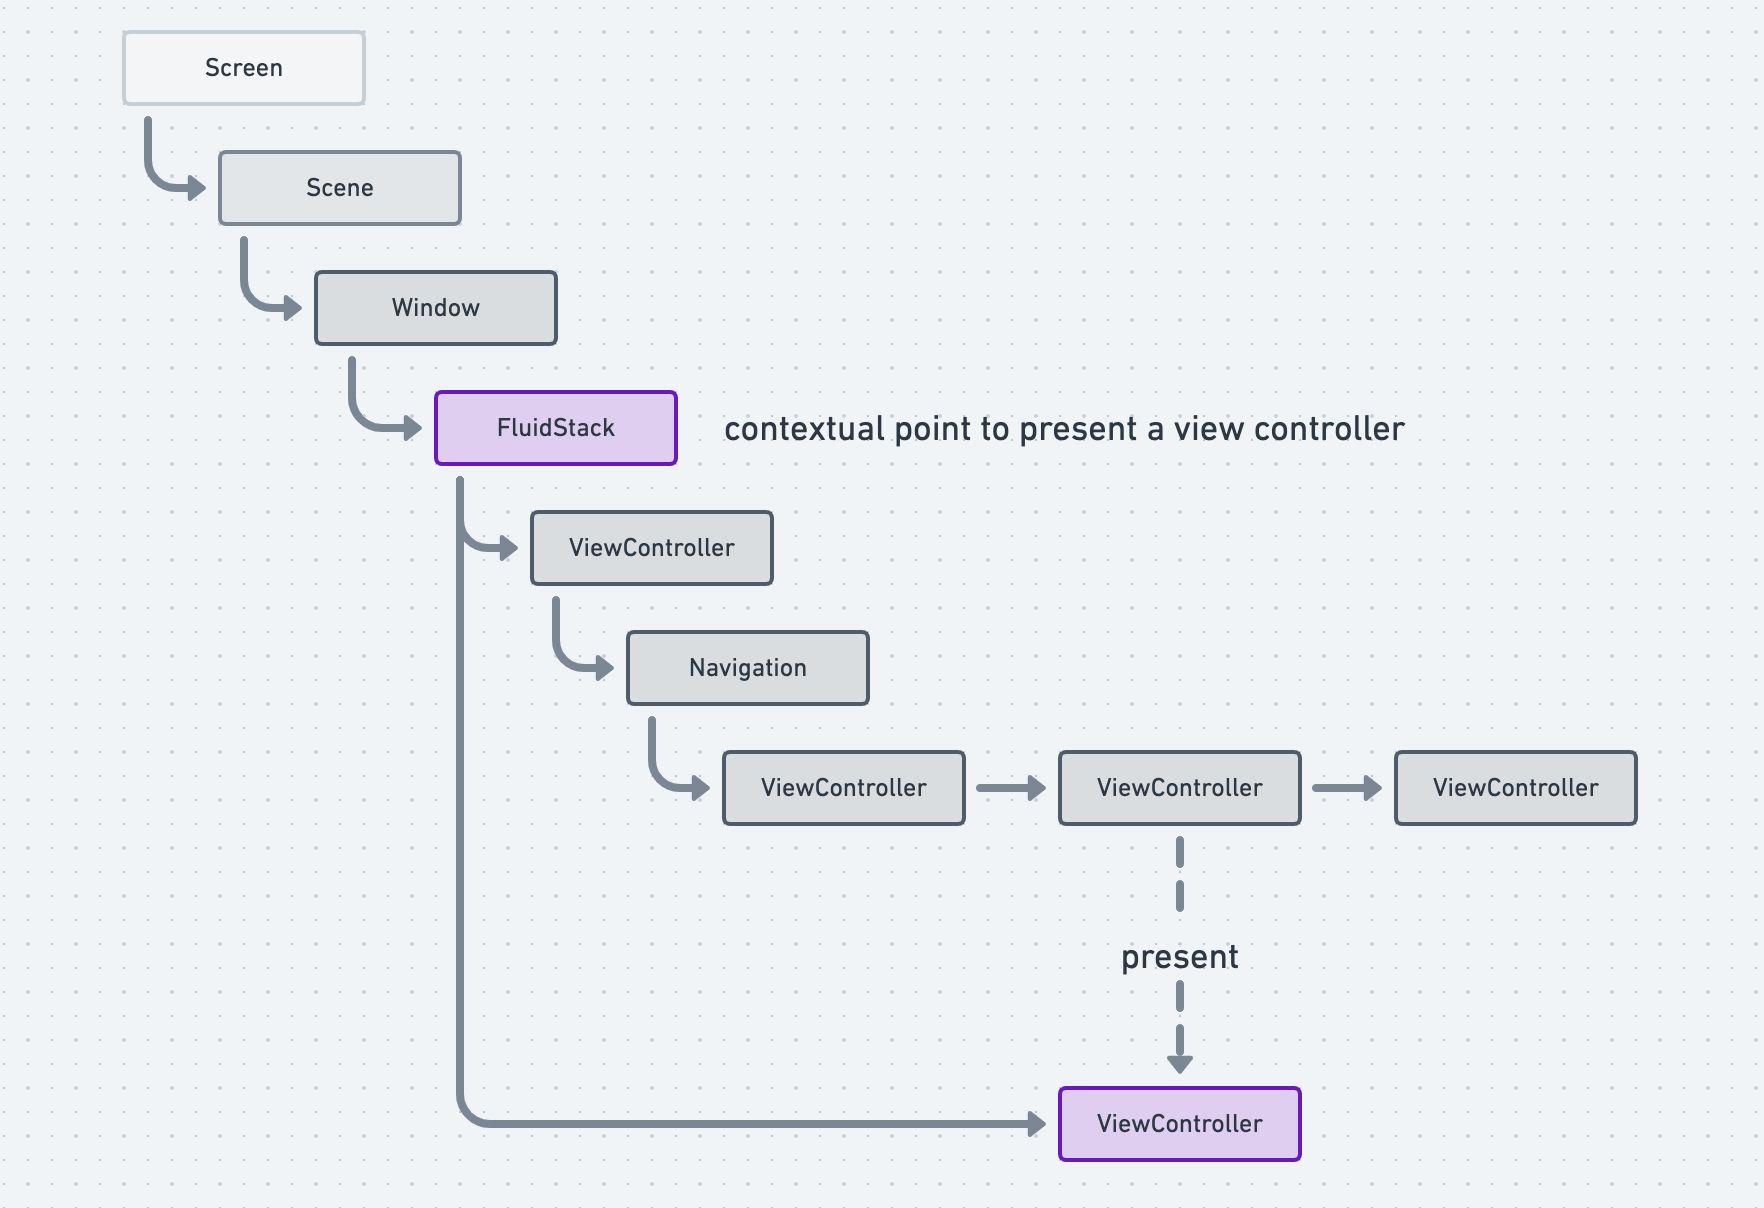
FluidInterfaceKit provides FluidStackController, which is similar to UINavigationController.
It offers all of the view controllers that are managed in stacking as a child of the stack.
Try to think of it with what if we're using UINavigationController.
All view controllers will display on that, and push to the next view controller, what if needed nesting, push another UINavigationController.
Expression of transition would not be a problem, we can create a custom transition, so it can be like a modal presentation - slide in from the bottom.
If the app runs like that, we only use push and pop to manage screens except for the special case of using present - UIAlertController or other modals in third-party libraries.
Still, modals work very well since nobody use presentation.
As above mentioned, FluidStackController is similar to UINavigationController, it just stacks view controllers that are managed as a child.
What difference with UINavigationController is transitions, it provides interfaces to create custom transition and it supports more flexibility.
Custom transitions that run with UIViewControllerAnimatedTransitioning have some limitations in modal-presentation and push-transition.
It supports cancellation, which would be a part of flexibility, but it's not enough.
Please see what happens in iOS Home Screen, it supports completely responding to user interaction - opening an app, canceling opening by Home bar, moving back the home, then opening the app again by touch.
ExampleApp in this project shows how setting up.
FluidInterfaceKit-Demo shows a lot of examples.
First of all, you need to put a FluidStackController in a root view controller for a UIWindow.
In Storyboard based app, set the entry pointed view controller as FluidStackController or subclass of it.
In Code based app, set a root view controller of UIWindow as FluidStackController or subclass of it.
didFinishLaunchingWithOptions in AppDelegate
let newWindow = UIWindow()

newWindow.rootViewController = RootViewController()
newWindow.makeKeyAndVisible()

window = newWindow
RootViewController
final class RootViewController: FluidViewController {

  override func viewDidLoad() {
    super.viewDidLoad()

    view.backgroundColor = .systemBackground

    // 📍
    addContentViewController(FirstViewController(), transition: .disabled)
  }
}
FirstViewController
final class FirstViewController: FluidViewController {

  func runSomething() {
    fluidPush(SecondViewController(), target: .current, relation: .hierarchicalNavigation)
  }
}
SecondViewController
To dismiss itself, call fluidPop()
Making a view can be draggable in an easier way.
Supports dragging finished animation with moving another position respecting gesture's velocity using spring animation.
Rubber banding effect is built-in.
let draggableView: UIView

draggableView.makeDraggable(
  descriptor: .init(
    horizontal: .init(min: -200, max: 200, bandLength: 30),
    vertical: .init(min: -200, max: 200, bandLength: 30),
    handler: .init(
      onStartDragging: {

      },
      onEndDragging: { velocity, offset, contentSize in
        // return proposed offset to finish dragging
        return .init(width: 0, height: 0)
      }
    )
  )
)
I sponsor you with one-time sponsor tiers if you could have contributions.
- Improvement core components
- Improvement documentations
- Growing demo applications

