-
Notifications
You must be signed in to change notification settings - Fork 26
Getting started
- A quick installation guide is available here.
- The full installation guide is available here.
- The OpenEdge plugin is supported on 8.2+ (up to 8.9) and 9.4+ (up to 9.9). The recommended version is 9.9 LTS. Version 10 is currently not recommended, as it only went through minimal testing. Don't use SQ 10.x if you're still using PDSOE 11.7.
Once SonarQube is up and running, you can download and install the OpenEdge plugin and Riverside rules from the releases page. Installation is done by dropping the JAR files into $SONAR_HOME/extensions/downloads. The two commercial sets of rules (riverside-rules and cabl-security-rules package) require a license. Don't install those JAR files if you want to work only with the open-source part.
Starting from SonarQube 8.9, a warning message is displayed when installing external plugins:
Plugins are not provided by SonarSource and are therefore installed at your own risk.
SonarSource disclaims all liability for installing and using such plugins.
As CABL is not maintained by SonarSource, you have to acknowledge the risk.
After having restarting SonarQube, you should see the plugins in the Update Center:

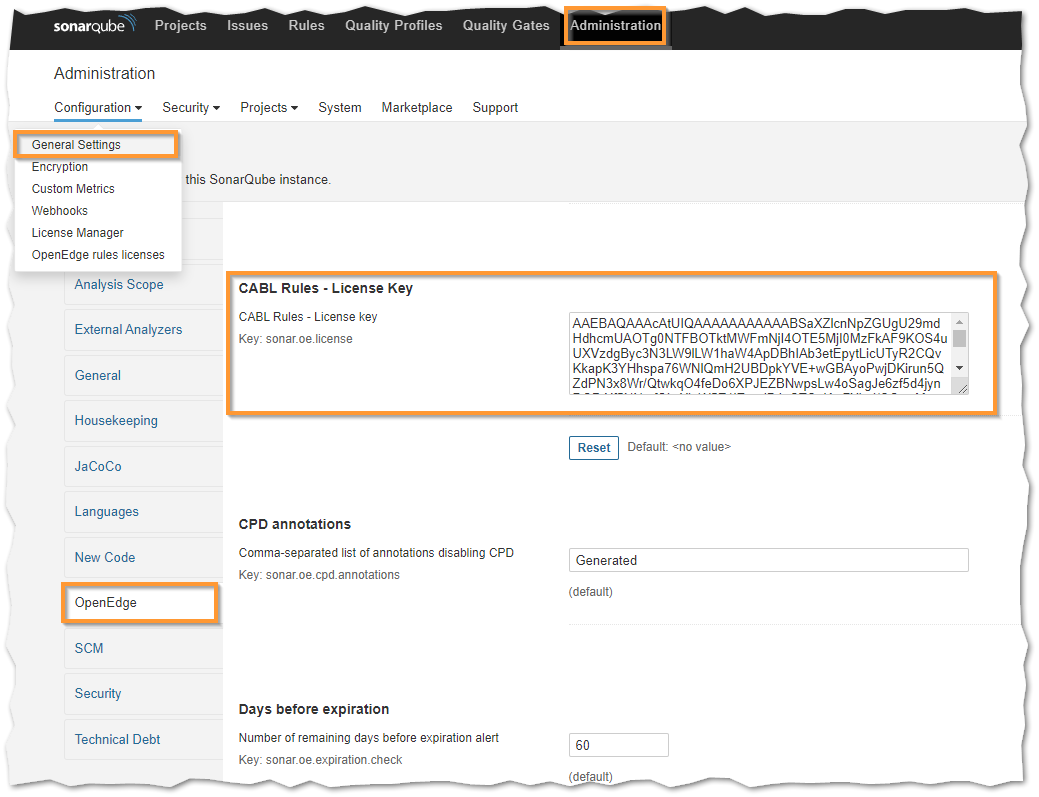
Make sure that the riverside-rules package is installed, then connect to SonarQube as an administrator (default login: admin with password admin), and open the OpenEdge rules licenses page (menu Administration, then Configuration -> OpenEdge rules licenses).

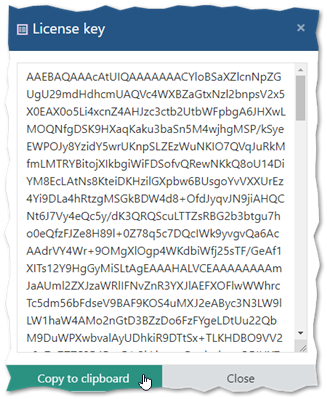
Then click on the Acquire or renew licenses for this server link, create a new account and follow the instructions. You can then click on the "View license key" button, copy the license to clipboard, and paste it in the SonarQube General Settings page.


The OpenEdge plugins only work if you build your applications using Ant and PCT, as they expect a specific directory structure for the build directories. Describing how to setup Ant and PCT builds is out of the scope of this document.
<PCTCompile destdir="target/build" listing="true" xmlXref="true" keepXref="true" relativePaths="true">
  <fileset dir="src/openedge" includes="**/*.p,**/*.w,**/*.cls" />
  <propath location="src/openedge" />
  <DBConnection dbName="xxx" dbDir="db" singleUser="true" />
</PCTCompile>
Please note that standard XREF files are not analyzed, only XML XREF files are.
You can use any framework to execute unit tests, but getting code coverage requires generating profiler output. This can be achieved with the Profiler attribute in PCT :
<!-- A simple example using PCTRun, but you can use ABLUnit, ProUnit or OEUnit -->
<PCTRun procedure="unit-tests/test-suite.p">
  <propath location="target/build" />
  <!-- Use dedicated directory for profiler output -->
  <Profiler enabled="true" outputDir="target/profiler" coverage="true" />
  <DBConnection dbName="xxx" dbDir="db" singleUser="true" />
</PCTRun>
This example will generate a profiler file (including coverage information) for each session in the profiler directory.
Download and unzip SonarQube scanner, then make sure that you have the bin directory in your PATH.
Create a sonar-project.properties file in order to describe the project to SonarQube:
# Unique key
sonar.projectKey=companyName:projectKey
# Display name in SonarQube
sonar.projectName=Project name
sonar.projectVersion=1.0
sonar.projectDescription=...
# Comma-separated list of directories - Dump contains .df files, and src/openedge contains source code
sonar.sources=dump,src/openedge
# Comma-separated list of patterns to be excluded
sonar.exclusions=src/procedures/sample/excl/**
sonar.sourceEncoding=iso8859-1
# Directory where r-code can be found
sonar.oe.binaries=target/build
# Comma-separated list of PL or directories
sonar.oe.propath=src/openedge
# OpenEdge installation path (see next property)
sonar.oe.dlc=/path/to/dlc
# Append $DLC/gui, $DLC/tty and $DLC/src to the propath
sonar.oe.propath.dlc=true
# Comma-separated list of full DF files
sonar.oe.databases=dump/sp2k.df
# Semi colon separated list of entries, each entry is a comma-separated list of aliases (first entry is the db name)
sonar.oe.aliases=sp2k,db1,db2
# No Copy-Paste Detection on DF files
sonar.cpd.exclusions=dump/**
# Set to true to generate token listing in .tokens subdirectory
sonar.oe.cpd.debug=false
# Set to true to generate AST for each file in .proparse subdirectory
sonar.oe.proparse.debug=false
# Default extensions are .p, .w, .i and .cls. Use this option if you have additional extensions to analyze
# sonar.oe.file.suffixes=p,w,t
# Comma-separated list of directories where *.out files will be parsed for code coverage
sonar.oe.coverage.profiler.dirs=target/profiler
# Analytics data (number of OE files analyzed + timings) sent by default to Riverside Software. Set property to false to disable data collection
sonar.oe.analytics=true
The list of properties is described here.
Analysis can then be triggered from your shell:
cd </path/to/project>
sonar-scanner
Depending on the size of the project, you may have to increase -Xmx parameter. A standard setting for 10k files in the codebase is -Xmx2048m.
© Riverside Software 2013-2024