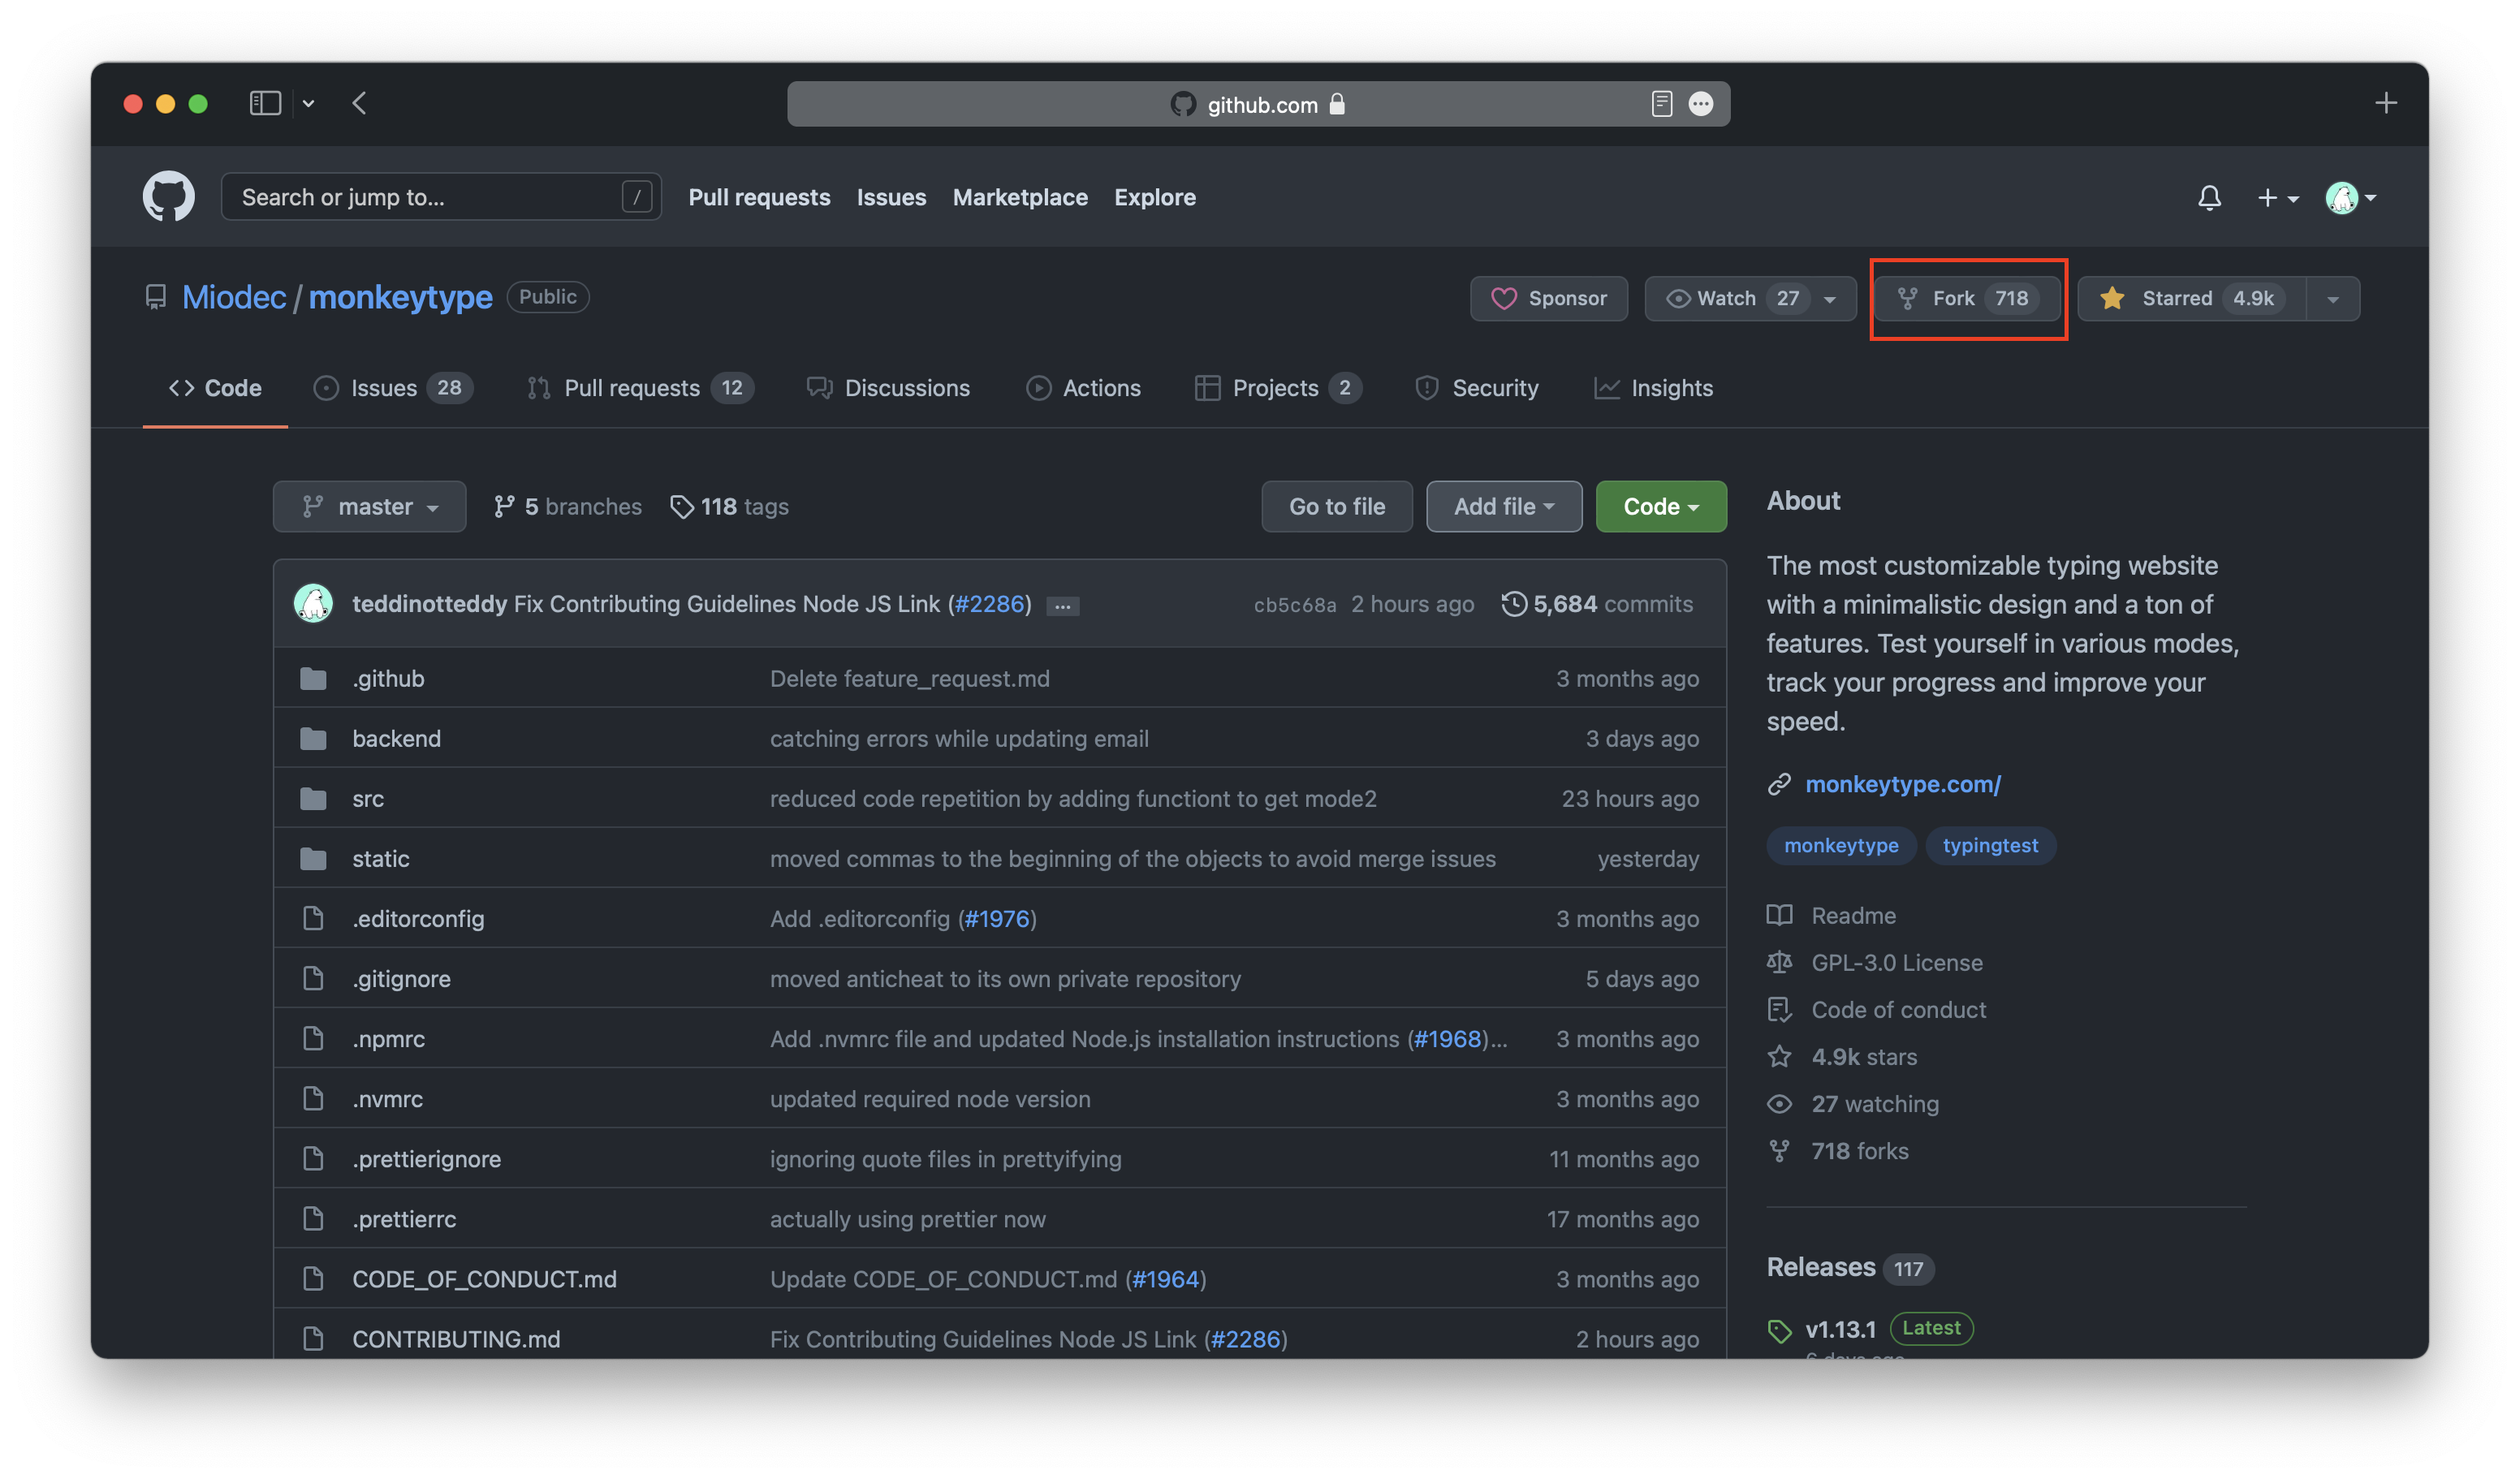
First you will have to make a personal copy of the Monkeytype repository, also known as "forking". Go to the Monkeytype repo and then click the "fork" button.
After you have forked the repository you can now add your theme. Create a CSS file in ./frontend/static/themes/. Call it whatever you want but make sure that it is all lowercase and replace spaces with underscores. It should look something like this:
theme_name.css.
Then add this code to your file:
:root {
    --bg-color: #ffffff;
    --main-color: #ffffff;
    --caret-color: #ffffff;
    --sub-color: #ffffff;
    --sub-alt-color: #ffffff;
    --text-color: #ffffff;
    --error-color: #ffffff;
    --error-extra-color: #ffffff;
    --colorful-error-color: #ffffff;
    --colorful-error-extra-color: #ffffff;
  }
Here is an image showing what all the properties correspond to:

Change the corresponding hex codes to create your theme. Then, go to ./frontend/static/themes/_list.json and add the following code to the very end of the file (inside the square brackets):
  {
    "name": "theme_name",
    "bgColor": "#ffffff",
    "mainColor": "#ffffff",
    "subColor": "#ffffff",
    "textColor": "#ffffff"
  },
Make sure the name you put matches the name of the file you created (without the .css file extension). Add the text color and background color of your theme to their respective fields.
Once you have created your theme(s), you now need to create a pull request to the main Monkeytype repository. Go to the branch where you created your new theme on GitHub. Then make sure your branch is up to date. Once it is up to date, click "contribute".
Add some screenshots of your theme to the pull request. Click "create pull request" and if it gets approved then your new theme is available on Monkeytype for everyone to enjoy.
Make sure your theme follows the theme guidelines. Theme guidelines


