Tips on ROS for the operation of FXIMU
rosparam load config/fximu_params.yaml
rosparam load config/fximu_params_000.yaml
Notice: roscore must be running
rosrun rosserial_python serial_node.py _port:=/dev/ttyACM0 _baud:=230400
If you are using more than one serial device, the ordering of the ports might change after reboot, so creating a symbolic link from /dev/fximu to actual serial port /dev/ttyACMX is useful. To accomplish this, first, obtain the USB serial id of your FXIMU by executing the following command:
udevadm info -a -n /dev/ttyACM0 | grep '{serial}'
It will return:
ATTRS{serial}=="0000000A"
ATTRS{serial}=="0000:00:14.0"
In this case, the usb serial id is 0000000A, which is a string.
Create a new rules file by:
sudo nano /etc/udev/rules.d/99-usb-serial.rules
Add the following inside the file, after replacing the FXIMU usb serial id:
KERNEL=="ttyACM*", ATTRS{idVendor}=="1cbe", ATTRS{idProduct}=="0002", ATTRS{serial}=="0000000A", SYMLINK+="fximu"
Restart the computer. You will see that once the FXIMU is attached, the udev will create a symbolic link /dev/fximu that points to the correct serial port. After that, in your launch files you can use /dev/fximu
rosrun tf static_transform_publisher 0.0 0.0 0.0 0.0 0.0 0.0 map imu_link 100
Note that rviz imu plugin is required to visualize imu data. Click Add on rviz, then select rviz_imu_plugin then type 'imu/data' as topic in the visualization window.
rostopic echo /imu/data
rostopic echo /imu/mag
rostopic hz /imu/data
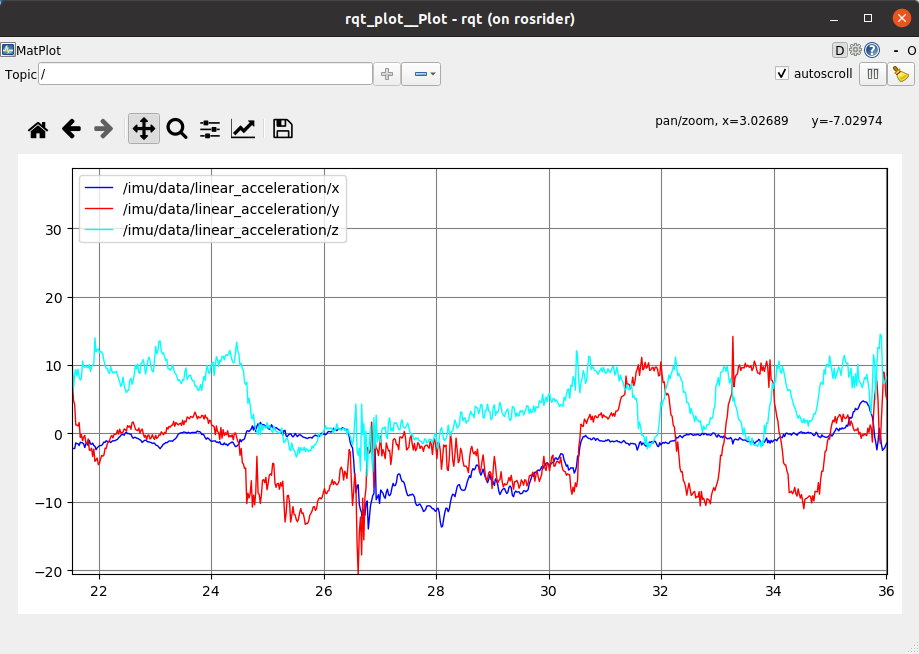
rqt_plot /imu/data/linear_acceleration
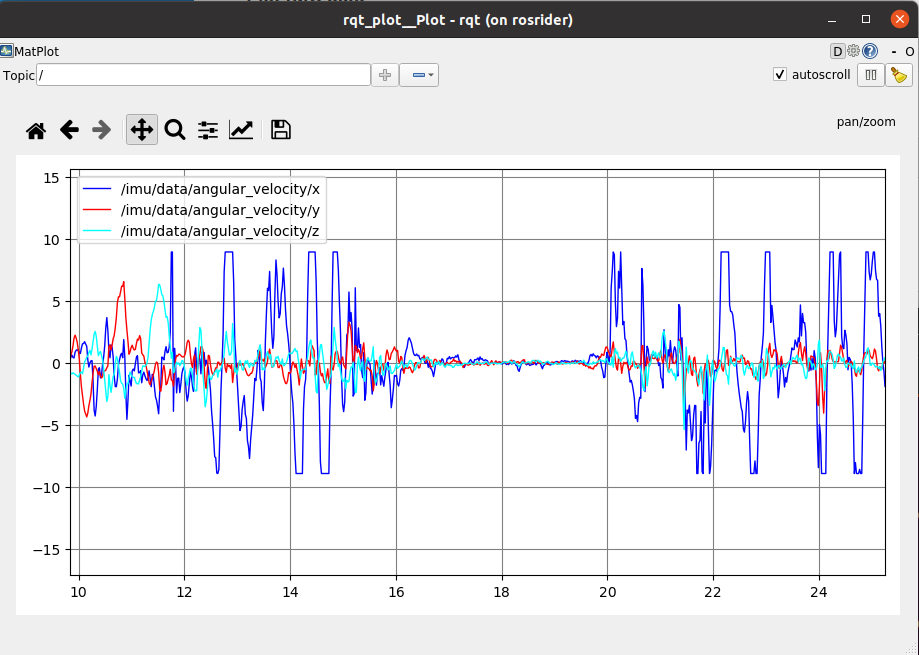
rqt_plot /imu/data/angular_velocity
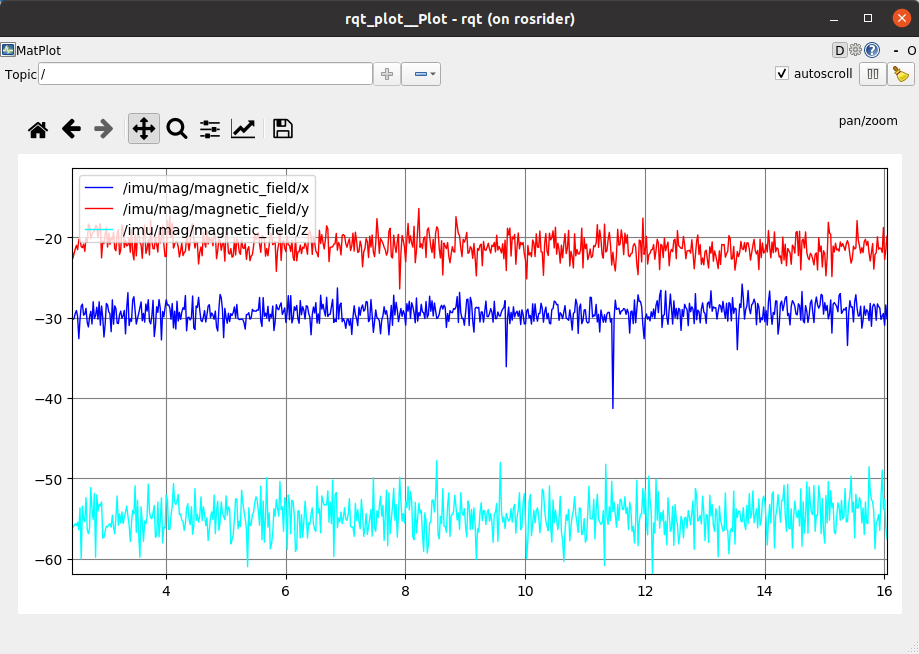
rqt_plot /imu/mag/magnetic_field
First launch FXIMU, then:
roscd fximu/scripts
./measure_gravity.py
It will print the value of gravity constant. Make sure the FXIMU is fixed and does not move before running.Wait at least 1000 cycles for the averaging filter to converge.
FXIMU detects stationary mode by using number of thresholds. Once the device is in stationary mode, it self calibrates sensor biases. To measure the thresholds for your imu follow the following procedure:
roscd fximu/scripts
./measure.thresholds.py
This will print measurements, if the thresholds are exceeded. So depending on the output, change the following lines accordingly:
self.kAccelerationThreshold = 0.19
self.kAngularVelocityThreshold = 0.055
self.kDeltaAngularVelocityThreshold = 0.033
kAccelerationThreshold is the threshold for accelerometer values.
kAngularVelocityThreshold is the threshold for the gyro values.
kDeltaAngularVelocityThreshold is the threshold for the derivative of gyro values.
Tune these manually, until the program measure_thresholds does not produce any output.
ModemManager service that is default on ubuntu, probes the newly added serial ports, which keeps it busy for few second. To overcome this delay turn off or uninstall the ModemManager service.
Licenses
 |
 |
|---|


