Welcome to the Anomaly detection lab exercises. During the lab exercises the student will experiential work through various tasks and activities to gain practical experience and develop new skills. In hands-on learning, attendees are given the opportunity to explore, experiment, and discover knowledge for themselves about OpenSearch.
The goal is to get actively engage and ask questions if something is not clear or you are blocked. Important to understand that there are no strong dependencies between labs, so it's okay if you're behind and follow your own pace.
The following key topics are part of these exercises:
- Anomaly detection
- Detectors
This exercise explains how to use the Anomaly detection plugin and manage Anomaly detection features like Detectors. The UI is really helpful if you are not that familiar with the API.
From the Home - Landing page. Click the hamburger button (top left) to open the navigator. Here you can open the various OpenSearch Plugins UIs like Anomaly Detection.
Working with Anomaly detection is easy, create a detector in just four steps.
- Define your detector
- Configure your detector
- Preview your detector
- View results
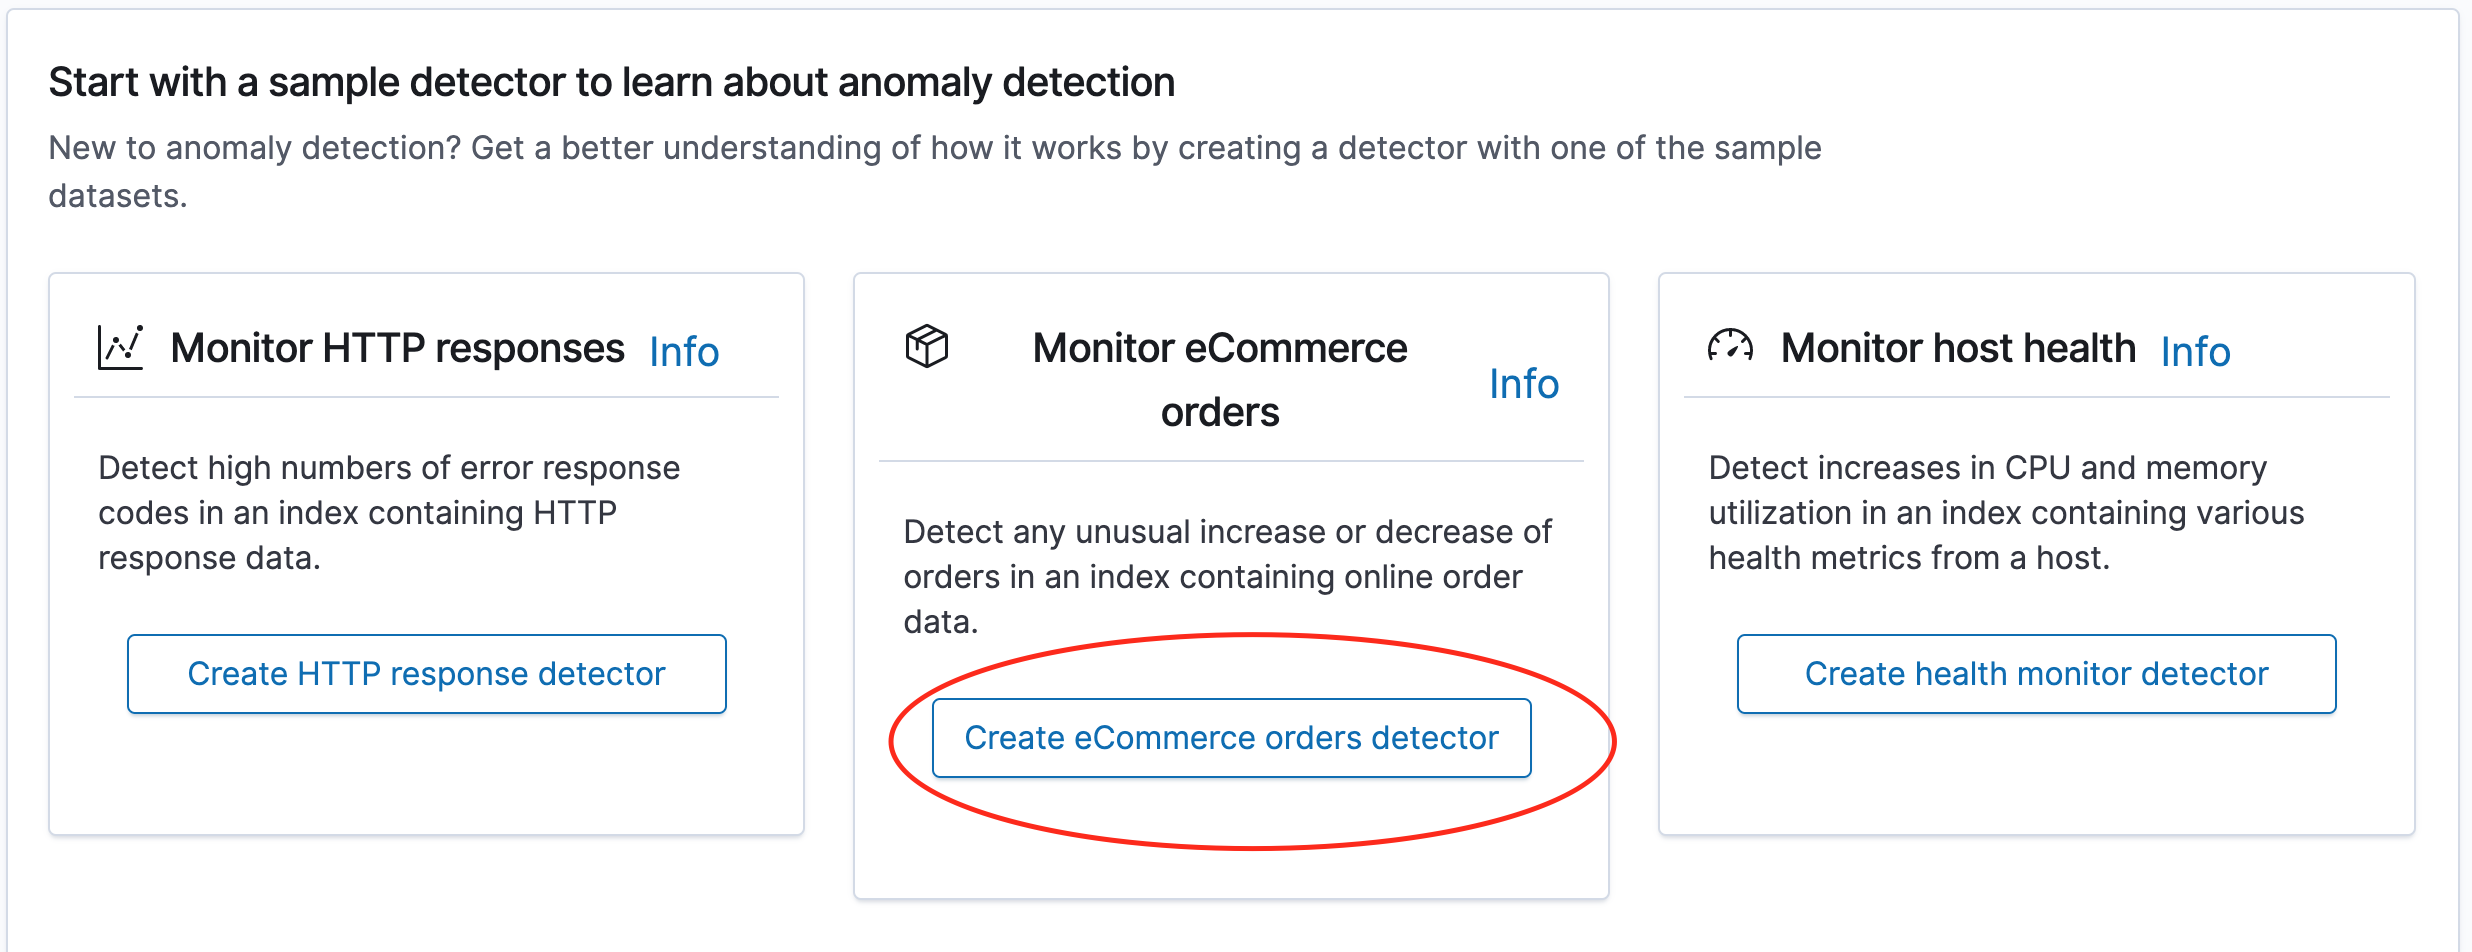
Also OpenSearch provides several sample detectors, which can be helpful to look into.
Let's give it a try and start configuring the Monitor eCommerce orders detector sample.
Now try to answer some questions regarding aggregations.
- Open the sample-ecommerce-detector detector and start the Historical Analysis.
- Dive into the feature breakdown. Which four features are configured?
- How many anomaly occurences are found?
Besides the UI you can also use the API to manage this detector. Let's try some useful commands.
First look into some stats like health status. Additional write down the Id of the created detector.
GET _plugins/_anomaly_detection/stats
Now lookup the detector configuration.
GET _plugins/_anomaly_detection/detectors/ER5gEIgBFCYJnJtUIBMi
You could also start historical data collection from the API.
POST _plugins/_anomaly_detection/detectors/ER5gEIgBFCYJnJtUIBMi/_start
{
  "start_time": 1682945425000,
  "end_time": 1683723025000
}
Also you may want to stop (and later start) the detector for maintenance or resource purposes.
POST _plugins/_anomaly_detection/detectors/ER5gEIgBFCYJnJtUIBMi/_stop
POST _plugins/_anomaly_detection/detectors/ER5gEIgBFCYJnJtUIBMi/_start
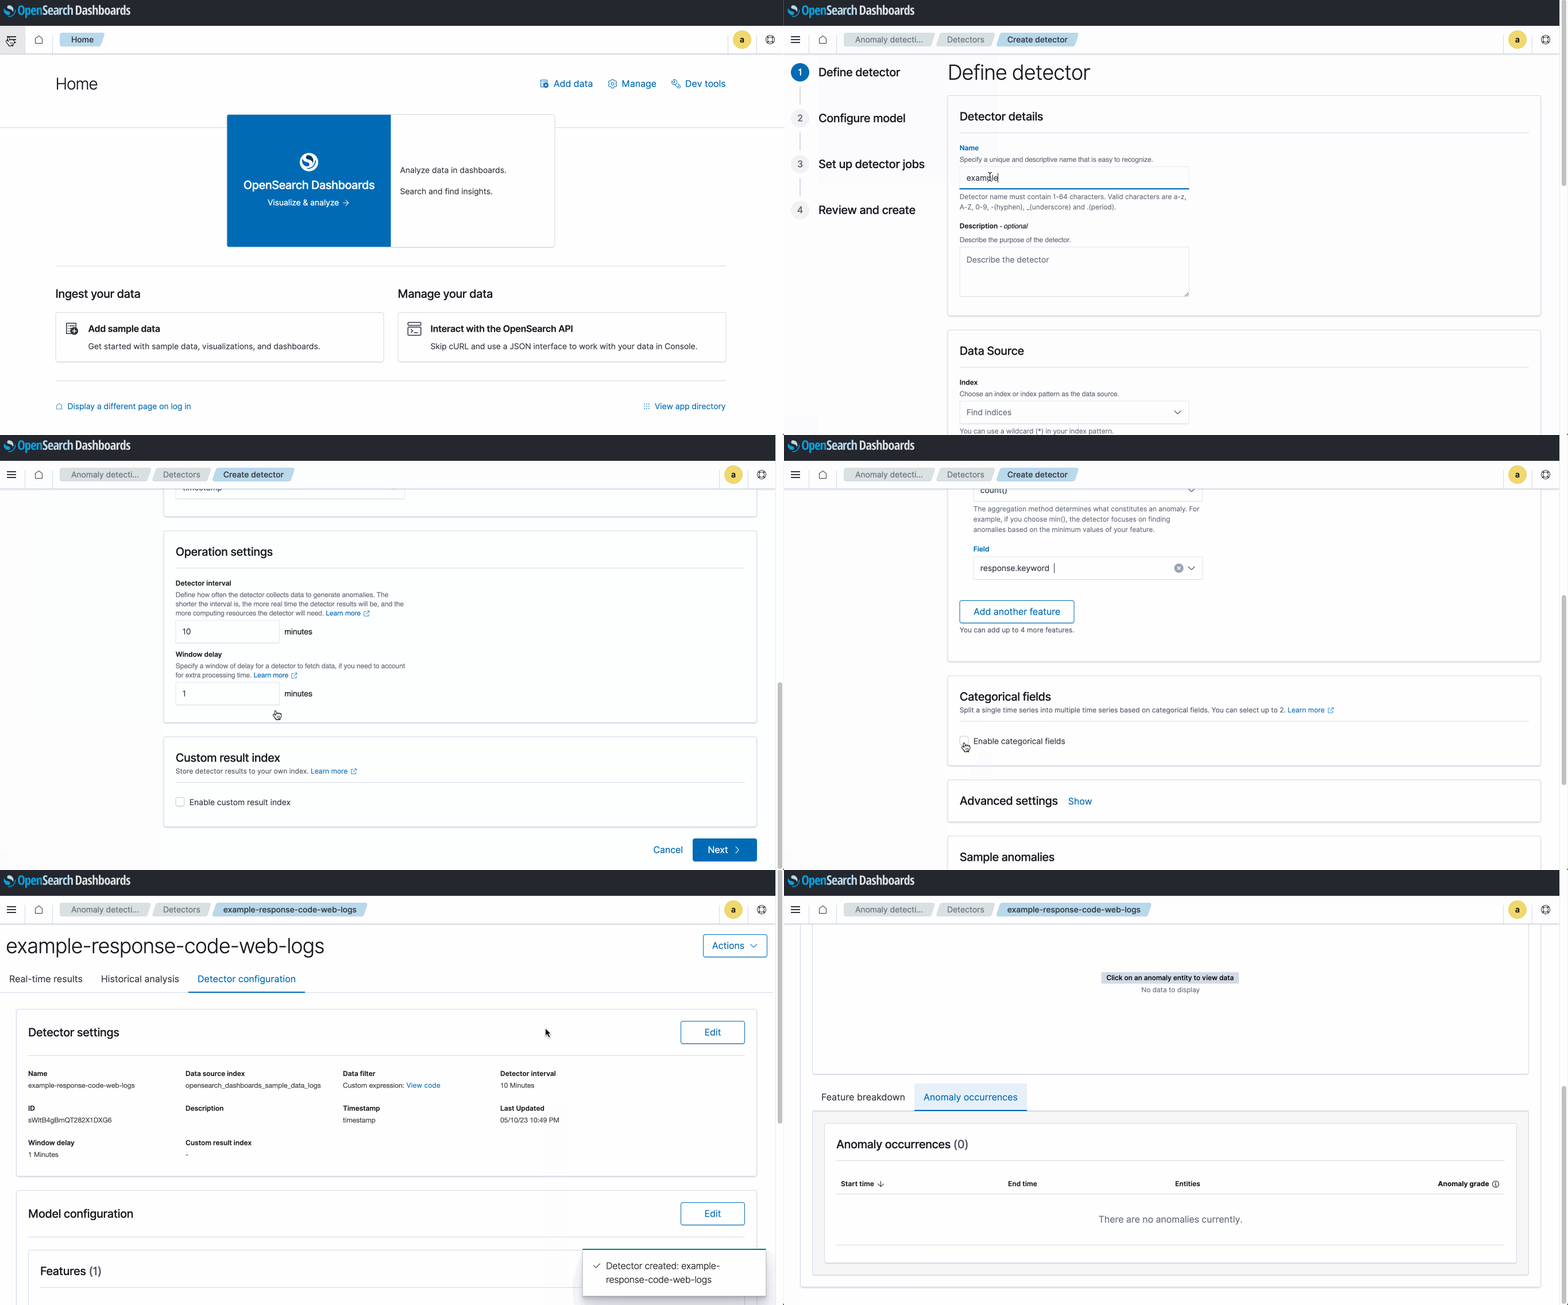
This exercise explains you which steps to take to create a detector that looks for anomalies in web acces based on response codes.
We are now creating a detector from scratch. We will select the sample data logs index, create a feature using count aggregation on the response.keyword field. Also here ensure that you run the analysis on the Historical data.
As guidance see the following example.
Now try to answer some questions regarding aggregations.
- Open the newly created detector and start the Historical Analysis.
- Dive into the feature breakdown. Which is the feature you configured for responses.
- How many anomaly occurences are found?
You are ready to start with the next lab about Integrations in OpenSearch. Be aware that the trainer might have to explain the training material and provide additional instructions for a jump start.
Enjoy the exercises!!!

