Most of the testing infrastructure relies on image comparisons, and understanding
how they are done is essential. When a test produces an image (the "candidate"
image), it is compared to a reference image (stored somewhere under the
test-references top-level directory), and the test is only successful if the
two images are considered similar enough.
However, images generated by a test may not exactly match the ones that were produced on a different platform, or with a different version of Java or the operating system. The image comparison infrastructure must allow for this, while at the same time being sensitive enough to catch real issues.
First, the two images are compared, and most tests allow a small percentage of different pixels between them. The allowance is split by a threshold: if the difference in the pixel value is under that threshold, an under-threshold allowance is applied, while if the threshold is exceeded a different tolerance applies.
In most cases a small allowance of 0.00001% is used (if not exactly zero), while in others the comparison is crafted so a larger number of pixels with small departures from the reference are allowed. For example, in the comparisons between normal renderings and renders with SVG fonts (where differences are unavoidable), a split tolerance of 0.65% and 0.004% is used as of this writing.
If the two images match within the allowed margins, the match is successful. If
the images do not match, then the candidate image is stored in a directory named
candidate-reference under the relevant subdirectory of test-references. In
case one wants to accept the new image as the new reference, just copy it to its
parent directory, overwriting the previous one.
In some tests, once this first comparison does not match, nothing more is done and the test fails. However, the rendering (and related) tests attempt to account for variations. Variations (or "variants") are images that represent the differences between the reference and an accepted image.
Allowed variations are stored in directories called accepted-variation, also
under the appropriate subdirectory of test-references. For example, accepted
variations for the rendering of scripting samples are found under
test-references/samples/tests/spec/scripting/accepted-variation
When variation-aware tests fail, they store a couple of variations under the
candidate-variation subdirectory. In the above example case:
test-references/samples/tests/spec/scripting/candidate-variation
If, for example, the fill test fails, two variations shall be stored there:
fill.pngfill_platform.png
The first image is called the range variant and the second is the platform
variant. To deal with the usual, small random variations in rendering we want to
use the range variant, while to account for —generally large— systematic platform
differences one shall use platform variants. As of this writing, a couple of
platform variants are accepted: one for the Xfce desktop environment, and another
for the light theme of Windows 10. They use the xfce and win10Light suffixes.
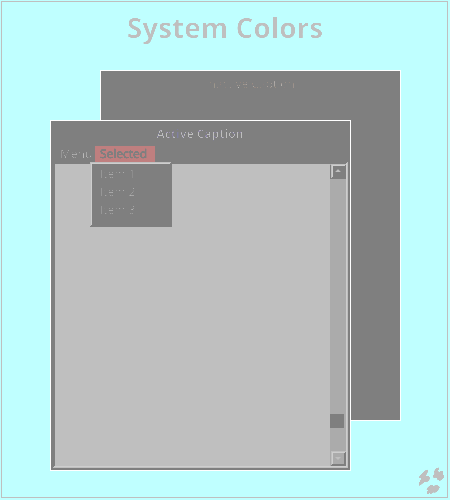
The following is an example of a platform variation image:
To enable a range variant, move the variant to the accepted-variation directory.
If a range variant was already there, just overwrite it (the new range variant
accounts for the previous one). Before enabling a range variant, make sure that
it is small enough to be acceptable: platform variants are better suited for large
variations.
To accept a platform variant, replace the _platform suffix in the filename
with the (supported) suffix corresponding to your platform. In our example, if
our platform is Xfce we would rename fill_platform.png into fill_xfce.png
and then move it to accepted-variation.
Range variants are more accurate than platform variants, as the differences in the latter are widened to allow an easier visual inspection.
If you want an additional platform variant to be supported (like a MacOS variant) please open an issue for it.
The SVG2 tests can be run with different Media Query-matching configurations
like the print medium or the dark mode (prefers-color-scheme: dark); in that
case the reference and variant images carry the appropriate suffix(es).
For example, the css3.html test has three reference images: css3.png (light
mode and screen medium which is the default), css3-print.png (print
medium) and css3-dark.png (default medium and dark mode).
