以调试 https://a.alipayobjects.com/* 下的文件为例,介绍在线调试的使用方法。
SwitchyOmega非强绑定,可以选择自己喜欢的方式让请求流转到http://127.0.0.1:8989代理服务器。
安装 SwitchyOmega。(不能正常安装的可以到这里下 .crx 文件,然后手动安装)
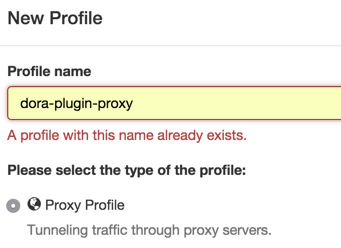
安装完成之后,先新建 Profile,类型选 Proxy Profile,见图:
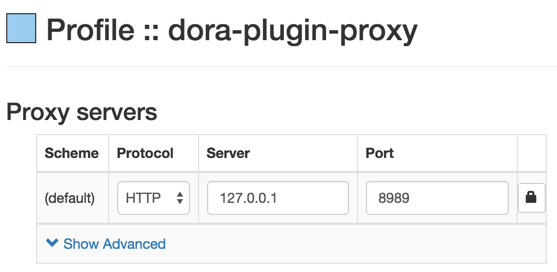
配置 Profile,关联到 127.0.0.1:8989,见图:
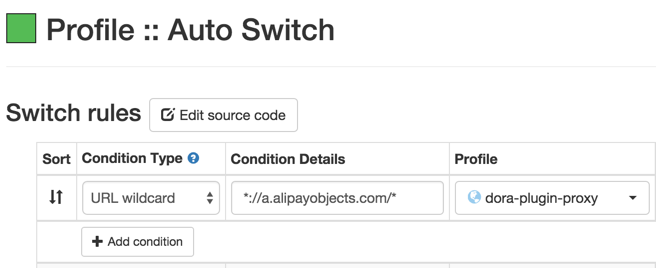
配置 Auto Switch,关联 *://a.alipayobjects.com/* 到前面建的 Profile,见图:
先在命令行启动 dora 以及 dora-plugin-proxy 插件,通常输出是这样的:
> dora -p 8001 --plugins proxy

         dora: listened on 8001
        proxy: load rule from proxy.config.js
        proxy: listened on 8989
而如果你是第一次用 anyproxy,应该会看到这样的提示:
temp certs cleared
1/3 build modulesGenerating RSA private key, 2048 bit long modulus
.............................................................................+++
......................................+++
e is 65537 (0x10001)
=============
rootCA generated at :
/<USER_HOME>/.anyproxy_certs
=============
rootCA generated
please trust the rootCA.crt in /<USER_HOME>/.anyproxy_certs/
or you may get it via anyproxy webinterface
AnyProxy is about to exit with code: 0
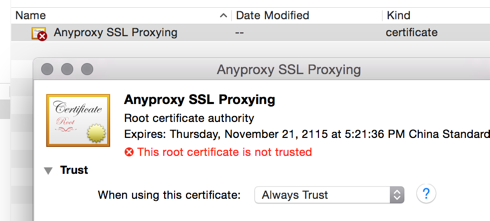
打开 /<USER_HOME>/.anyproxy_certs/rootCA.crt,标记为 信任。(这样 anyproxy 才可以为 https 域名自动加签),见图:
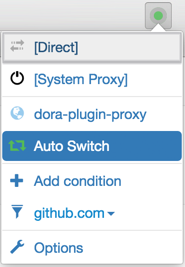
然后点击插件 ICON ,选 Auto Switch,见图:
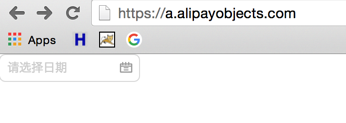
浏览器访问:https://a.alipayobjects.com/ 应该能看到和 http://127.0.0.1:8989/ 一致的效果,比如:
调试完记得把
SwitchyOmega的模式切回[System Proxy],否则可能会影响网页的正常访问。
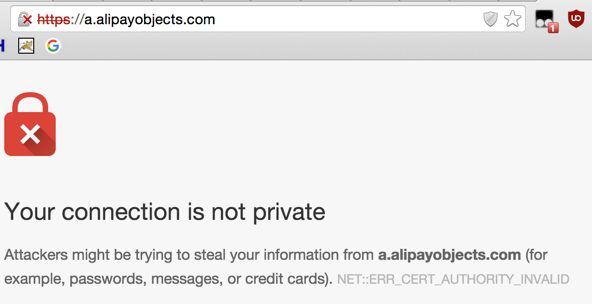
解决:rootCA.crt 未添加或未信任。
