Meteor-application-template-react is a sample Meteor 1.12 application that illustrates:
- A standard directory layout using 'imports/' as recommended in the Meteor Guide
- Semantic UI React for user interface.
- Uniforms for form development.
- alanning:roles to implement a special "Admin" user.
- Authorization, authentication, and registration using built-in Meteor packages.
- Initialization of users and data from a settings file.
- Alerts regarding success or failure of DB updates using Sweet Alert.
- Quality assurance using ESLint with packages to partially enforce the Meteor Coding Standards and the AirBnB Javascript Style Guide.
The goal of this template is to help you get quickly started doing Meteor development by providing a reasonable directory structure for development and deployment, a set of common extensions to the core framework, and boilerplate code to implement basic page display, navigation, forms, roles, and collection manipulation.
To keep this codebase simple and small, some important capabilities are intentionally excluded from this template:
- Testing.
- Security (meteor-application-template-react enables the insecure packages)
Examples of the these capabilities will be provided elsewhere.
First, install Meteor.
Second, go to https://github.com/ics-software-engineering/meteor-application-template-react, and click the "Use this template" button. Complete the dialog box to create a new repository that you own that is initialized with this template's files.
Third, go to your newly created repository, and click the "Clone or download" button to download your new GitHub repo to your local file system. Using GitHub Desktop is a great choice if you use MacOS or Windows.
Fourth, cd into the app/ directory of your local copy of the repo, and install third party libraries with:
$ meteor npm install
Once the libraries are installed, you can run the application by invoking the "start" script in the package.json file:
$ meteor npm run start
The first time you run the app, it will create some default users and data. Here is the output:
meteor npm run start

> meteor-application-template-react@ start /Users/philipjohnson/github/ics-software-engineering/meteor-application-template-react/app
> meteor --no-release-check --settings ../config/settings.development.json

[[[[[ ~/github/ics-software-engineering/meteor-application-template-react/app ]]]]]

=> Started proxy.
=> Started MongoDB.
I20180227-13:33:02.716(-10)? Creating the default user(s)
I20180227-13:33:02.742(-10)?   Creating user [email protected].
I20180227-13:33:02.743(-10)?   Creating user [email protected].
I20180227-13:33:02.743(-10)? Creating default data.
I20180227-13:33:02.743(-10)?   Adding: Basket ([email protected])
I20180227-13:33:02.743(-10)?   Adding: Bicycle ([email protected])
I20180227-13:33:02.743(-10)?   Adding: Banana ([email protected])
I20180227-13:33:02.744(-10)?   Adding: Boogie Board ([email protected])
=> Started your app.

=> App running at: http://localhost:3000/
You will also get the following message when you run this application:
Note: you are using a pure-JavaScript implementation of bcrypt.
While this implementation will work correctly, it is known to be
approximately three times slower than the native implementation.
In order to use the native implementation instead, run

  meteor npm install --save bcrypt

in the root directory of your application.
On some operating systems (particularly Windows), installing bcrypt is much more difficult than implied by the above message. Bcrypt is only used in Meteor for password checking, so the performance implications are negligible until your site has very high traffic. You can safely ignore this warning without any problems during initial stages of development.
Intermittently, you may see the following error message in the console when the system starts up:
MongoError: not master and slaveOk=false
     at queryCallback (/Users/philipjohnson/.meteor/packages/npm-mongo/.3.1.1.1mmptof.qcqo++os+web.browser+web.browser.legacy+web.cordova/npm/node_modules/mongodb-core/lib/cursor.js:248:25)
     at /Users/philipjohnson/.meteor/packages/npm-mongo/.3.1.1.1mmptof.qcqo++os+web.browser+web.browser.legacy+web.cordova/npm/node_modules/mongodb-core/lib/connection/pool.js:532:18
     at _combinedTickCallback (internal/process/next_tick.js:131:7)
     at process._tickDomainCallback (internal/process/next_tick.js:218:9)
While irritating, this message appears to be harmless and possibly related to a race condition between the development instance of Mongo and Meteor. By harmless, I mean that in most cases, the console goes on to display App running at: http://localhost:3000/ and no problems occur during run time.
If all goes well, the template application will appear at http://localhost:3000. You can login using the credentials in settings.development.json, or else register a new account.
You can verify that the code obeys our coding standards by running ESLint over the code in the imports/ directory with:
meteor npm run lint
The following sections describe the major features of this template.
The top-level directory structure is:
app/        # holds the Meteor application sources
config/     # holds configuration files, such as settings.development.json
doc/        # holds developer documentation, user guides, etc.
.gitignore  # don't commit IntelliJ project files, node_modules, and settings.production.json
This structure separates documentation files (such as screenshots) and configuration files (such as the settings files) from the actual Meteor application.
The app/ directory has this structure:
client/
  main.html      # The boilerplate HTML with a "root" div to be manipulated by React.
  main.js        # import startup files.

imports/
  api/           # Define collections
    stuff/       # The Stuffs collection definition
  startup/       # Define code to run when system starts up (client-only, server-only, both)
    client/
    server/
  ui/
    layouts/     # Contains top-level layout (<App> component).
    pages/       # Contains components for each page.
    components/  # Contains page elements, some of which could appear on multiple pages.

node_modules/    # managed by npm

public/          # static assets (like images) can go here.

server/
   main.js       # import the server-side js files.
This system adheres to the Meteor guideline of putting all application code in the imports/ directory, and using client/main.js and server/main.js to import the code appropriate for the client and server in an appropriate order.
The application implements a simple CRUD application for managing "Stuff", which is a Mongo Collection consisting of a name (String), a quantity (Number), and a condition (one of 'excellent', 'good', 'fair', or 'poor').
By default, each user only sees the Stuff that they have created. However, the settings file enables you to define default accounts. If you define a user with the role "admin", then that user gets access to a special page which lists all the Stuff defined by all users.
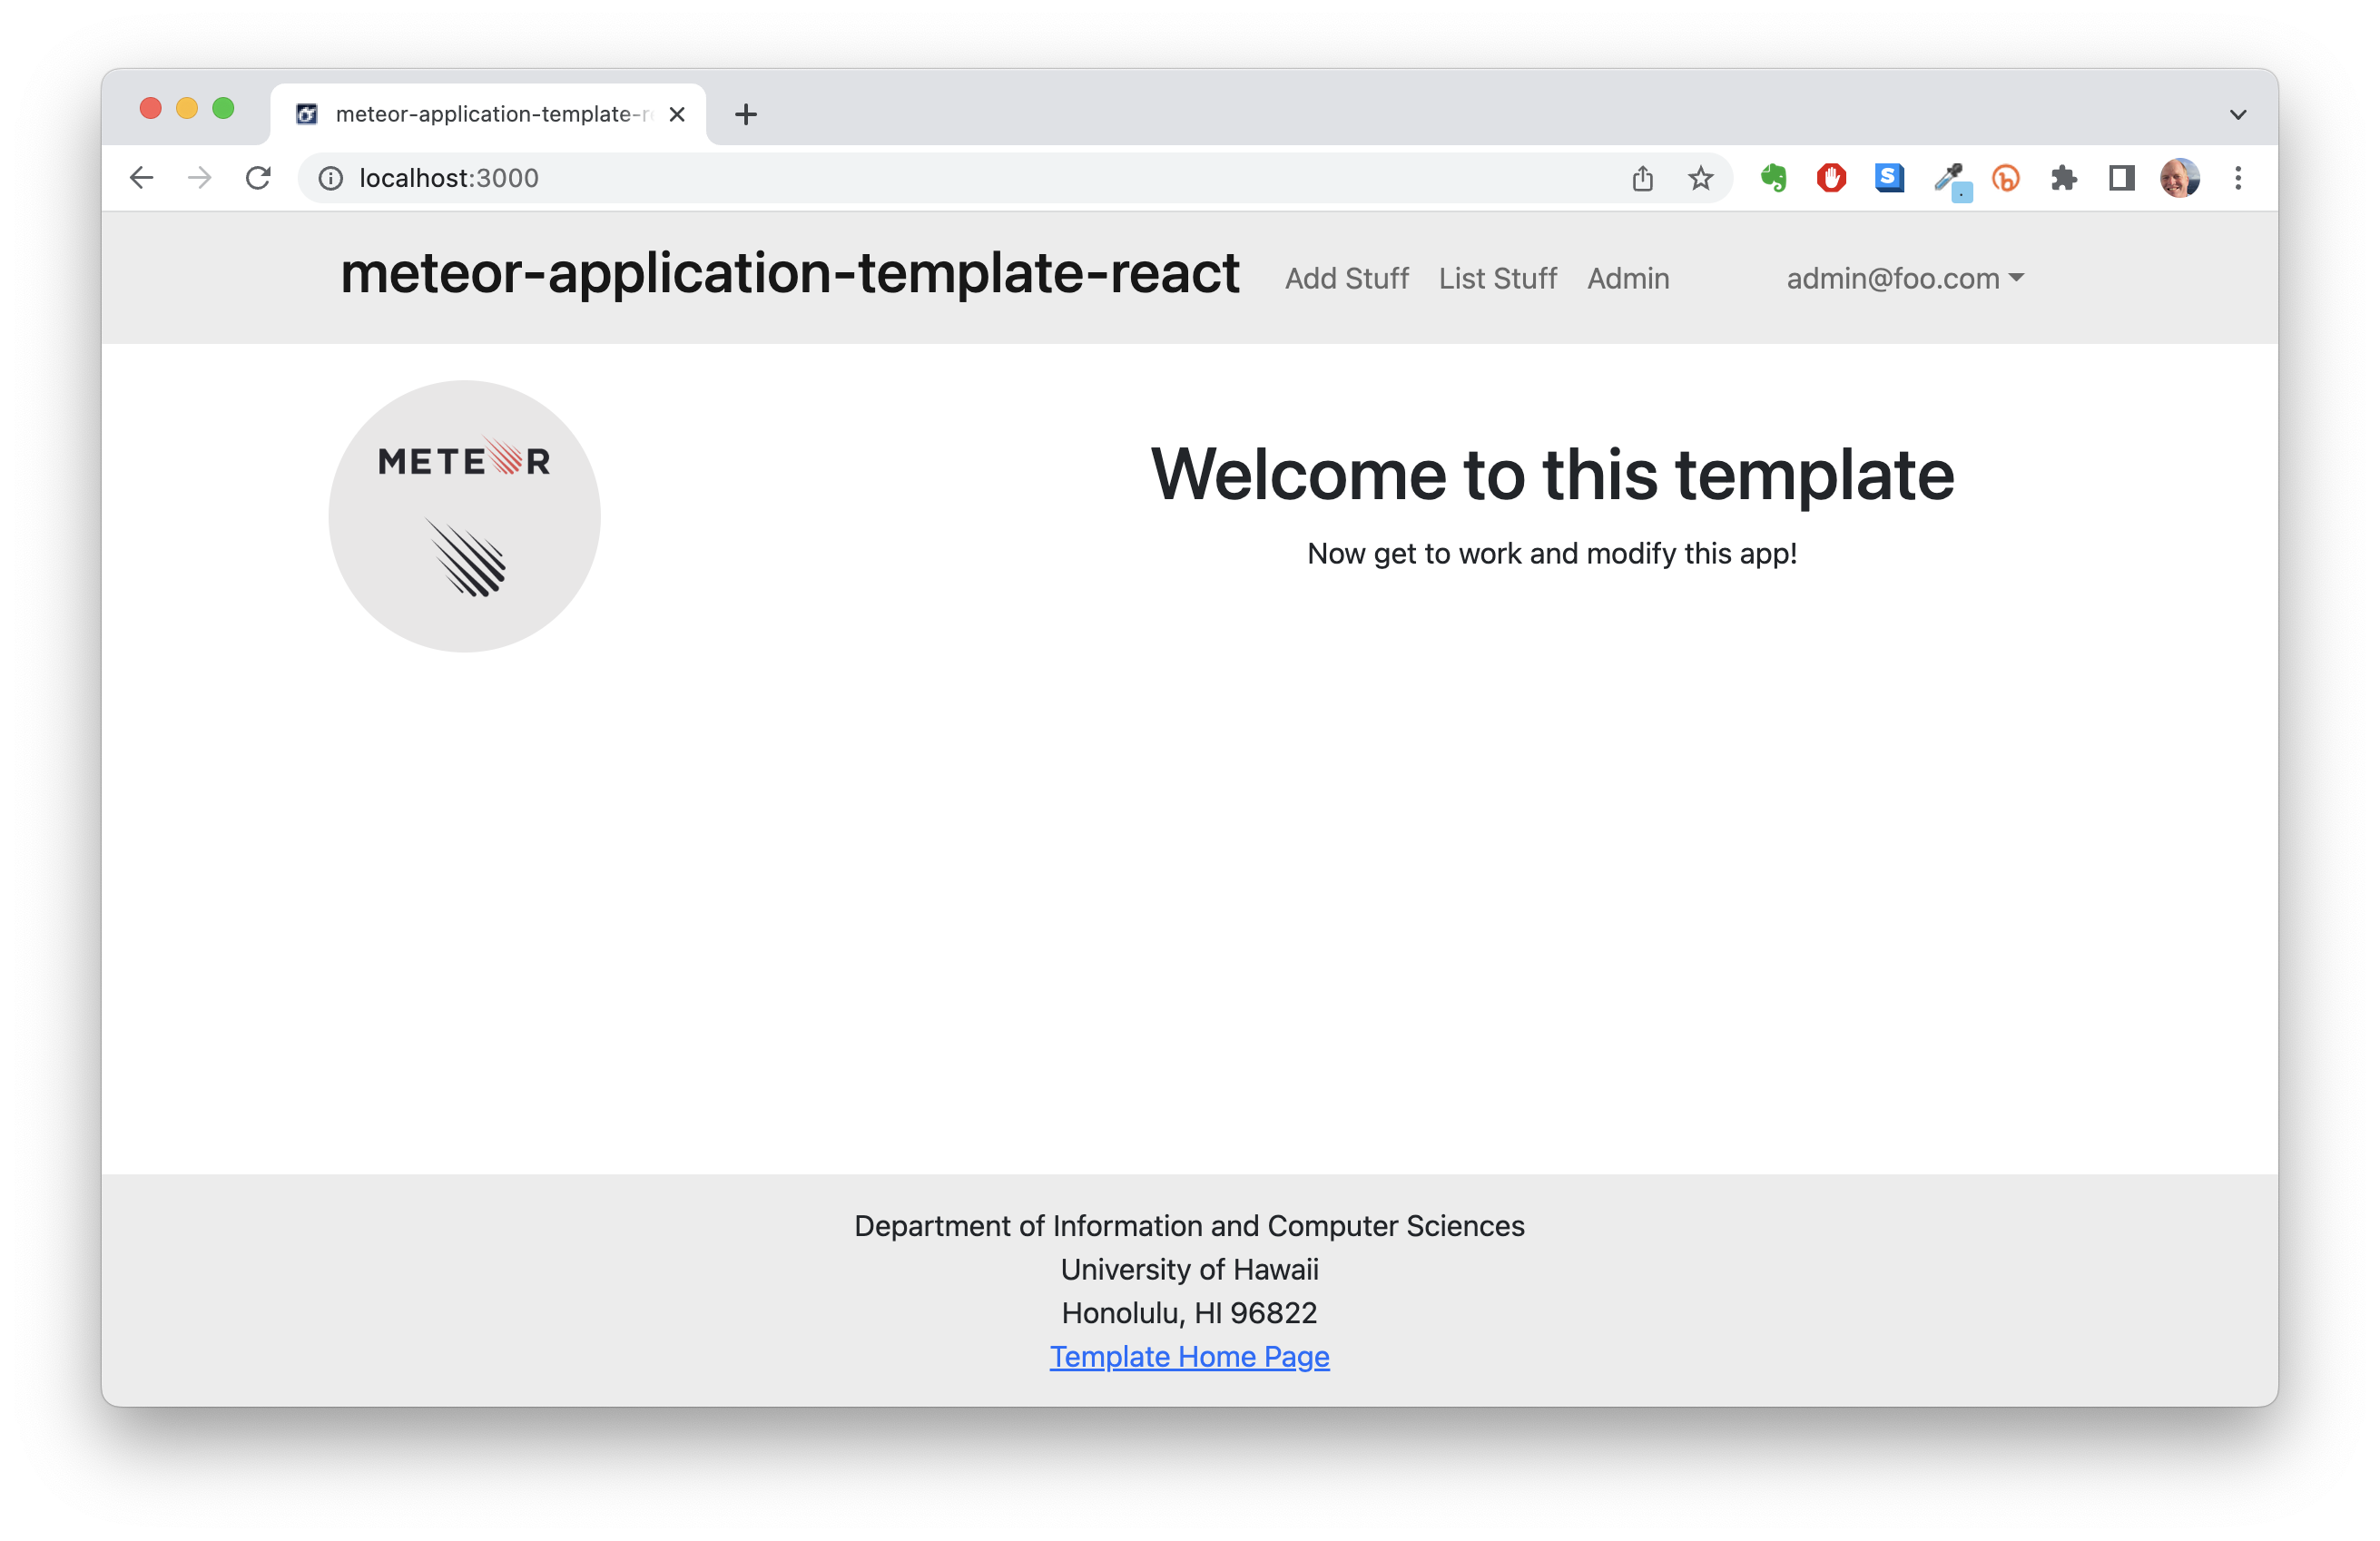
When you retrieve the app at http://localhost:3000, this is what should be displayed:
The next step is to use the Login menu to either Login to an existing account or register a new account.
Clicking on the Login link, then on the Sign In menu item displays this page:
Alternatively, clicking on the Login link, then on the Sign Up menu item displays this page:
Once you log in (either to an existing account or by creating a new one), the navbar changes as follows:
You can now add new Stuff documents, and list the Stuff you have created. Note you cannot see any Stuff created by other users.
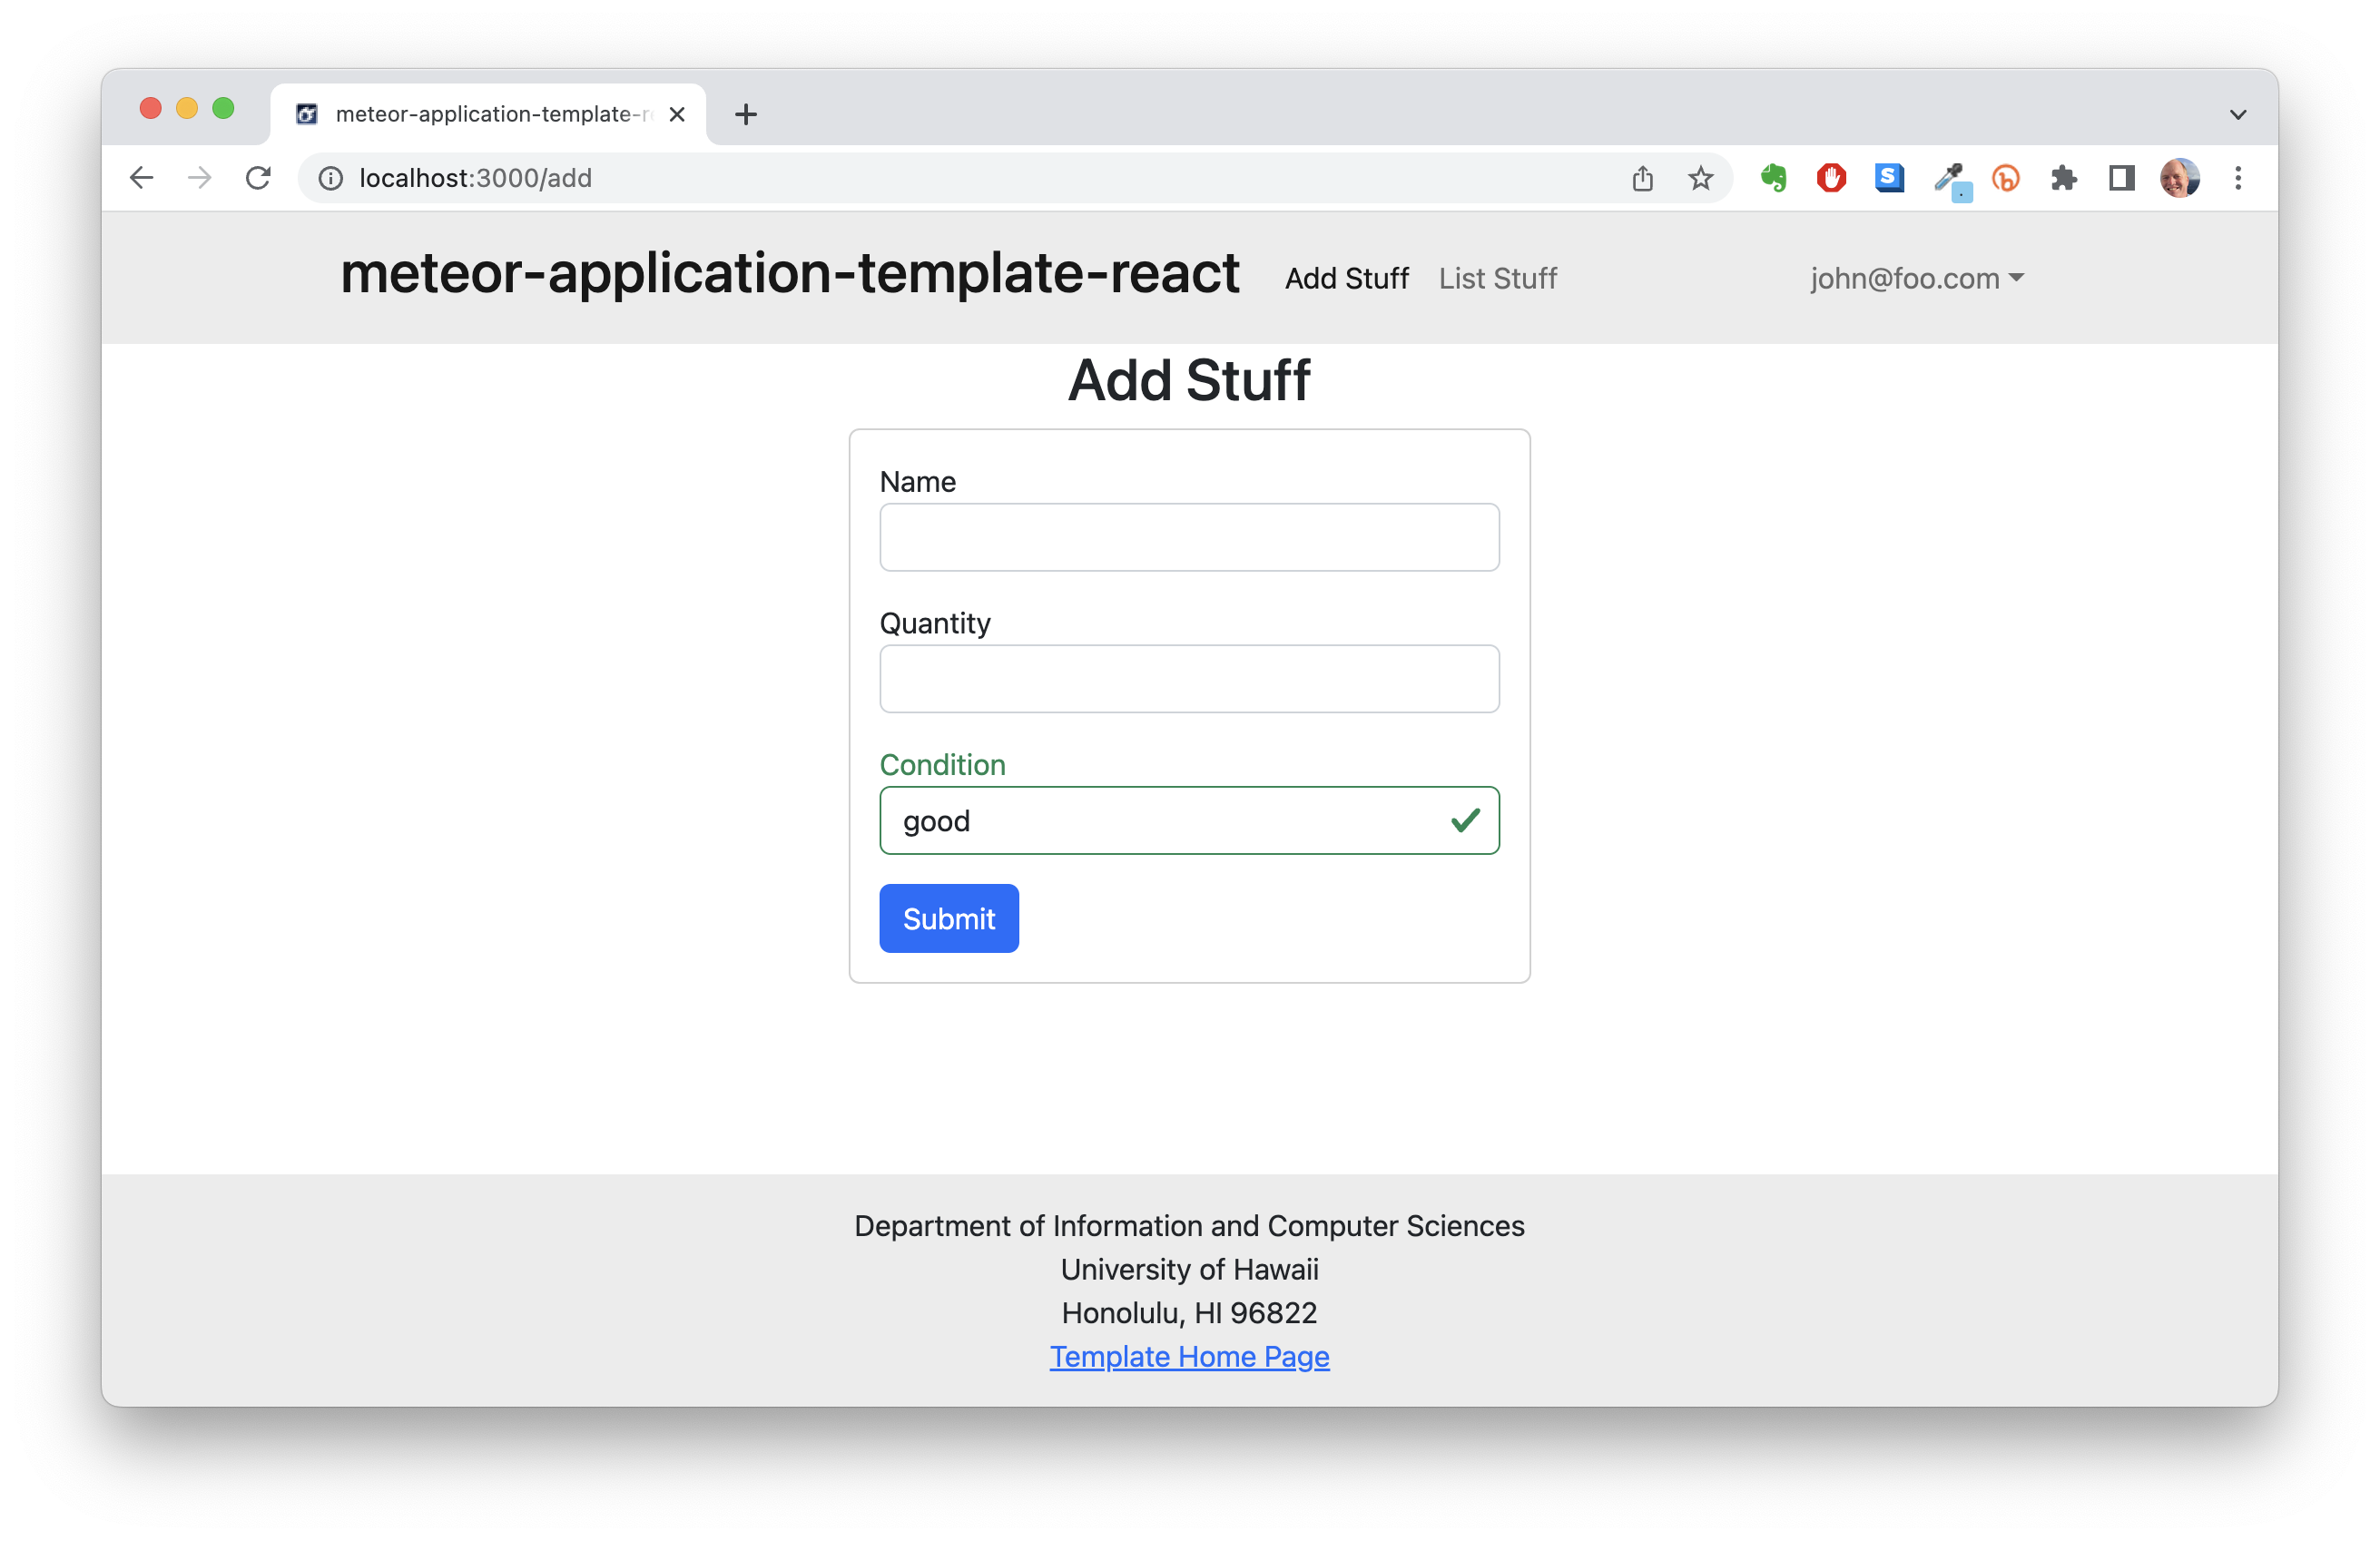
After logging in, here is the page that allows you to add new Stuff:
After logging in, here is the page that allows you to list all the Stuff you have created:
You click the "Edit" link to go to the Edit Stuff page, shown next.
After clicking on the "Edit" link associated with an item, this page displays that allows you to change and save it:
You can define an "admin" user in the settings.json file. This user, after logging in, gets a special entry in the navbar:
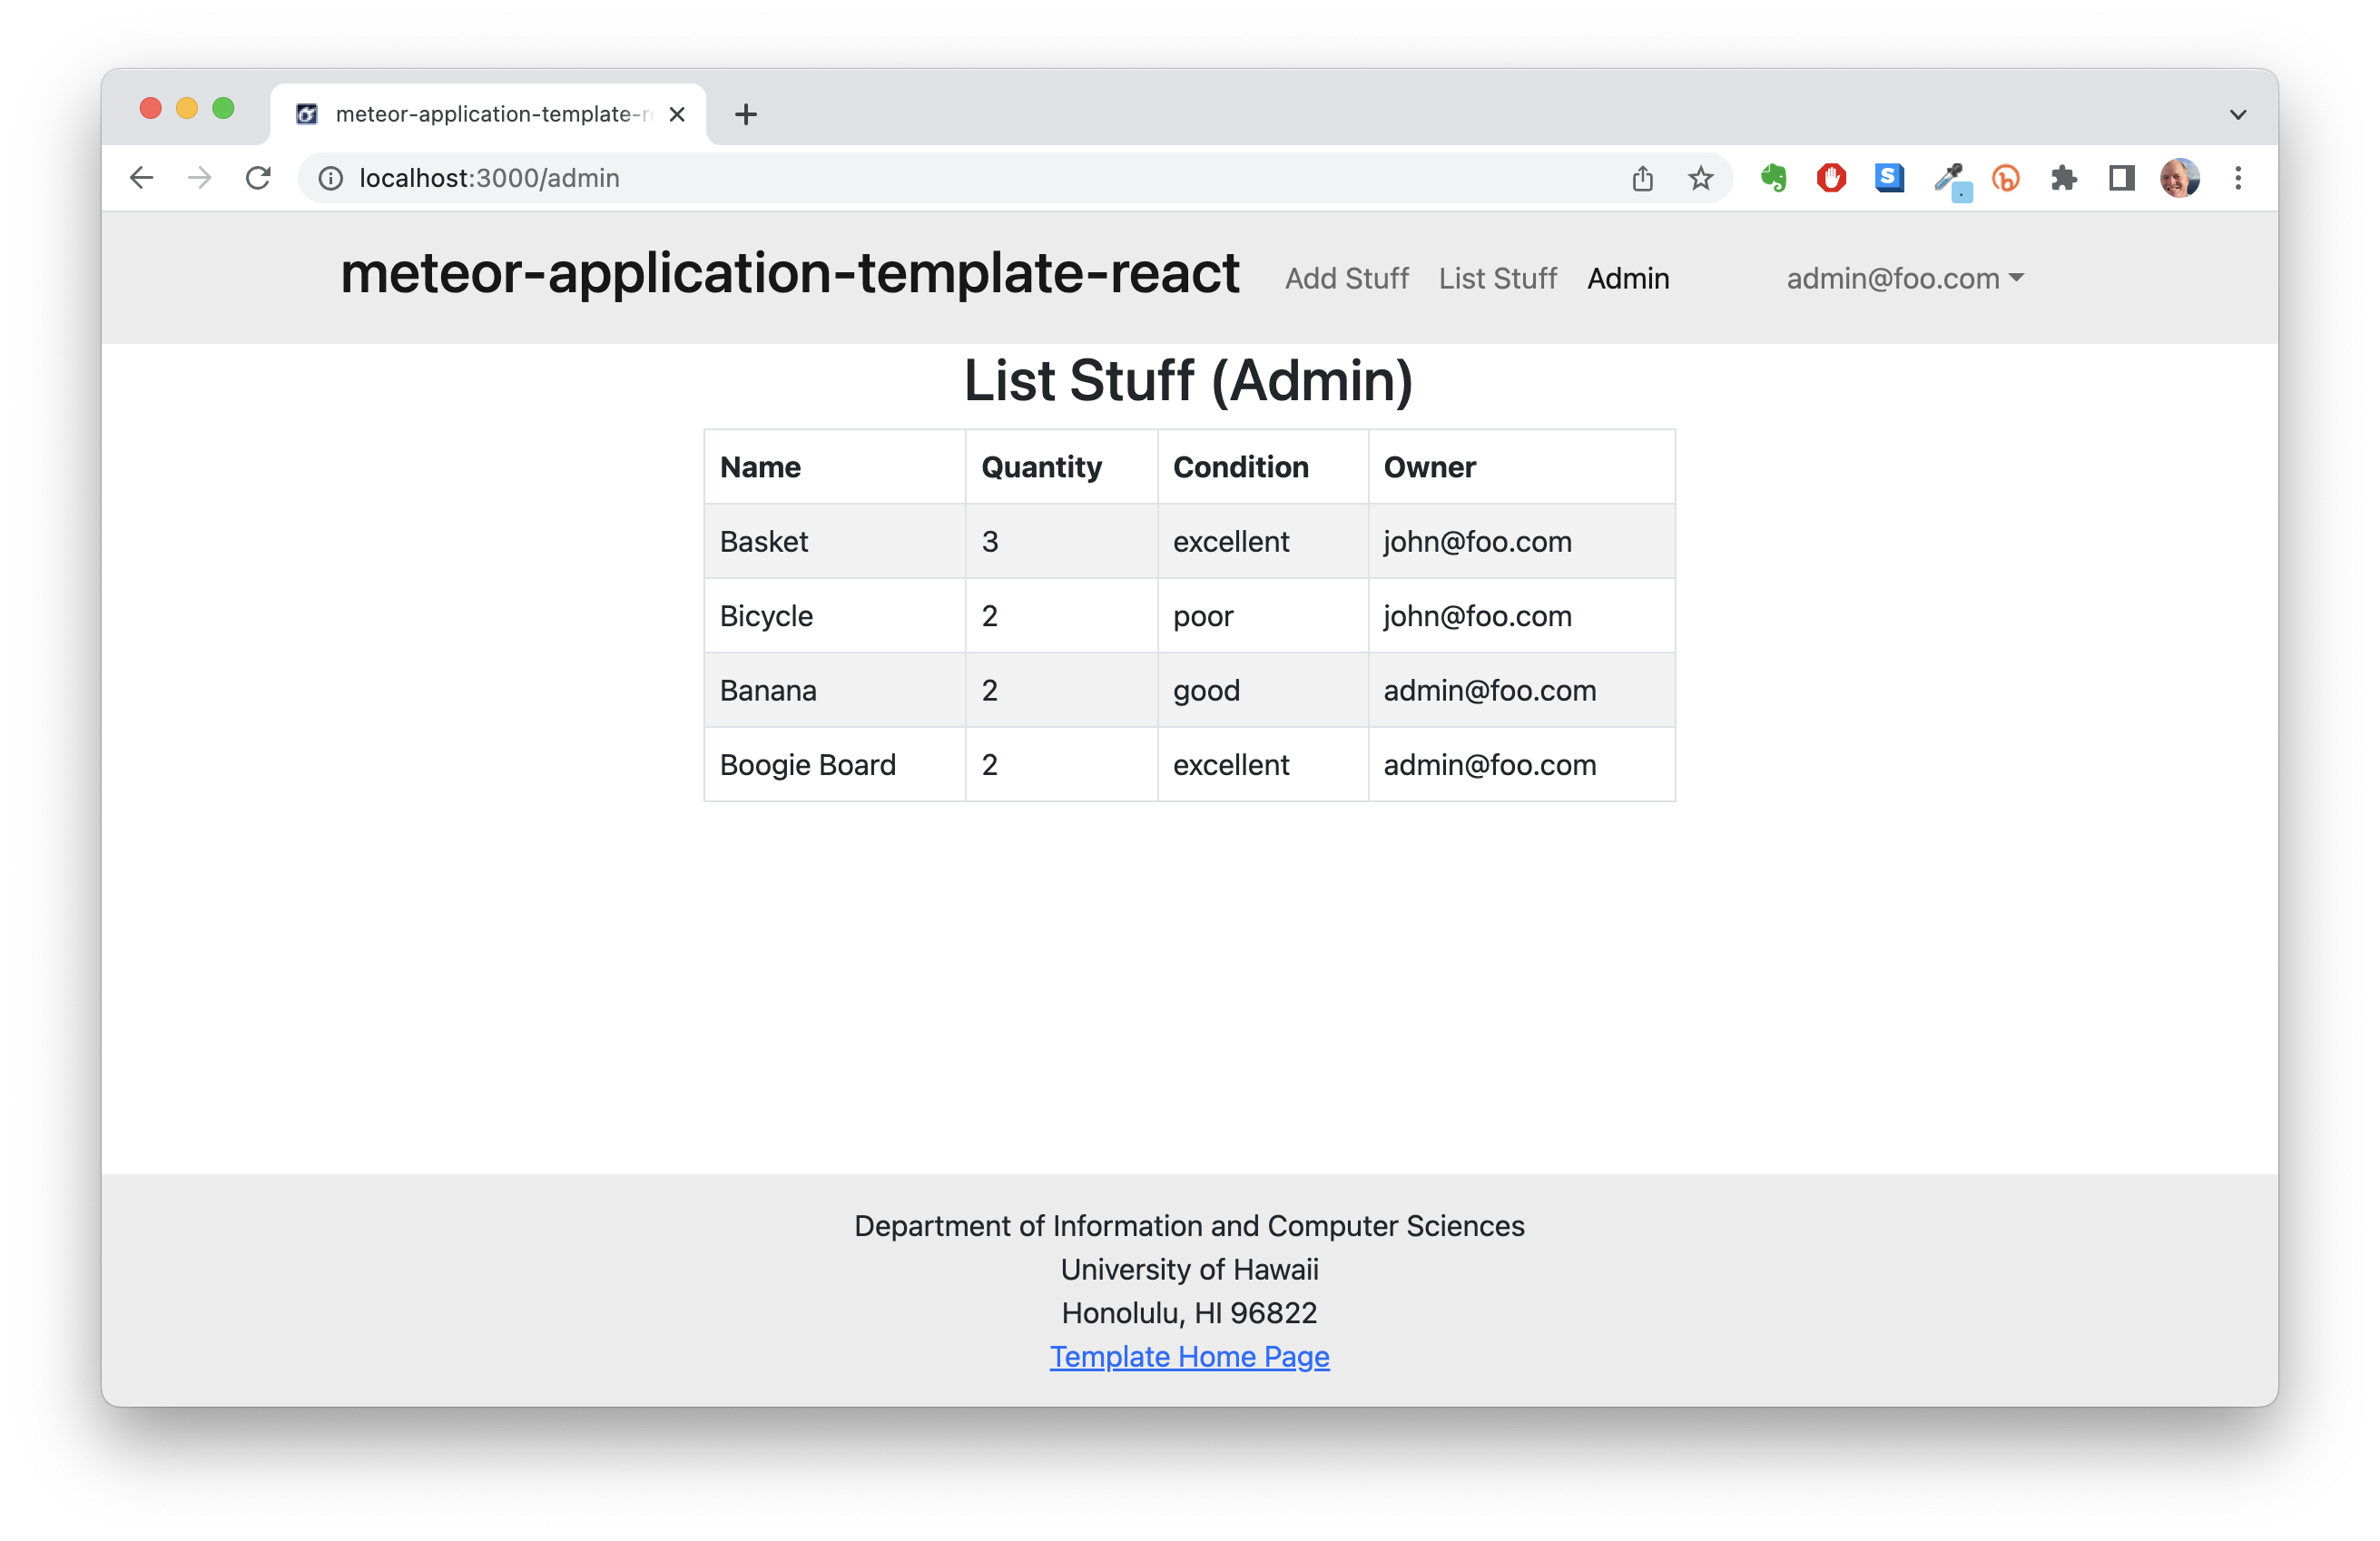
To provide a simple example of a "super power" for Admin users, the Admin page lists all of the Stuff by all of the users:
Note that non-admin users cannot get to this page, even if they type in the URL by hand.
The application implements a single Collection called "Stuffs". Each Stuffs document has the following fields: name, quantity, condition, and username.
The Stuffs collection is defined in imports/api/stuff/stuff.js.
The Stuffs collection is initialized in imports/startup/server/Mongo.js.
The application uses the React implementation of Semantic UI.
For display and navigation among its four pages, the application uses React Router.
Routing is defined in imports/ui/layouts/App.jsx.
For authentication, the application uses the Meteor accounts package.
When the application is run for the first time, a settings file (such as config/settings.development.json) should be passed to Meteor. That will lead to a default account being created through the code in imports/startup/server/accounts.js.
The application allows users to register and create new accounts at any time.
Only logged in users can manipulate Stuff documents (but any registered user can manipulate any Stuff document, even if they weren't the user that created it.)
The config directory is intended to hold settings files. The repository contains one file: config/settings.development.json.
The .gitignore file prevents a file named settings.production.json from being committed to the repository. So, if you are deploying the application, you can put settings in a file named settings.production.json and it will not be committed.
The application includes a .eslintrc file to define the coding style adhered to in this application. You can invoke ESLint from the command line as follows:
[~/meteor-application-template-react/app]-> meteor npm run lint

> meteor-application-template-react@ lint /Users/philipjohnson/meteor-application-template-react/app
> eslint --quiet ./imports
ESLint should run without generating any errors.
It's significantly easier to do development with ESLint integrated directly into your IDE (such as IntelliJ).
For more information about this system, please watch one or more of the following screencasts. Note that the current source code might differ slightly from the code in these screencasts, but the changes should be very minor.


