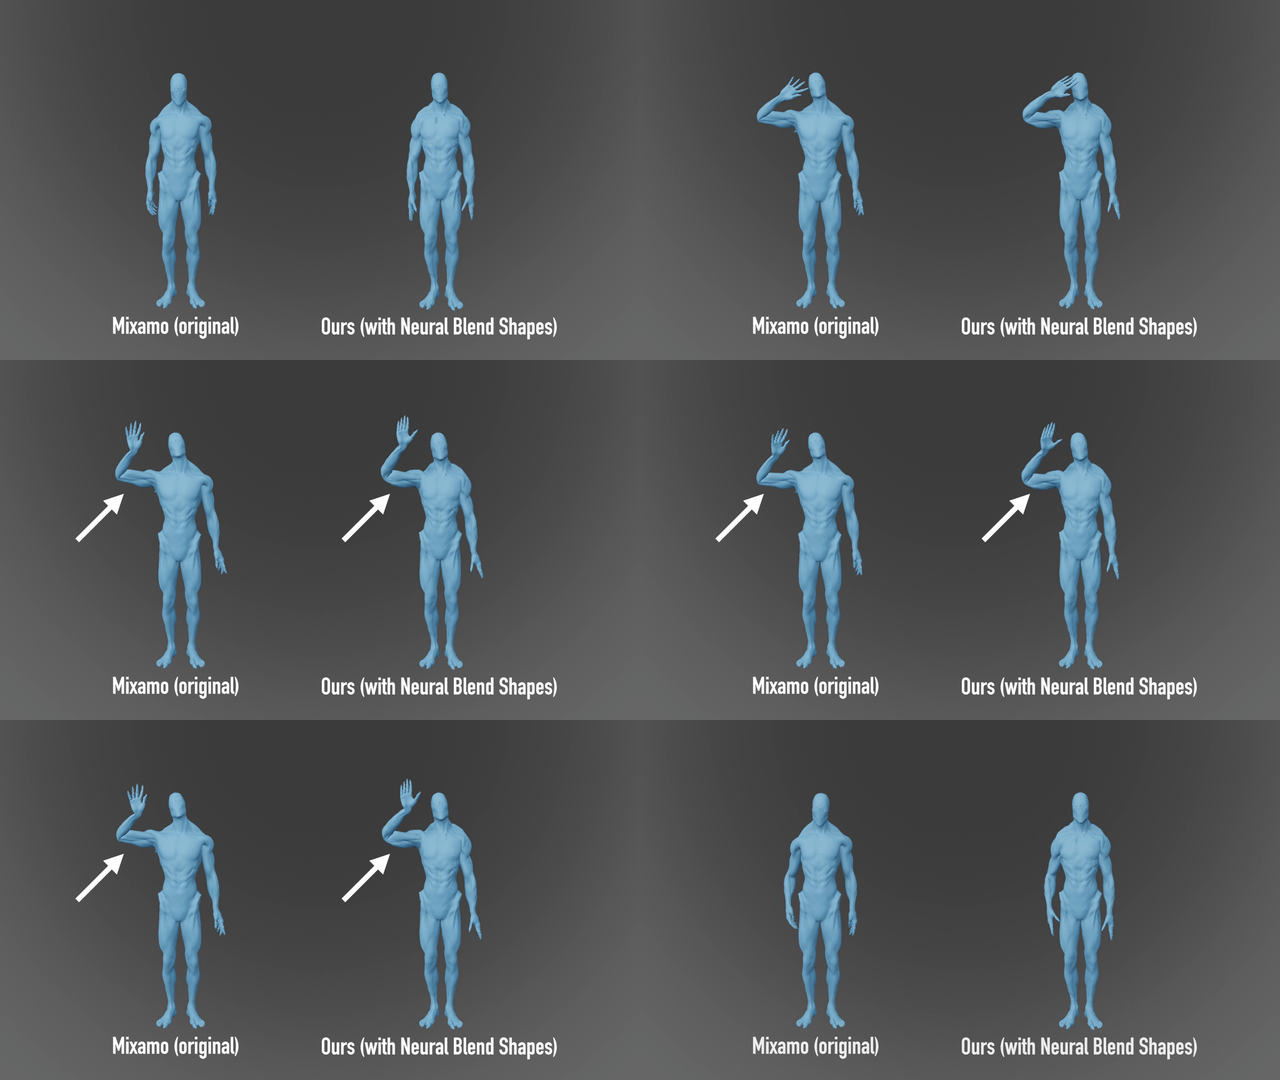
This repository provides an end-to-end library for automatic character rigging, skinning, and blend shapes generation, as well as a visualization tool. It is based on our work Learning Skeletal Articulations with Neural Blend Shapes that is published in SIGGRAPH 2021.
Our code has been tested on Ubuntu 18.04. Before starting, please configure your Anaconda environment by
conda env create -f environment.yaml
conda activate neural-blend-shapes
Or you may install the following packages (and their dependencies) manually:
- pytorch 1.8
- tensorboard
- tqdm
- chumpy
Note the provided environment only includes the PyTorch CPU version for compatibility consideration.
We provide a pretrained model that is dedicated for biped characters. Download and extract the pretrained model from Google Drive or Baidu Disk (9ras) and put the pre_trained folder under the project directory. Run
python demo.py --pose_file=./eval_constant/sequences/greeting.npy --obj_path=./eval_constant/meshes/maynard.objThe nice greeting animation showed above will be saved in demo/obj as obj files. In addition, the generated skeleton will be saved as demo/skeleton.bvh and the skinning weight matrix will be saved as demo/weight.npy. If you need the bvh file animated, you may specify --animated_bvh=1.
If you are interested in traditional linear blend skinning (LBS) technique result generated with our rig, you can specify --envelope_only=1 to evaluate our model only with the envelope branch.
We also provide other several meshes and animation sequences. Feel free to try their combinations!
Now you can choose to output the animation as a single fbx file instead of a sequence of obj files! Simply do following:
python demo.py --animated_bvh=1 --obj_output=0
cd blender_scripts
blender -b -P nbs_fbx_output.py -- --input ../demo --output ../demo/output.fbx
Note that you need to install Blender (>=2.80) to generate the fbx file. You may explore more options on the generated fbx file in the source code.
This code is contributed by @huh8686.
You may try to run our model with your own meshes by pointing the --obj_path argument to the input mesh. Please make sure your mesh is triangulated and has a consistent upright and front facing orientation. Since our model requires the input meshes are spatially aligned, please specify --normalize=1. Alternatively, you can try to scale and translate your mesh to align the provided eval_constant/meshes/smpl_std.obj without specifying --normalize=1.
To reconstruct the quantitative result with the pretrained model, you need to download the test dataset from Google Drive or Baidu Disk (8b0f) and put the two extracted folders under ./dataset and run
python evaluation.pyWe provide instructions for retraining our model.
Note that you may need to reinstall the PyTorch CUDA version since the provided environment only includes the PyTorch CPU version.
To train the model from scratch, you need to download the training set from Google Drive or Baidu Disk (uqub) and put the extracted folders under ./dataset.
The training process contains tow stages, each stage corresponding to one branch. To train the first stage, please run
python train.py --envelope=1 --save_path=[path to save the model] --device=[cpu/cuda:0/cuda:1/...]For the second stage, it is strongly recommended to use a pre-process to extract the blend shapes basis then start the training for much better efficiency by
python preprocess_bs.py --save_path=[same path as the first stage] --device=[computing device]
python train.py --residual=1 --save_path=[same path as the first stage] --device=[computing device] --lr=1e-4We provide a simple wrapper of blender's python API (>=2.80) for rendering 3D mesh animations and visualize skinning weight. The following code has been tested on Ubuntu 18.04 and macOS Big Sur with Blender 2.92.
Note that due to the limitation of Blender, you cannot run Eevee render engine with a headless machine.
We also provide several arguments to control the behavior of the scripts. Please refer to the code for more details. To pass arguments to python script in blender, please do following:
blender [blend file path (optional)] -P [python script path] [-b (running at backstage, optional)] -- --arg1 [ARG1] --arg2 [ARG2]We provide a simple light and camera setting in eval_constant/simple_scene.blend. You may need to adjust it before using. We use ffmpeg to convert images into video. Please make sure you have installed it before running. To render the obj files generated above, run
cd blender_script
blender ../eval_constant/simple_scene.blend -P render_mesh.py -b
The rendered per-frame image will be saved in demo/images and composited video will be saved as demo/video.mov.
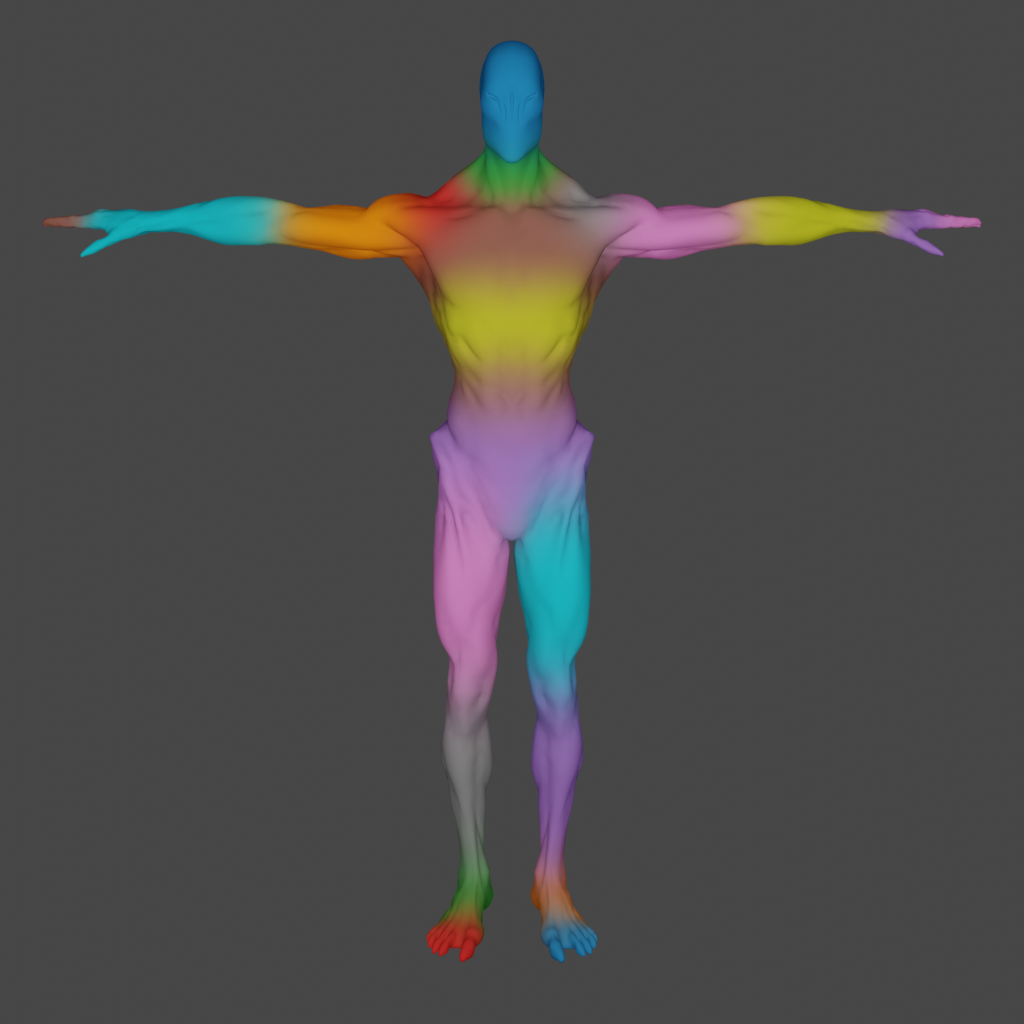
Visualizing the skinning weight is a good sanity check to see whether the model works as expected. We provide a script using Blender's built-in ShaderNodeVertexColor to visualize the skinning weight. Simply run
cd blender_script
blender -P vertex_color.py
You will see something similar to this if the model works as expected:
Meanwhile, you can import the generated skeleton (in demo/skeleton.bvh) to Blender. For skeleton rendering, please refer to deep-motion-editing.
The code in blender_scripts/nbs_fbx_output.py is contributed by @huh8686.
The code in meshcnn is adapted from MeshCNN by @ranahanocka.
The code in models/skeleton.py is adapted from deep-motion-editing by @kfiraberman, @PeizhuoLi and @HalfSummer11.
The code in dataset/smpl.py is adapted from SMPL by @CalciferZh.
Part of the test models are taken from SMPL, MultiGarmentNetwork and Adobe Mixamo.
If you use this code for your research, please cite our paper:
@article{li2021learning,
  author = {Li, Peizhuo and Aberman, Kfir and Hanocka, Rana and Liu, Libin and Sorkine-Hornung, Olga and Chen, Baoquan},
  title = {Learning Skeletal Articulations with Neural Blend Shapes},
  journal = {ACM Transactions on Graphics (TOG)},
  volume = {40},
  number = {4},
  pages = {130},
  year = {2021},
  publisher = {ACM}
}


