Port of the Fake86 emulator (Mike Chambers) to the TTGO VGA32 v1.0, v1.1, v1.2 and v1.4 board with ESP32.

I have made several modifications:
- Ported from x86 PC to ESP32
- No PSRAM used, running on ESP32 with 520 KB RAM (TTGO VGA32 v1.x)
- Single core usage (possibility of 2)
- Low-resource OSD
- Created project compatible with Arduino IDE and Platform IO
- Any digital pin can be used for the audio (SPEAKER_PIN in hardware.h)
- It can use any digital pin for the audio (SPEAKER_PIN in hardware.h)
- Any digital pin can be used for the video (hardware.h)
- Emulation video speed menu, VGA, keyboard
- Menu of emulation video speed, VGA, keyboard
- Support for 64 color mode
- VGA 320x200
- The full bitluni library is not required. I have reduced to the minimum, saving RAM and FLASH, based on Ricardo Massaro's library
- Text mode support 80x25
- Text mode 40x25
- Support text mode 40x25
- Support video mode 4 and 5, 320x200 2bpp
- Mode video support 4 and 5, 320x200 2bpp
- Video mode 6, 640x200 1bpp
- Support video mode 6, 640x200 1bpp
- Text mode support 160x100 (Paku Paku)
- Since only SRAM is used, for this test version only 160 KB (163840 bytes) have been left for emulation.
- The OSD can be removed by pressing the F12
- Tool ima2h to generate list of discs and .COM
Required:
- TTGO VGA32 v1.x (1.0, 1.1, 1.2, 1.4) o Single core ESP32
- Visual Studio 1.48.1 PLATFORMIO 2.2.0
- Espressif 32 v3.3.2
- Arduino IDE 1.8.11
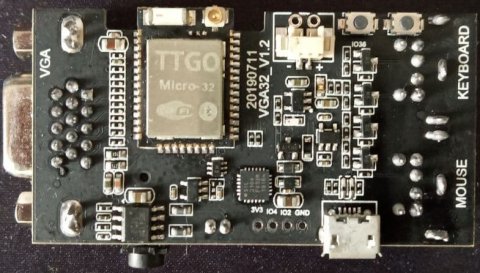
The attached image is of my TTGO VGA32 v1.2 board without psram and SD module.
PLATFORMIO 2.2.0 must be installed from the Visual Studio extensions.

Then select the working directory Tinyfake86ttgovga32.
We must modify the file platformio.ini the option upload_port to select the COM port where we have our TTGO VGA32 board.
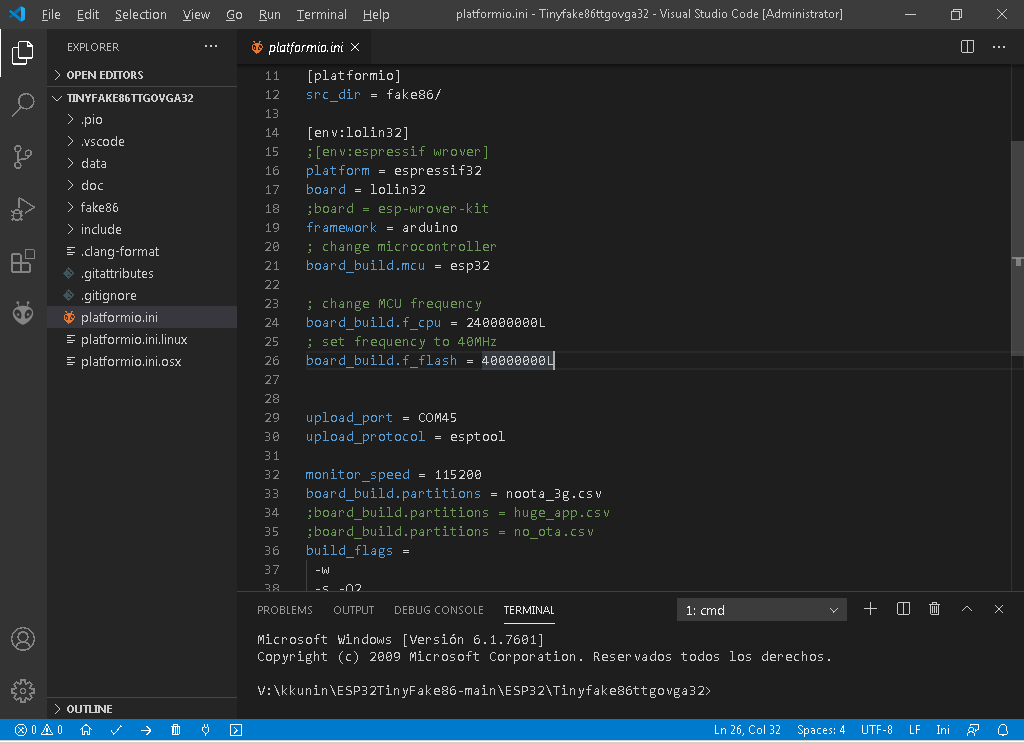
Then we will proceed to compile and upload to the board. No partitions are used, so we must upload the entire compiled binary.
It's all set up so we don't have to install any libraries.
The whole project is compatible with the Arduino 1.8.11 framework.
We just need to open the fake86.ino in the fake86 directory.
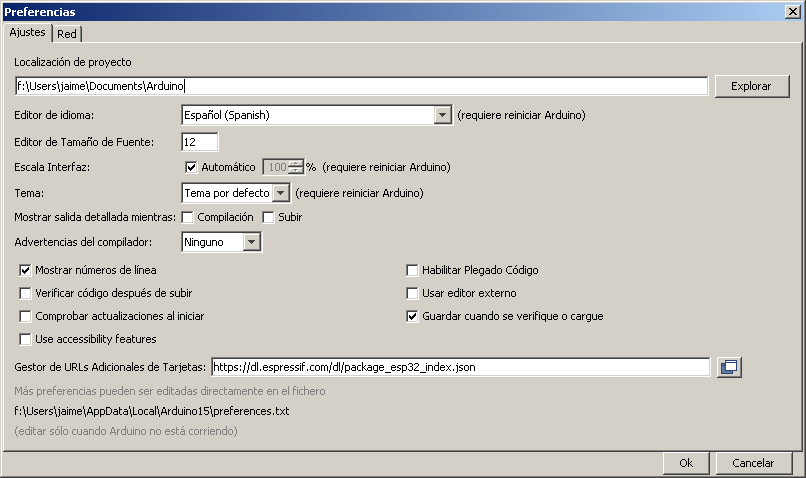
For normal mode, the project is already prepared, so no library is needed.
We must disable the PSRAM option, and in case of exceeding 1 MB of binary, select 4 MB partition at upload time. Although the code does not use PSRAM, if the option is active and our ESP32 does not have it, an exception will be generated and it will restart in loop mode.
The game uses CGA 160x100 video mode, which is a CGA text mode, where only 2 lines of character 221 and 222 are drawn, skipping the special background bit 7 (flicker), to achieve the 16 background colors, as well as foreground.
When using the 320x200 fixed video mode, only 40x25 will be displayed, i.e. 80x100. Therefore from the OSD menu, we must choose font 4x8, to show us the full screen 80x25, i.e. 160x100, in scaling reduction.
A .COM set, 64 KB in size, can be loaded at any time. Since the data is copied to RAM and a jump is made to the code, ideally, a COM should be loaded from the OSD when the emulator is starting up, i.e. during the memory test.
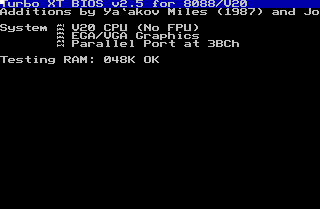
If this is done later, e.g. when the OS is already up, the COM will use all interrupts and timers changed by the software itself.
After the RAM test, the ROM BASIC can be started by pressing the specifier bar.
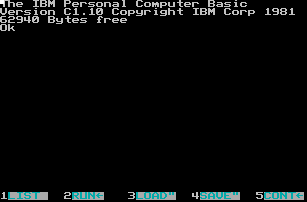
If it is not pressed, the BOOTSTRAP, i.e. the floppy disk, will be booted.
When a game is running too fast, we can reduce the speed from the OSD by changing the poll timer in milliseconds and adding a CPU delay in milliseconds.
If we don't want to use a TTGO VGA32 v1.x board, we can build it following the fabgl:

I have created a very basic tool, to convert the files (.com, .ima, .bin) into .h, to be processed by the emulator. We just have to leave the files (.ima, .img) in the folder dsk, .com in com and run the file ima2h.exe, so that an output will be generated in the directory dataFlash. It is also recommended to delete the files in the fake86\dataFlash to have a clean project.
Tool ima2h
 input/
  bios/biospcxt.bin
  com/
  dsk/
  font/fontasciivga.dat
  rom/rombasic.bin
      videorom.bin
  snarare/
 output/
  dataFlash/
   bios/
   com/
   dsk/
   font/
   rom/
   snarare/
We must then copy the directory dataFlash in the project ESP32TinyFake86\fake86 overwriting the previous dataFlash folder. It is recommended to clean up the project and recompile.
This tool is very simple, and does not control errors, so it is recommended to leave the files with very simple names and as simple as possible.
Disk images have to be 40 tracks, 2 sides, 9 sectors and 512 bytes per sector, i.e. 368640 bytes. Accepts .ima, .img and similar.
COM files must be no larger than 64 KB..
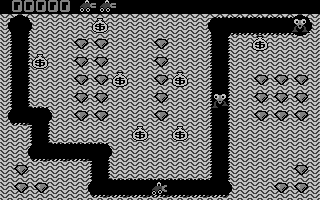
What we can vary, are the disk images and the .COM executables, but without deleting the digger.com (needed for the project).
The project in PLATFORM.IO is prepared for 2MB of Flash. If we need the 4MB of flash, we will have to modify the entry of the file platformio.ini
board_build.partitions = huge_app.csv
In the Arduino IDE, we must choose the option Partition Scheme (Huge APP).


