my opendeck-64-rotary-controller #159
reelex
started this conversation in
Show and tell
Replies: 3 comments 4 replies
-
|
Doesn't look so little to me! It's a great design. I'm glad my work made it possible. Are you satisfied with the resolution you're getting out of the firmware? The 14 bit values are derived from 12 bit ADC, so the values are scaled. Any reason why you didn't use PCBs for pots? Would save you a lot of wires. :) You can find examples of those in bin/sch directory in repository. |
Beta Was this translation helpful? Give feedback.
3 replies
-
|
Is this going to be open source eventually? |
Beta Was this translation helpful? Give feedback.
1 reply
-
|
I mean the whole project tbh lol. I've been searching for a diy 60 knob
alternative for a long time now and I gotta say you knock it out of the
park bud.
|
Beta Was this translation helpful? Give feedback.
0 replies
Sign up for free
to join this conversation on GitHub.
Already have an account?
Sign in to comment
-
Hi,
I want to show you my little midi controller that I realised with the help of open deck.
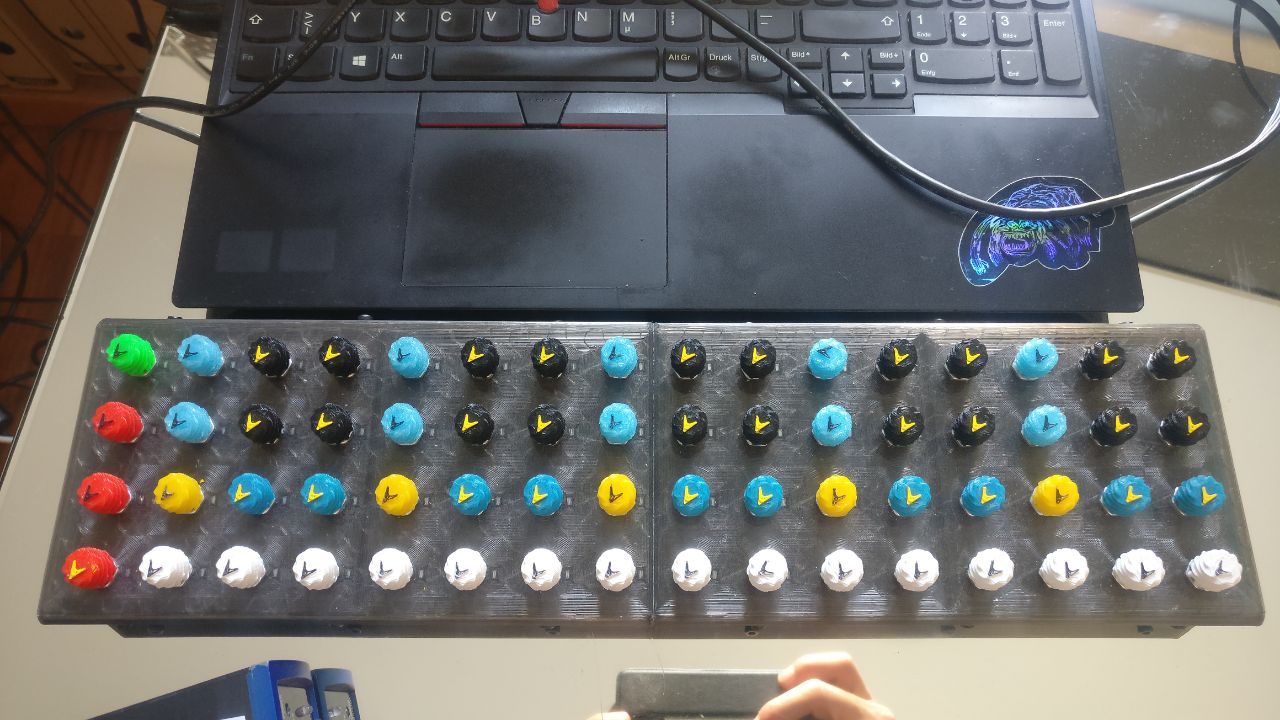
I was in urgent need of a midicontroller to play my VST-heavy music live and I just couldn't afford most of the stuff on the market and was also missing controllers with a higher resolution than 7bit. OpenDeck was the perfect solution for me and I will probably create a lot more Midi-Controllers with this method. So for this project I wanted as many rotary knobs with a high resolution on a build that is also as small as possible. And this is what I ended up with:
It has 64 knobs, most of them working as 14bit-ableton-midi but I couldn't use it for all of them so a few also send pitchbend-midi.
I designed it fully digitally and I am very happy with the design. I would only alter the screw-connections that hold the case together. I would use less screws, but make the connections stronger. Because of the limitation of my 3d-printer I had to split the case in half. If I had a bigger 3d-printer I would of course also print it all in one, which would also make it more sturdy. I am super happy with the surface finish though. Some testing with the print parameters and printing it on a smooth glass plate were really worth it.
I also experimented with different caps as most of the ones you can buy look ugly or don't fit the 3d-print look and are also way to big for my very tight design. I found a design that has good grip, a good size and also looks funny and interesting. The different colors help to find your way while playing and not mix up the knobs. Of course I can change the pattern depending on my assignments.
It works like a charm and it turned out to have just the right size for my fingers and compared to my laptop.

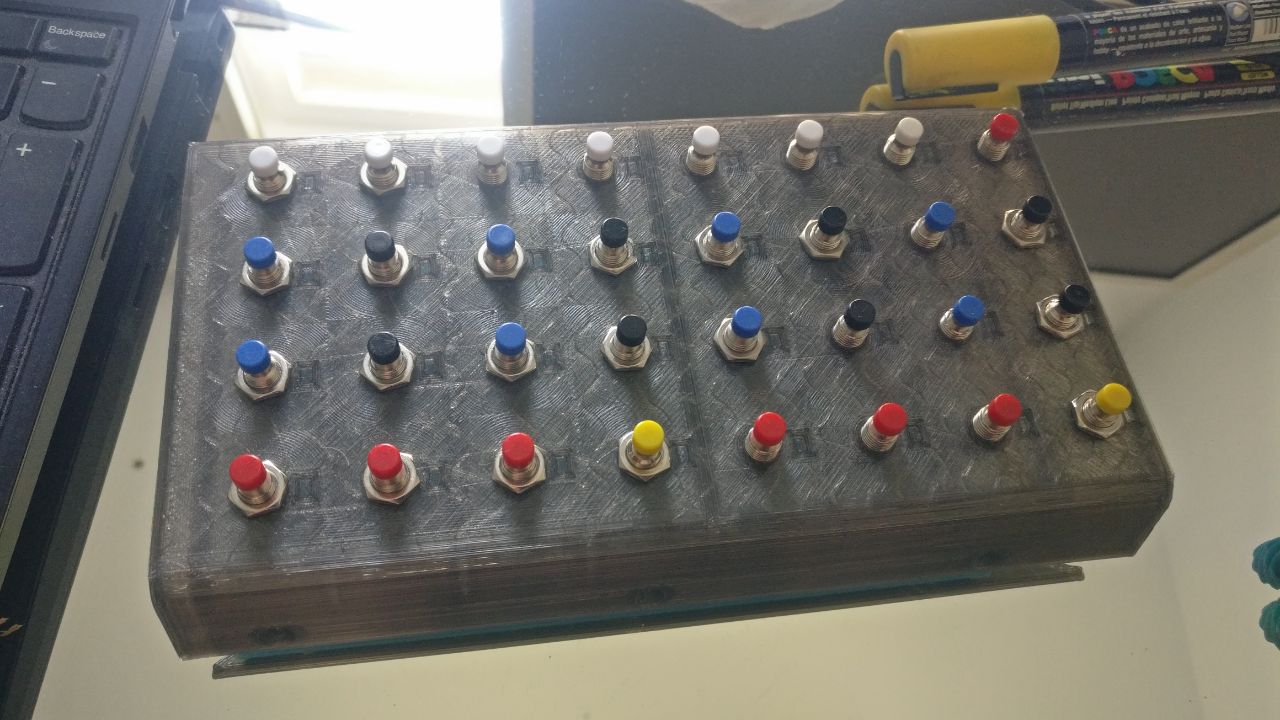
My next plan is to use some of the testprints I have left to give my 64-rotary-deck a smaller brother with 32 buttons. :)

Thanks again paradajz!
I have a gig in July where I will use the controller.
I am already excited. :D
Beta Was this translation helpful? Give feedback.
All reactions