You can use Azure pipelines to test, build and deploy your Python (or any other language) projects without needing to set up any insfrastructure of your own.
For this tutorial we will use the Microsoft-hosted agents with Python preinstalled - note that these can be Windows, Linux or MacOS based.
- Create a new Azure DevOps CI pipeline
- Create a basic CI pipeline that will run automated
pytestsfor your bokeh apps - Create a more complex pipelines that use Anaconda to test on Windows, Linux and MacOs
- Head over to Azure DevOps click on Start for free (note you can directly link to your GitHub account).
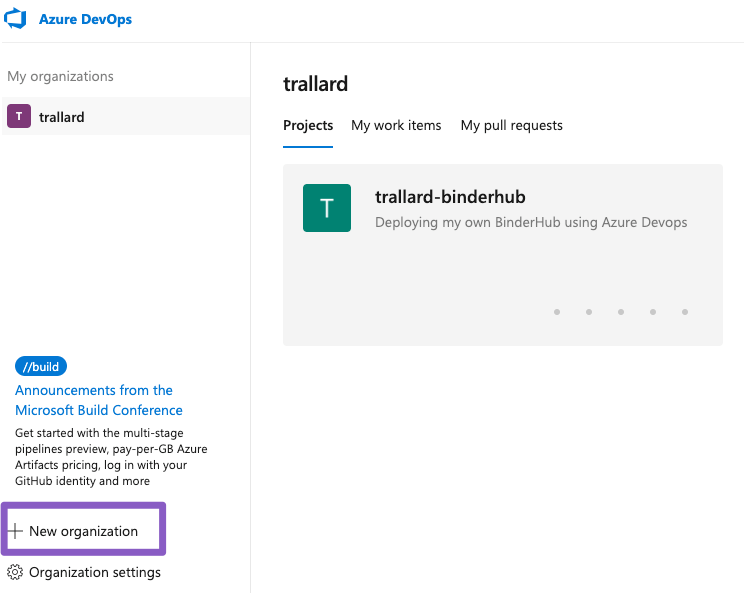
- Once registered you need to create an organisation for your products. This will allow you to work with your collaborators in multiple shared-projects.
When prompted to choose the location for your projects make sure to choose a close by region to you. For example, for this workshop we could use WestEurope.
- Once completed you can sign into your organisation at any time through
http://dev.azure.com/{your_org}. - We now need to create a new project. Click on the + Create project button

Make sure to give your project a meaningful name and add a sensible description.
A build can have multiple stages. Each stage can contain one or more jobs. For example you might have the following stages:
- Test (my code using unittest)
- Build (my awesome app)
- Deploy
You can imagine a pipeline as a dependency graph:

You can find a list of all the available tasks in the Pipelines documentation. Plus you can define your own tasks using bash or PowerShell.
✨👩🏿💻 Let's start by creating our azure-pipelines.yml in our repo. Make sure to place it on the root of your project directory.
# Python example Azure Pipeline

trigger:
- master

# specific branch build
pr:
  branches:
    include:
    - master
    exclude:
    - feature/*  # regex wildcard (or any other regex)
First we specify what triggers the pipeline, in this case pushing to the master branch. Equally, the pr entry determines which cases of Pull Requests will trigger the pipeline as well.
For example, you might not want any pr to build so you can set this to pr:none
👉🏼 Read more about triggers
The next step us defining the pool we want to use. Basically this is the OS for your project:
pool:
    vmImage: 'Ubuntu-16.04'
And add steps to your pipeline:
steps:
- script: echo "Hello World!"
  displayName: "Run AZ pipelines Hello World"
Commit your changes and push to your repo.
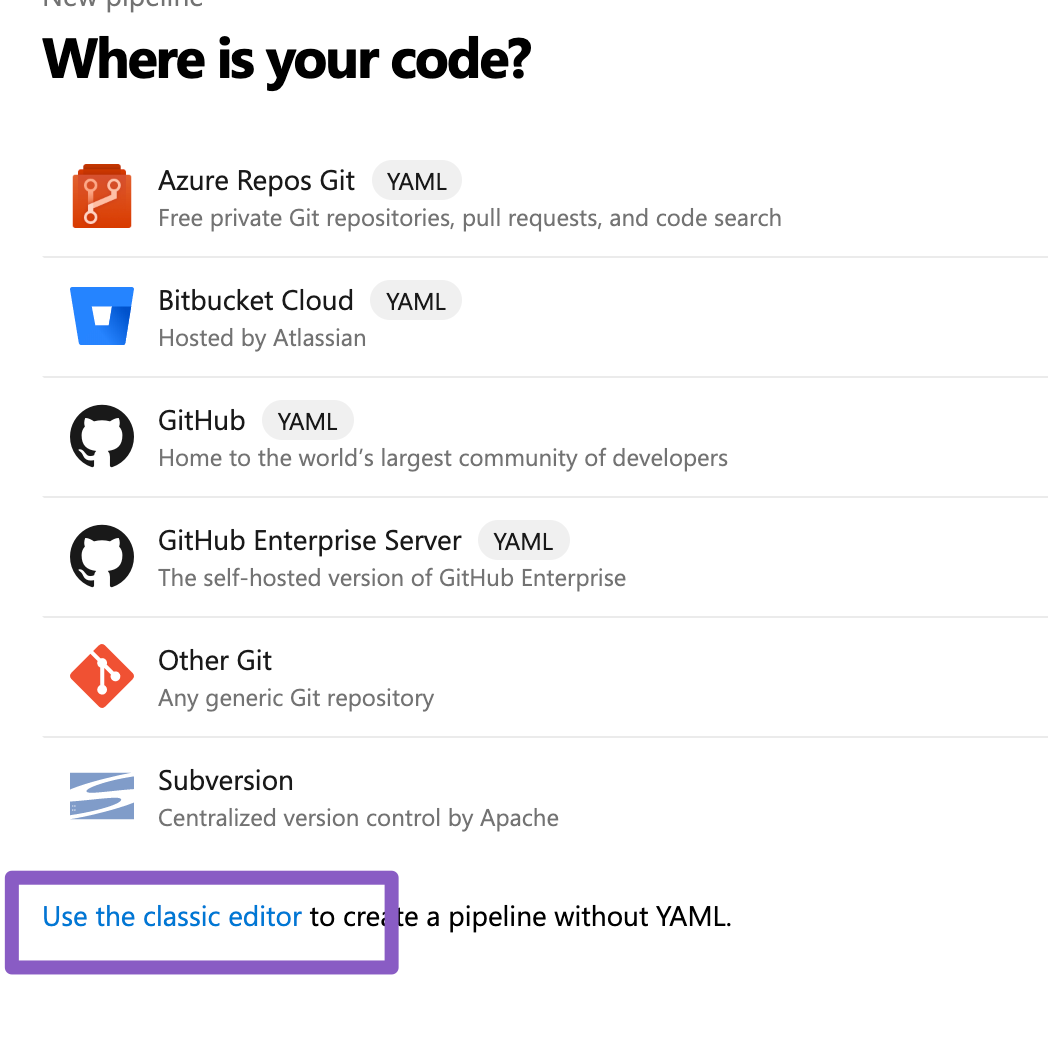
Back in Azure Devops click on Pipelines > New pipelines and then select GitHub from the options presented:
DO NOT click on the "Use the clasic editor" .
Select the azure-pipelines.yml file in your repo.
Click on save and then run. You should see your first pipeline run and the logs being displayed.
🎉 ## Python specific pipelines
Replace your steps:
trigger:
  - azure-pipelines
  - master

jobs:
  - job:
    displayName: Python tests
    pool:
      vmImage: "ubuntu-16.04"

    steps:
    - task: UsePythonVersion@0
      displayName: 'Use Python 3.6'
      inputs:
        versionSpec: '3.6'
        architecture: 'x64'
The steps: element can contain children like
- task:, which runs a specific task that's defined in Azure DevOps (see the full Task reference), and - script:, which runs an arbitrary set of commands as you see in a moment. The task in the code above is UsePythonVersion, which specifies the version of Python to use on the build agent. The @<n> suffix indicates the version of the task; @0 indicates "preview".
Adding additional steps as if they were bash commands:
- script: python -m pip install --upgrade pip
          displayName: "Upgrade pip"

- script: |
    # commands run within the step
    pip install -r requirements.txt
  displayName: 'Install dependencies'

- script: |
    python -m pip install pylint --quiet
    pylint boston/*.py
    pylint iris/*.py
  displayName: 'Run lint tests'

- script: |
    pip install pytest pytest-azurepipelines
    python -m pytest tests/
  displayName: 'Test with pytest'
Save, commit and see your pipeline run!
🐍## Multiple Python versions
You can modify your steps to use a matrix specification: (see reference here)
jobs:
    - job: Ubuntu_unit_test
      # https://docs.microsoft.com/en-us/azure/devops/pipelines/yaml-schema?view=azure-devops&tabs=schema#pool
      pool:
        vmImage: 'Ubuntu-16.04'
      strategy:
        matrix:
          Python36:
            python.version: '3.6'
          Python37:
            python.version: '3.7'

      steps:
        - task: UsePythonVersion@0
          displayName: 'Get Python version $(python.version)'
          inputs:
            versionSpec: '$(python.version)'
            architecture: 'x64'
Commit > see run!
Can you figure out how to run on Windows????


