This Quickstart guide is meant to give you a basic knowledge on how to use Espruino to send/receive message to/from The Things Network.
If you want to learn Espruino, you should rather go here.
If you want to learn Javascript, you should rather try to ask Google instead.
If you don't know what is The Things Network (TTN), please have a look at its wonderful dedicated website
Throughout this guide, I will try to introduce you to Espruino, a LoRa mod ule called RN2483, and finally I will show you how to exchange data with the TTN infrastructure. With some basic Javascript knowledge, you should be able to send a "Hello World" message to your TTN dashboard in about 15 minutes (considering you already have the required hardware).
Talking about hardware... You should :
- own an Espruino board. A Pico is perfect
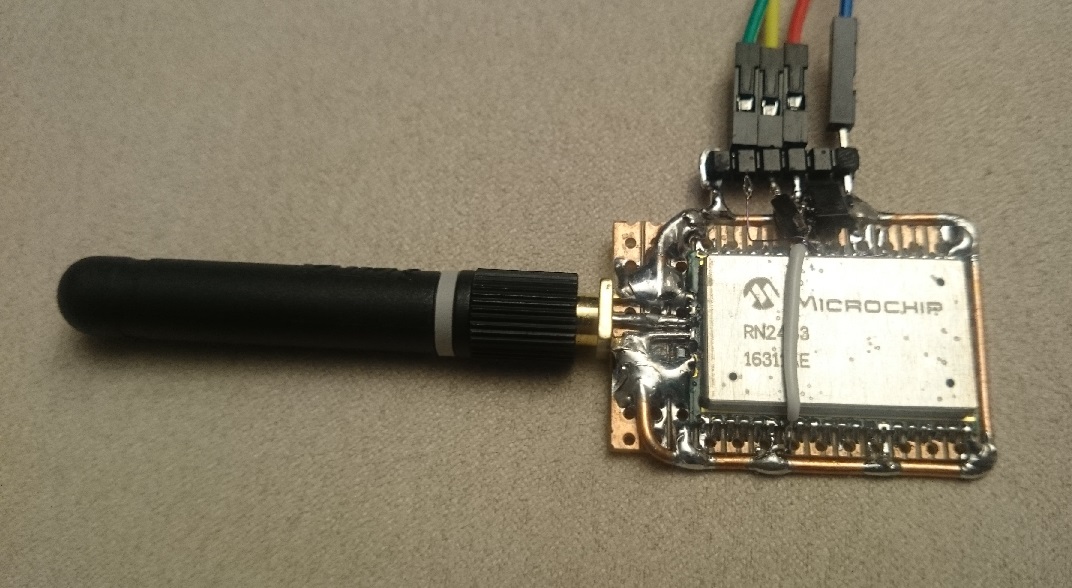
- have a RN2483 module mounted on a commercial breadboard (the one from Drazzy on Tindie for example [assembled version]). If you have a solder iron, you can try to do it yourself

- Be in the range of a TTN Gateway. If you don't know, this map can help you: TTN gateway map
- know what '3V3', 'GND', 'pin 17',..., means.
Your are OK with this list? Fine! GO on!
Espruino is a JavaScript interpreter for microcontrollers. It is designed for devices with as little as 128kB Flash and 8kB >RAM.
The project originated from Gordon Williams.
If you have an idea of what is a microcontroller but you never got the chance to program one, you should really spend some time reading the Espruino Quick Start.
Espruino runs on microcontroller. Before going further in this guide you should have a look at the supported hardware and if you don't have any of those supported platforms, you may consider buying one.
Basically, Espruino gives you the opportunity to deal with electronics using only Javascript. Really. How? Let me give you some examples:
- I'd like to turn on a LED:
digitalWrite(LED,1); - Or turn it off:
digitalWrite(LED,0); - I want to read a push-button:
digitalRead(BTN); - I want to play Counter-Strike on a microcontroller: Well, you don't. You prefer spend your time playing with TTN :-)
OK you got it.
You should have a look at the Espruino IDE doc HERE
Historically this IDE was built (and is still) as a Chrome app. As Google announced they will kill Chrome apps soon, Espruino IDE can now be built using Node.js (npm install espruino-web-ide).
Last but not least, you even can use it as a real web page, but this only give you access to hardware through Bluetooth or Serial-over-audio-Jack.
The IDE is composed of 2 main parts. Left hand side is your console/serial port. Here you can read the output of your script that is running on Espruino board, and you can write any script live-time.
Right hand side is your editor. Here you can write your application. Once you want to test it, just press the Send to Espruino(3) button.
Talking about buttons (see following picture):
- Open a *.js file
- Save your script in a *.js file
- Send your script to Espruino
- Magic button. I let you discover it by yourself ;-)
- Connect/Disconnect your device. It is actually the Serial port manager
- Clear the console
- Settings. Click on the gear if you want to change Serial baudrate
Once you have your Espruino device connected to USB/Serial and your IDE is started, just try to write this line
console.log("Thank you for reading this guide :-)");Click the button (3), and you should read in the console something like that
>reset();
=undefined
 _____                 _
|   __|___ ___ ___ _ _|_|___ ___
|   __|_ -| . |  _| | | |   | . |
|_____|___|  _|_| |___|_|_|_|___|
          |_| http://espruino.com
 1v87.840 Copyright 2016 G.Williams
>echo(0);
Thank you for reading this guide :-)
=undefined
>
###Checking you have a version supporting Promises
At the time of writing this guide, Promises are supported only from the cutting-edge build. If your Espruino version is less than 1v88, you should upgrade your Espruino with version 1v87.xxx .
For the Pico, here is latest the binary: 1vXX.YYY
If your Espruino version is 1v87 or above, you are just fine.
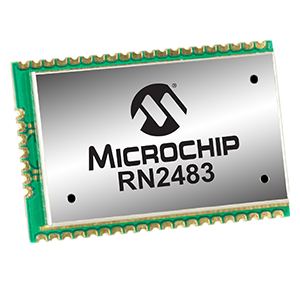
The RN2483 module is a well known LoRa transceiver (mostly because it was the first certified module in EMEA). It embedds the LoRa stack, accessible trough a convenient serial port. I give you a few links, just in case you need it or by curiosity:
- datasheet
- Wiring up examples
- RN2483 LoRa modules for Espruino
- Wiring up for Espruino
You should follow the last link, as it has been written with love by [Gordon] and eventually you will need to know how to interface this module with Espruino, of course.
Once you spent some time wiring up, unplugging, correcting, inverting, soldering, wiring up once again your mess between RN2483 and Espruino, try to configure your serial port (in my case I am using pins B6 and B7) at 57600 Baud.
Serial1.setup(57600, { tx:B6, rx:B7 });And create a RN2483 object:
var RN2483 = require("RN2483");Finally create your lora object:
If you already wired the RST pin of the RN2483 module, add it as the reset line (B3in my case). If not, don't care, it is not mandatory (at least for the purpose of this guide).
var lora = new RN2483(Serial1, {reset:B3});Now, download your script into your device. If you are lost, just copy-paste this script and press the Send to Espruinobutton:
var RN2483 = require("RN2483");
Serial1.setup(57600, { tx:B6, rx:B7 });
var lora = new RN2483(Serial1, {reset:B3});
Once done, try to write lora.getStatus(function(x){console.log(x);}) in the console.
The parameter passed to getStatus() method is only a callback to print out the results of the function.
>lora.getStatus(function(x){console.log(x);})
=undefined
{
  "EUI": "0000000000ABCDEF",
  "VDD": 3.253,
  "appEUI": "0000000000000000",
  "devEUI": "0000000000ABCDEF",
  "band": "868",
  "dataRate": "5",
  "rxDelay1": "1000",
  "rxDelay2": "2000"
 }
>
Fine, isn't it? If you only want to get the devEUI without anything else, try with
lora.getStatus(function(x){console.log(x.devEUI);})[THIS SECTION SHOULD BE ADAPTED/CORRECTED BY SOMEONE SKILLED ON LoRaWAN CONFIG] At this time you should already have a basic knowledge about TTN. If not, so why are you still reading this guide :-) For the purpose, I consider that you already know what are the Network Session Key and Application Session Key. You should not know much about that, only that they come from the TTN Dashboard whenever you create an application and register a device using the devEUI you just retrieved. If it is the first time you are hearing about TTN Dashboard, this link will help you to create an account and a first application.
On espruino side, just create 3 variables with the values given by your newly created application:
var devAddr="0000000000ABCDEF";
var nwkSKey="00112233445566778899AABBCCDDEEFF";
var appSKey="00112233445566778899AABBCCDDEEFF";
And simply call lora.LoRaWANlike this:
lora.LoRaWAN(devAddr,nwkSKey,appSKey,function(x){console.log(x);});If you are within the coverage area of a gateway a TTN gateway, this function should return OK.
BEFORE SENDING OR RECEIVING ANY MESSAGE, REMEMBER THAT THE LORA BANDWIDTH IS VERY LIMITED AND YOU SHOULD CONSIDER EVERY SINGLE BYTE EXCHANGED AS BANDWIDTH-CONSUMING
Now things go even easier. To send a message, just call lora.LoraTX()
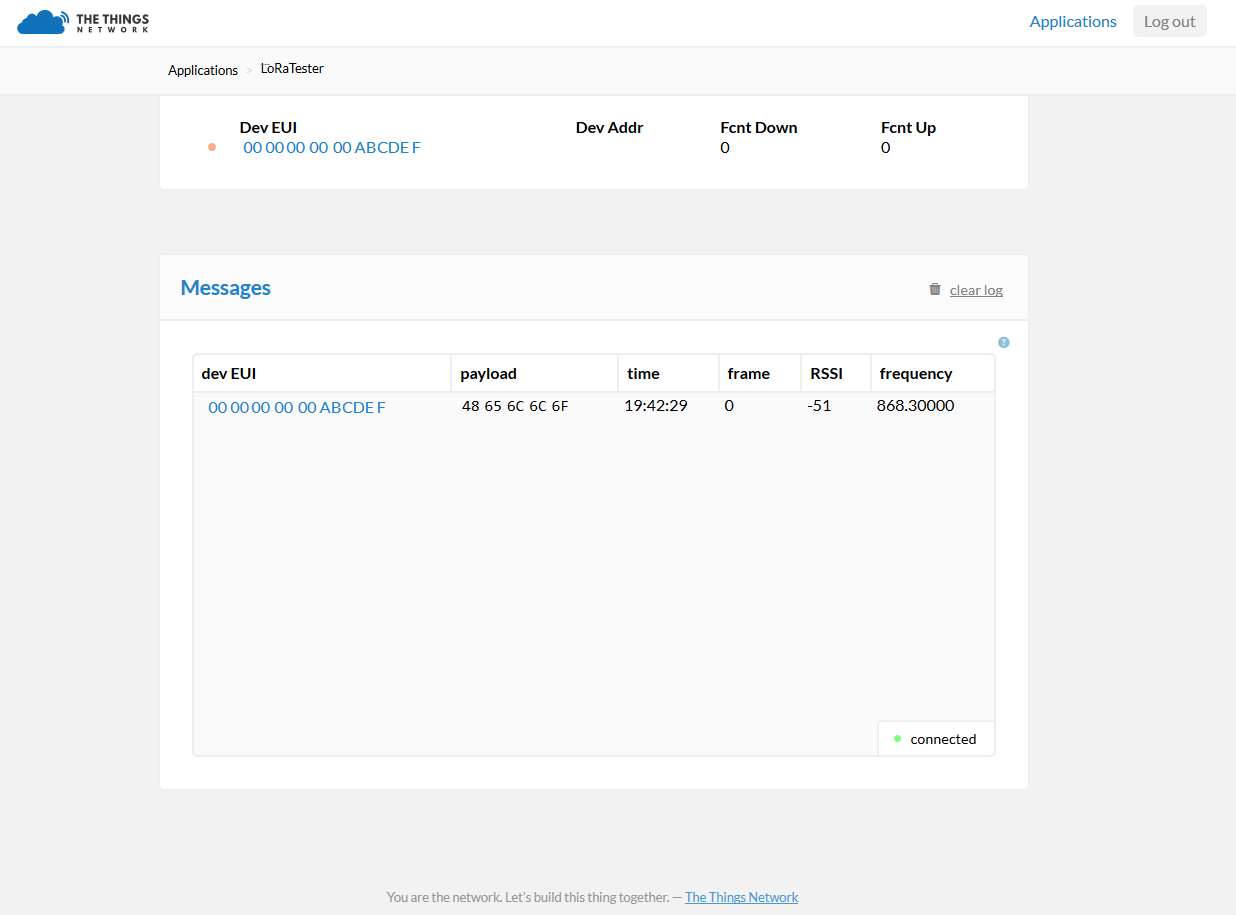
lora.loraTX("Hello");Fine, hopefully the message has been sent out of the radio. If everything is going well, it should now be stored on the TTN dashboard (I am not sure but maybe you will need to open your dashboard BEFORE sending a message from the node in order to be able to visualize it. At the time of writing, messages seems to be stored within your session only).
As you can see, a new message has been catched and you got some useful data: - dev EUI: The originator of the message - payload: The message you just sent (`Hello`) coded in ASCII - time: If it indicates later that 23:00:00, you should consider to turn off your computer and go to sleep (Or not, because it is [UTC]). - frame: some kind of sequence number. Don't forget to read [this section](https://www.thethingsnetwork.org/wiki/LoRaWAN/Security#security-in-lorawan-and-ttn_frame-counters). - RSSI: The field I prefer ! This means [Received Signal Strength Indication](https://fr.wikipedia.org/wiki/Received_Signal_Strength_Indication), in [dB]. The unit is not user friendly for non RF guys but basically -150 means that you are far from the gateway and -30 is that you are just next to it. - frequency: in [MHz]. It tells you on which channel the message was sent. Depending on the LoRaWAN configuration, one or more channels are being used.var ttn = require('ttn');
var appEUI = 'XXXX';
var accessKey = 'XXXX';
var client = new ttn.Client('staging.thethingsnetwork.org', appEUI, accessKey);
client.on('uplink', function (msg) {
console.log('\r\nReceived message:');
console.log('Node:'+msg.devEUI);
console.log('RSSI:'+msg.metadata.rssi);
console.log('GW:'+msg.metadata.gateway_eui);
if(msg.fields.message)
console.log('Data:'+msg.fields.message);
if(msg.fields.raw)
{
var b = new Buffer(msg.fields.raw, 'base64')
console.log('Raw data:'+b.toString());
}
//console.log(msg);
});
client.on('activation', function (msg) {
console.log('Device activated:', msg.devEUI);
});
console.log("Application started");


