-
Notifications
You must be signed in to change notification settings - Fork 17
Playwright
- Overview
- Test Syntax
- Codegen
- Test Reports
- Trace Viewer
- Running the tests
- Starchart Config
- Debugging CI Failures
Playwright is a framework used for end-to-end testing of web applications. End-to-end testing is meant to simulate how a user would use the application.
Playwright supports multiple languages including JavaScript, TypeScript and has a bunch of cool features, including:
- Tests can be run in multiple browser engines - chromium (used by Google Chrome, chromium based Microsoft Edge, etc.), firefox, and webkit (Safari and other iOS browsers)
- Tests can be made resilient to failure due to race conditions. For example, a test can fail if a test condition for an element is run before the element has loaded on the page. This causes flaky tests, tests which pass sometimes and fail sometimes. Playwright automatically waits for a set of conditions before a condition is tested.
Check this page for detailed breakdown of the checks performed for different actions such asclick,fill. - Tests are isolated by default without any setup. Each test runs in its own
BrowserContext, which is similar to a browser profile. This eliminates the need to think about the order in which the tests will be run. It also makes it easy to debug failing tests as the cause of failure will never be something in another test. - Multiple useful tools that help in writing and debugging tests. Codegen can be used to automatically generate tests by simply performing actions in a web browser. Trace Viewer allows viewing of test run traces - it is possible to play back through each action of a test.
Writing tests boils down to actions and assertions:
do something on some element
expect something to happen
The following tests that a About Us link works correctly:
test('about us link', async ({ page }) => {
  await page.goto('https://test-route/');

  // Click the About Us link
  await page.getByRole('link', { name: 'About Us' }).click();

  // Expect the URL to contain /about
  await expect(page).toHaveURL(/.*\/about/);
});
Refer to this for a list of actions
Refer to this for a list of assertions
It is also possible to use test hooks such as beforeEach, beforeAll, afterAll (full list here).
For example, to navigate test different links on one page, we would want to navigate to that page before all the tests:
test.beforeEach(async ({ page }) => {
  await page.goto('https://page-url-here/');
});
Note: It is also possible to specify a base URL to be used for all tests in the configuration file (playwright.config.js) with the baseURL option. More details about configuration can be found here.
Codegen is provided with playwright and allows auto generation of tests based on browser inputs. Once you have a local dev instance of your app running, you can use npx playwright codegen URL to generate tests for actions on the page specified by the URL.
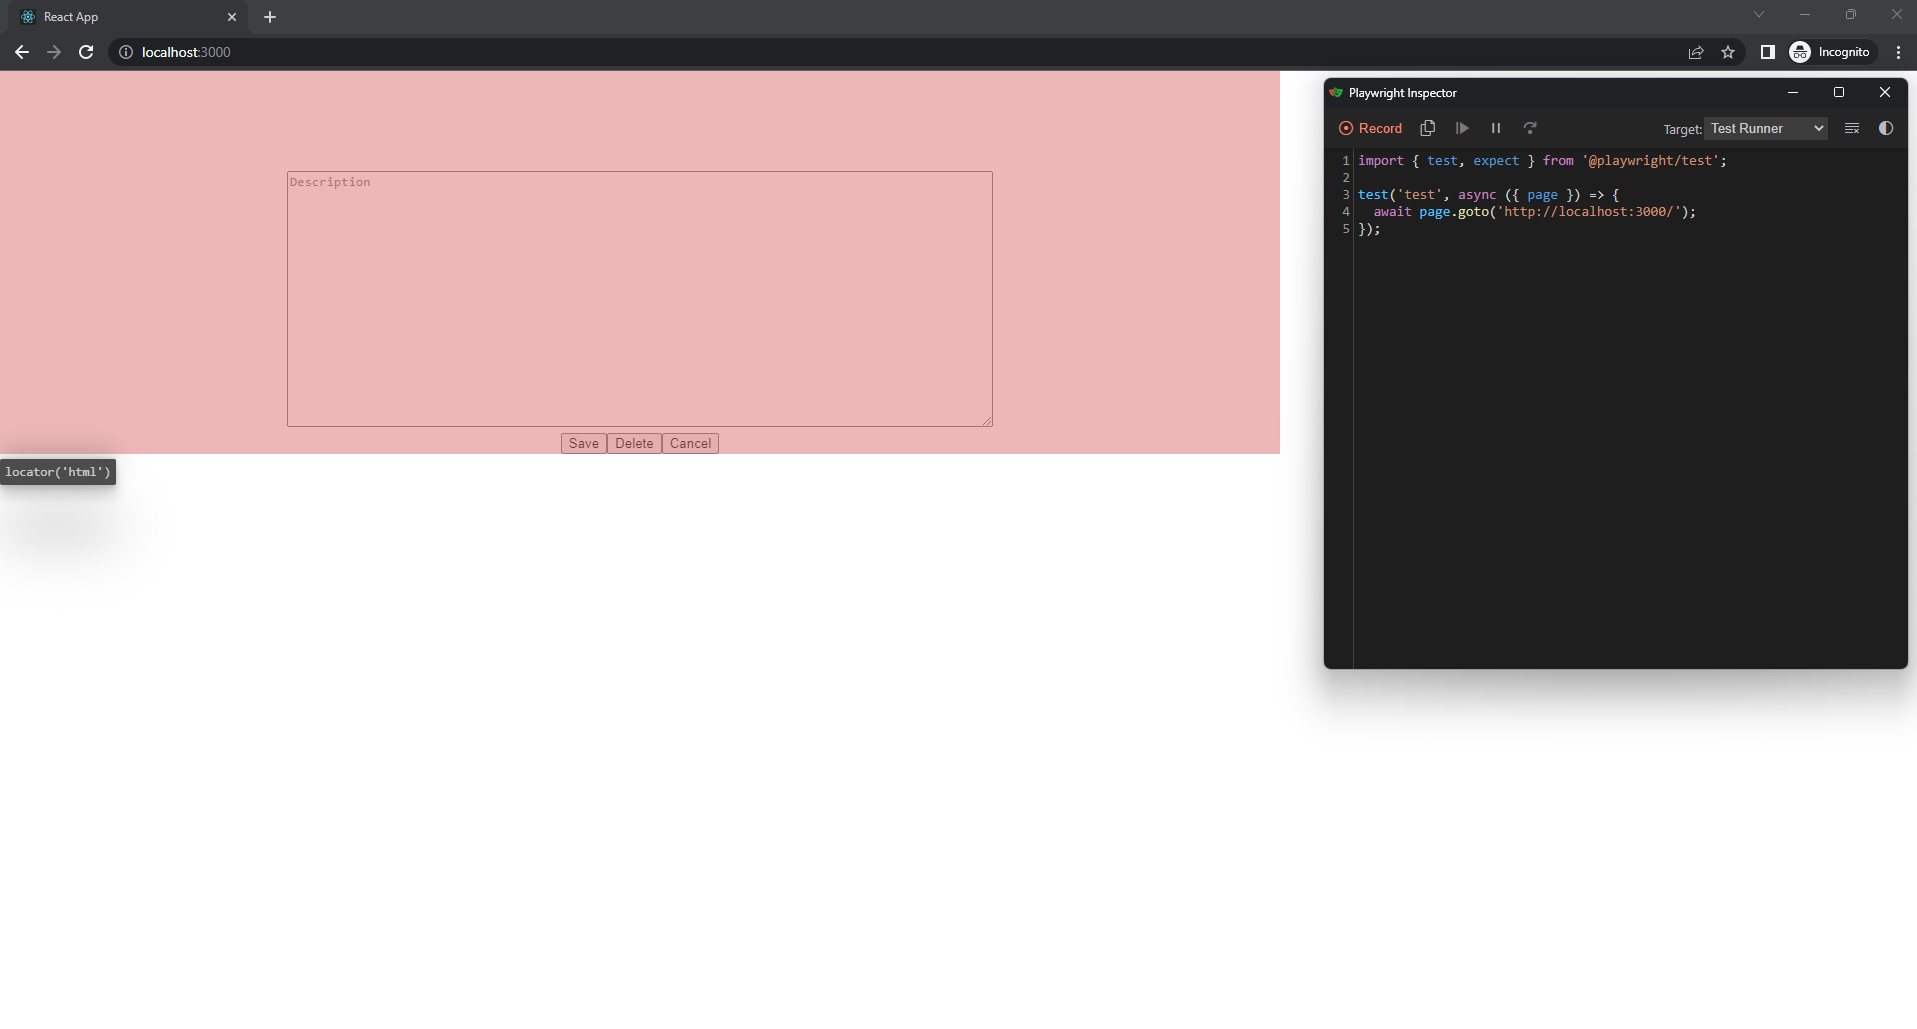
In the following example with an extremely basic form, localhost:3000 was used:
npx playwright codegen localhost:3000

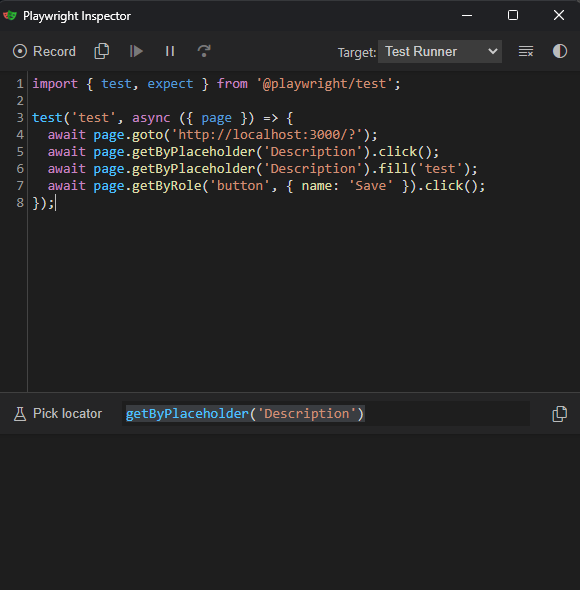
The URL specified is opened in an incognito window with the playwright inspector. The playwright inspector allows the recording of actions and outputs the generated code. Typing Test in the description field and clicking Save resulted in the following code:

In addition the Pick Locator button allows you to select any element on the page and get a selector for it.
Codegen also provides additional options such as emulating different screen sizes and devices as well as saving cookies and localStorage between tests to eliminate the need to login. More information can be found here.
Playwright has multiple reporters that generate reports in different formats, including an HTML Reporter.
The HTML Reporter generates a folder containing the reports. This page can be served as a web page.
Trace Viewer allows viewing of test run traces, which helps in visualizing actions in tests.
By default, traces are recorded on the 1st rerun of a test. Thus, is a test fails, the next time it is retired will generate a trace.
Traces can be viewed by opening the HTML Report for a failed test under the Traces tab. Viewing a trace shows a timeline view of how the test run went.
More information can be found here.
Before any of these steps, it is important that you have run npm install (if needed), and npm run docker. This is to ensure that any required docker containers are running.
When running the tests using scripts, ensure that you are not already running the app using any of the run scripts (eg: npm run dev). This is because the test scripts also run the app before running the tests, using the same PORT as the run scripts.
We have three scripts specified in package.json to run the tests:
-
test:e2e:devThis script uses thedevscript to run the app, and then runs the tests -
test:e2e:runRunning this script will first build the app (pretest:e2e:run), then start the app using thestart:e2escript, and then run the tests. This is also the same script that is used by our CIE2E-Testsjob that runs on GitHub Actions. -
e2eRunning this script will use Playwright's new UI View, which is a graphical viewer for running and debugging tests. If you are developing or debugging tests, this can be extremely useful for seeing what is going on. See this demo of the feature
After the tests are run, a playwright report will be automatically served in your browser.
Our playwright configuration has comments explaining different settings. Some of the important ones that affect how tests are written are described below.
For more information about configuration in general, please refer to the docs.
We set a base URL of http://localhost:${process.env.PORT} in our config. The PORT will be read from the environment variables that are used when the app is run using the test scripts. Thus, when writing the tests, we don't need to specify the full URL to navigate to a page:
await page.goto('/domains/new');vs
await page.goto('http://localhost:8080/domains/new'); // This is not necessaryWe have several projects to run the tests in different browsers and viewports.
The setup project is used to store a user's logged in state, and is specified as a dependency for all of the other projects:
{
  name: 'setup',
  testMatch: /.*\.setup\.ts/,
},
{
  name: 'chromium',
  use: {
    ...devices['Desktop Chrome'],
  },
  dependencies: ['setup'],
},
This ensures that the setup project is run before the other projects are run, allowing us to use the stored login state in other tests rather than having to login before each tests.
As specified in the testMatch regex, ending with .setup.ts will be run for setup. The other projects use the default value for testMatch, which is .*(test|spec)\.(js|ts|mjs).
The login state is stored in the test/e2e/.auth directory. Since this is generated every time the tests are run, we do not commit this to git.
We have a util function in test/e2e/utils.ts to use this stored login state:
/**
 * Logs in as user using the shared auth state created in auth.setup.ts
 * This should be called at the top of a describe block or a test file
 */
export function loggedInAsUser() {
  return test.use({ storageState: 'test/e2e/.auth/user.json' });
}
Simply call it in a describe block or at the top of the test file.
Using this in a
beforeAllorbeforeEachhook will return an error.
import { loggedInAsUser } from './utils';
...
test.describe('authenticated as user', () => {
  loggedInAsUser();
...These instructions apply to the current CI setup in starchart.
You can download the test run report from the Summary page of the GitHub Actions run:
-
Navigate to the Summary page of the failed run. For example:

-
Scroll down to find
Artifacts, and click to download the report. This will download a.zipfile.
-
Extract the
.zipinto a folder, for example, playwright-report. This zip file contains the following:-
index.html- web app to show the result of the test run -
data- Trace and Video files -
trace- Miscellaneous files such as icons However, there is no need to go through the files manually
-
-
Either navigate to a project where
playwrightis installed or install it globally withnpm install -g @playwright/test -
Run
npx playwright show-report playwright-report, whereplaywright-reportis the path to the extracted folder -
This will serve the
HTMLreport in a browser:
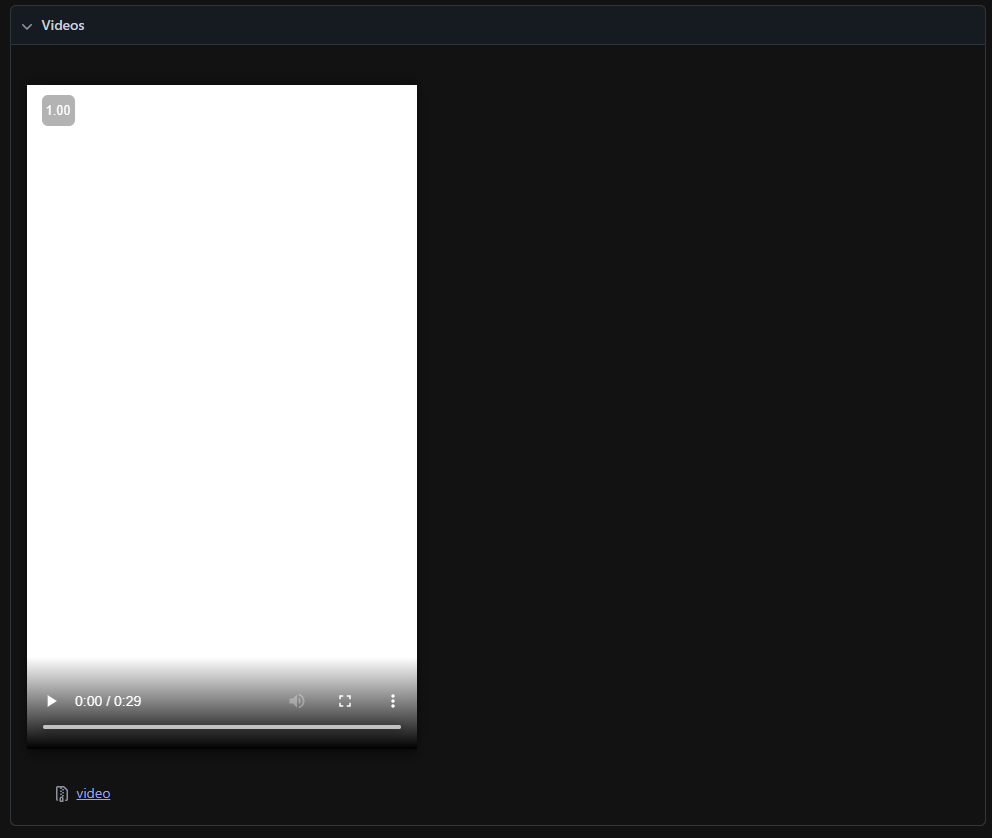
Playwright is configured to generate a video for a failed test on the first retry. In the above example, we can click on the first failed test and then on Retry #1 to see the video of the test run:

Scroll down to play the video in the browser or download it:

Similarly, on the same page, you can view a trace:

Simply click on the trace or right click and open it in a new tab:

Here you can click through the actions on the left to see what was happening through the test.
You can also view the Dev Console, Network, and other information for each of these steps:

When viewing a trace, you can also open the DOM snapshot for a specific action:

This will open a DOM snapshot in a new tab. You can use Dev Tools on the snapshot as you would normally do for any other webpage.