🇹🇭🇮🇸 🇱🇮🇧🇷🇦🇷🇾 🇼🇮🇱🇱 🇭🇪🇱🇵 🇾🇴🇺 🇹🇴 🇺🇸🇪 🇨🇴🇲🇵🇱🇪🇽 🇺🇮 🇨🇴🇲🇵🇴🇳🇪🇳🇹🇸 🇩🇮🇷🇪🇨🇹🇱🇾 🇼🇮🇹🇭🇴🇺🇹 🇼🇷🇮🇹🇮🇳🇬 🇦 🇨🇺🇸🇹🇴🇲 🇦🇩🇦🇵🇹🇪🇷 🇫🇴🇷 🇹🇭🇪🇲. 🇪🇦🇷🇱🇮🇪🇷, 🇾🇴🇺 🇭🇦🇻🇪 🇹🇴 🇼🇷🇮🇹🇪 🇦 🇨🇺🇸🇹🇴🇲 🇦🇩🇦🇵🇹🇪🇷 🇫🇴🇷 🇦 🇸🇮🇲🇵🇱🇪 🇨🇺🇸🇹🇴🇲 🇱🇮🇸🇹🇻🇮🇪🇼. 🇧🇺🇹 🇳🇴🇼 🇴🇳🇼🇦🇷🇩🇸, 🇾🇴🇺 🇯🇺🇸🇹 🇭🇦🇻🇪 🇹🇴 🇼🇷🇮🇹🇪 🇨🇴🇩🇪 🇫🇴🇷 🇻🇮🇪🇼 🇮🇳 🇽🇲🇱. 🇹🇭🇮🇸 🇱🇮🇧🇷🇦🇷🇾 🇵🇷🇴🇻🇮🇩🇪🇸 🇲🇦🇳🇾 🇨🇺🇸🇹🇴🇲 🇨🇴🇲🇵🇴🇳🇪🇳🇹🇸 🇸🇺🇨🇭 🇦🇸 🇱🇮🇸🇹🇻🇮🇪🇼🇸,🇸🇵🇮🇳🇳🇪🇷,🇷🇦🇩🇮🇴🇧🇺🇹🇹🇴🇳 & 🇲🇴🇷🇪.
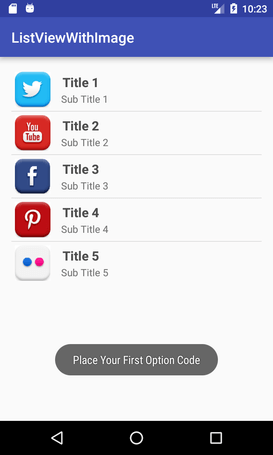
- 4 types of listviews
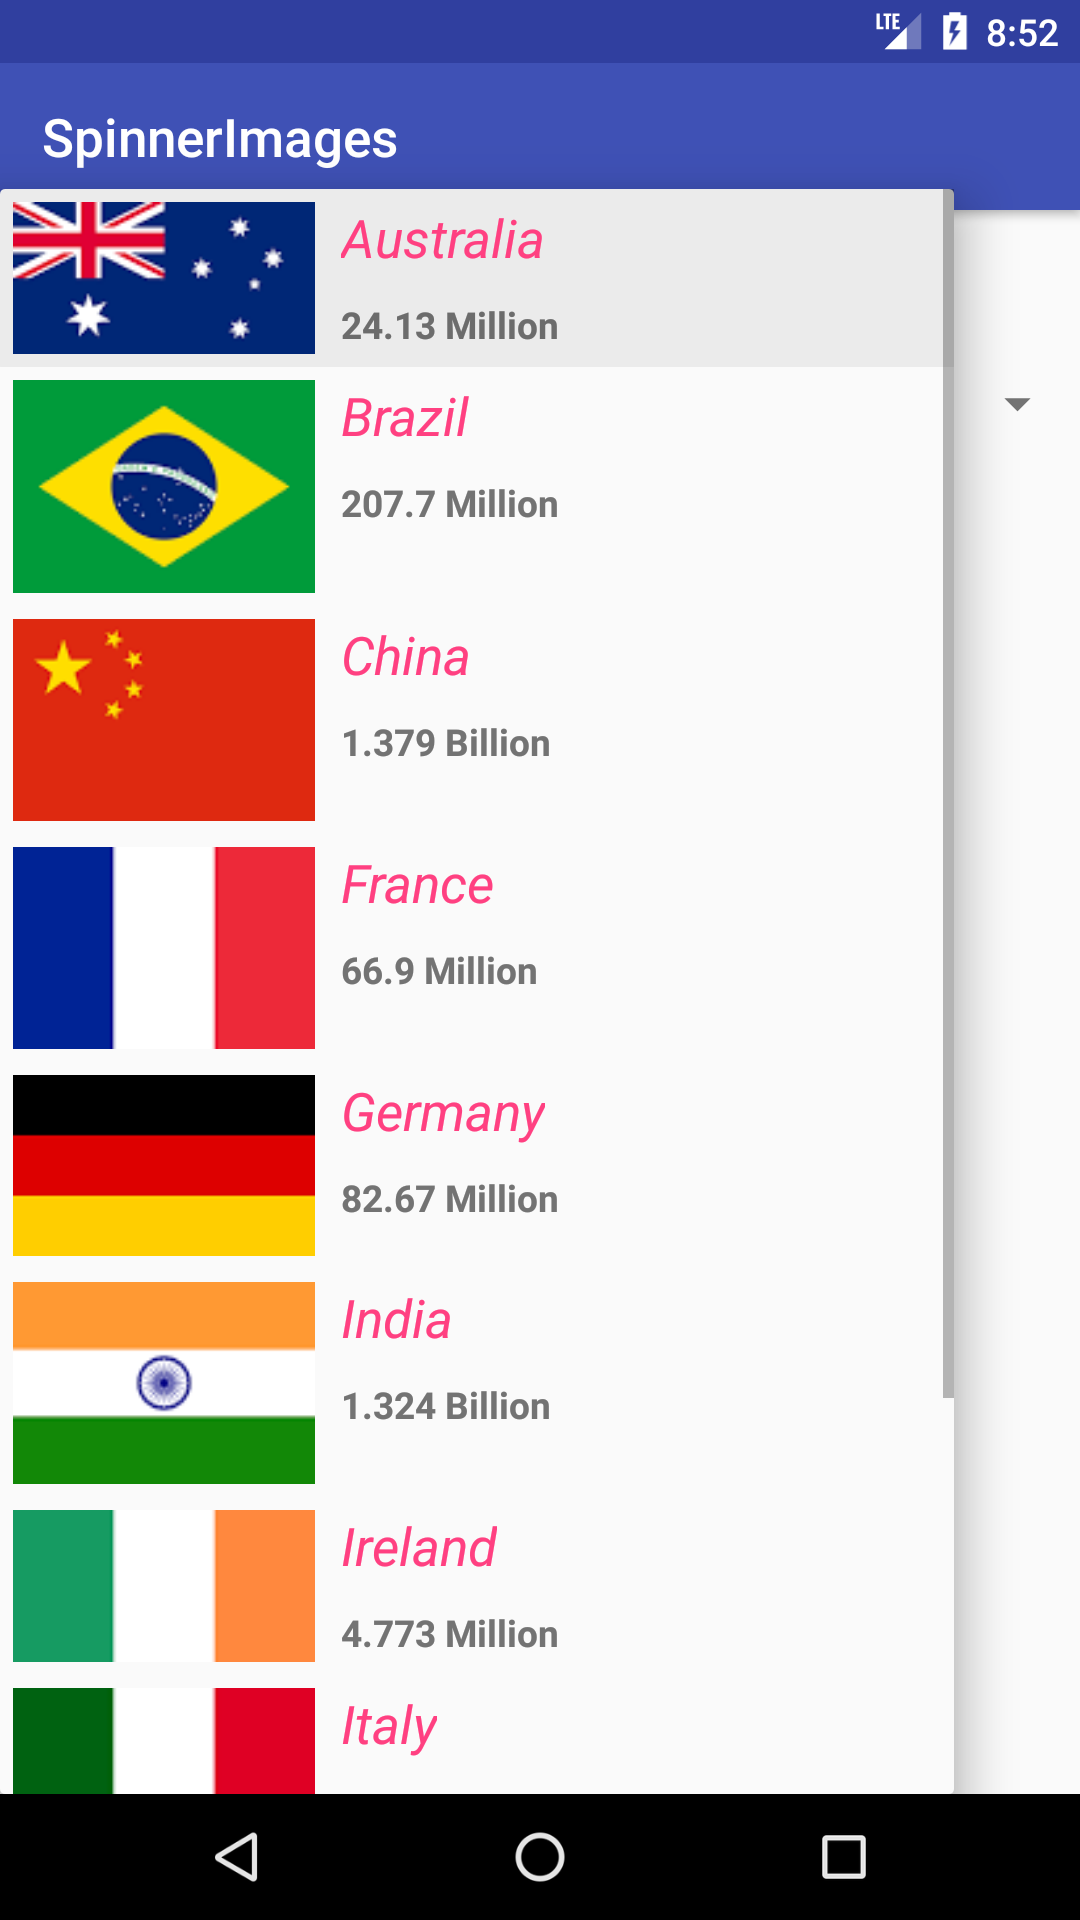
- 2 type of spinner
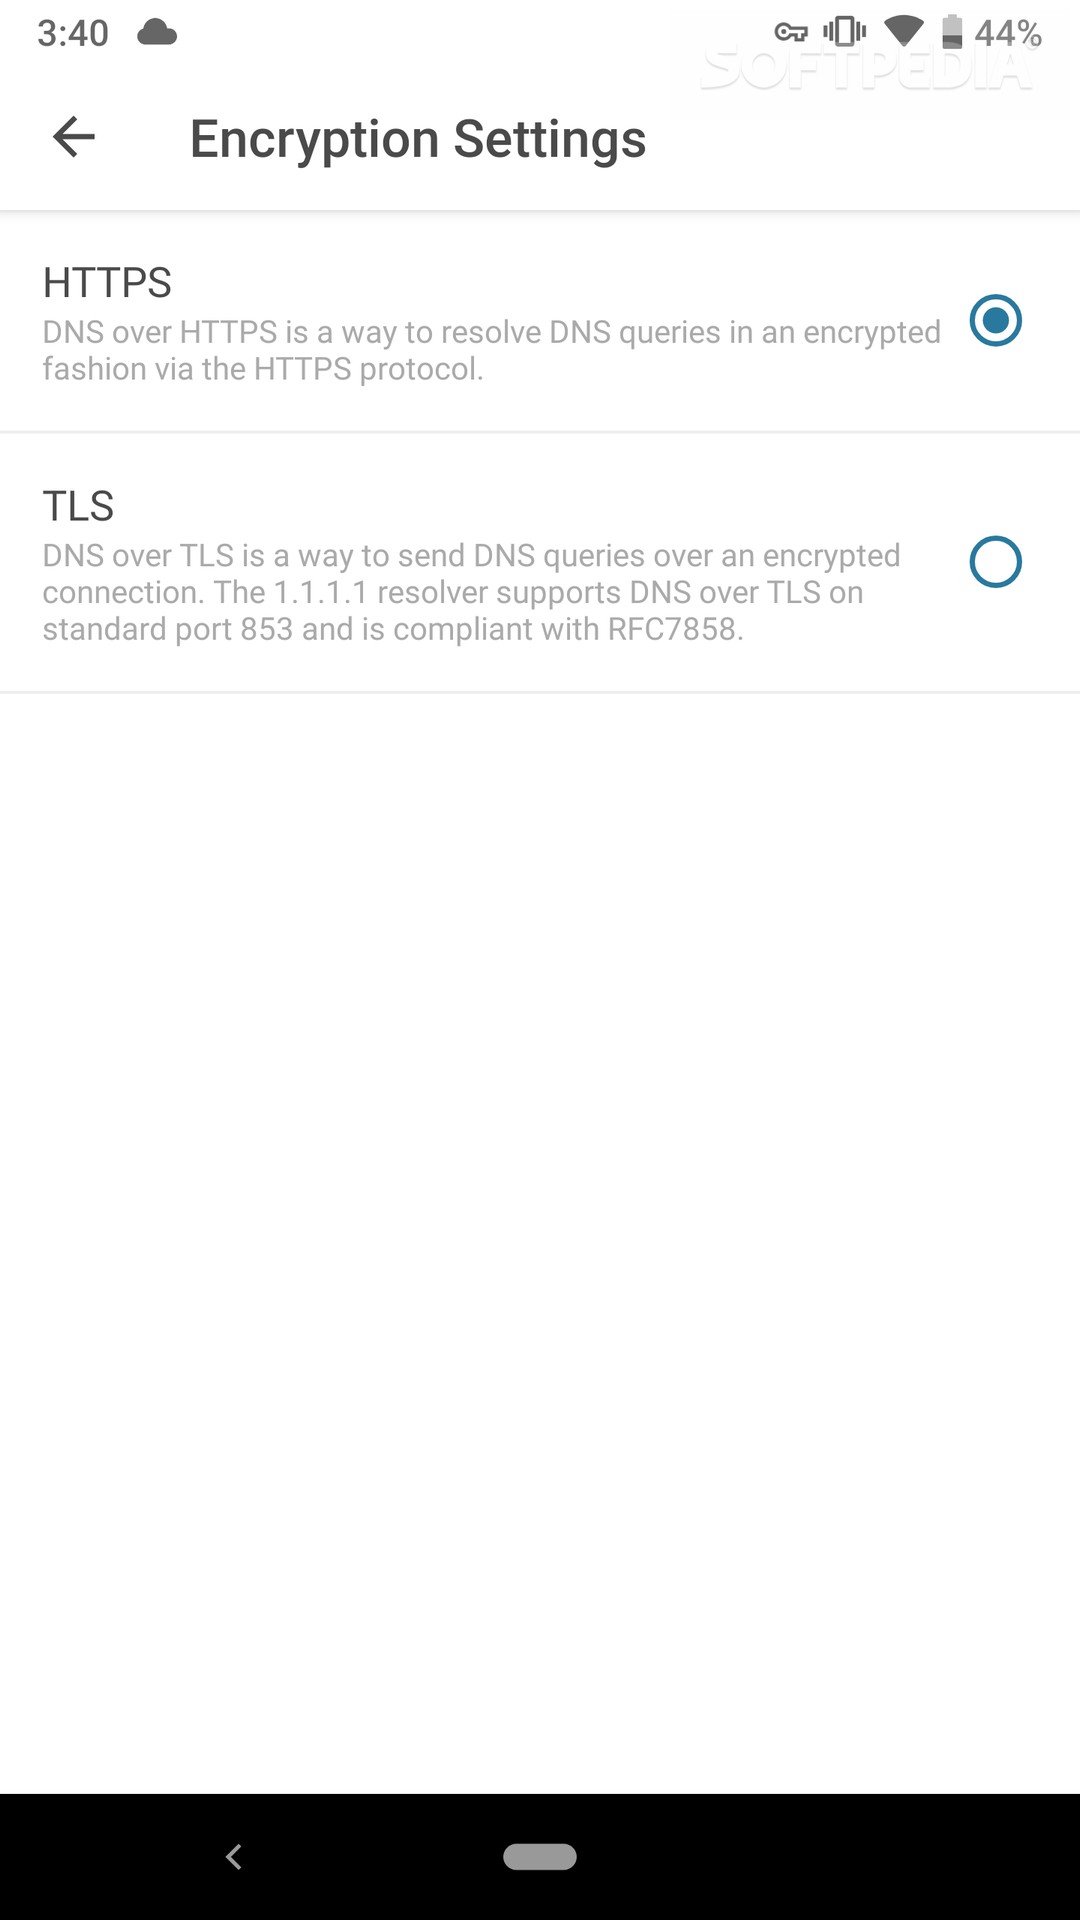
- 2 lined radiobutton (special)
- 4 styles of radiobutton
- Simple & easiest ever
In your project build.gradle
  allprojects {
		repositories {
			...
			maven { url 'https://jitpack.io' }
		}
	}
In your module (app) build.gradle
dependencies {
	        implementation 'com.github.ErrorxCode:EasyWidgets:2.0'
}2 lined RadioButton
 <com.easywidgets.radio.EasyRadioButton
        android:layout_width="match_parent"
        android:layout_height="wrap_content"
        app:title="This is title"
        app:description="This is description"
        app:isR2L="true"/>
[Note] : Use EasyRadioGroup insted of default RadioGroup for this.
Special Radiobuttons
<RadioButton
        style="@style/ClassicQuiz"
        android:layout_width="match_parent"
        android:layout_height="wrap_content"
        android:text="Correct option" />
All you have to do is just apply the styles. These are the following styles
- ClassicQuiz
- ModernQuiz
- ClassicBlue
- ClassicRed
- ModernRed
- ModernBlue
Note : Don't use tag attribute when using these styles
RadioButtonUtils
If you are using ModernQuiz or ClassicQuiz style as options for the quiz app, then you can make use of this class. This class help you to highlight options.
if selected option is correct, then call EasyRadioUtils.setCorrect(Radiobutton button) passing radiobutton to make it look correct. To highlight wrong option,
call EasyRadioUtils.setWrong(RadioButton button); passing the current selected radiobutton. If you want to add sound effect to options then use EasyRadioUtils.setSoundEffect(group,true,true,true);.
Spinner
   Spinner spinner = findViewById(R.id.spinner); // Use default spinner,Just need to use this adapter.
   SpinnerAdapter adapter = new SpinnerAdapter(this,new String[]{"High","Ultra","Extreme"},new String[]{"This will give you 30 FPS","This will give you 40 FPS","This will give you 60 FPS"});
   // or
   SpinnerAdapter adapter = new SpinnerAdapter(this,new String[]{"High","Ultra","Extreme"},new int[]{R.mipmap.ic_launcher,R.drawable.ic_launcher_background});
   spinner.setAdapter(adapter);
Listview
   Listview listview = findViewById(R.id.listview); // Use default spinner,Just need to use this adapter.
   EasyListAdapter adapter = new EasyListAdapter(this,new String[]{"High","Ultra","Extreme"},new String[]{"This will give you 30 FPS","This will give you 40 FPS","This will give you 60 FPS"});
   // or
   EasyListAdapter adapter = new EasyListAdapter(this,new String[]{"High","Ultra","Extreme"},new int[]{R.mipmap.icon1,R.drawable.icon2},null);
   // or
     ArrayList<EasyListObject> items = new ArrayList<>();
     items.add(new EasyListObject(R.drawable.icon1,"Title1","Heading1","Description1.."));
     items.add(new EasyListObject(R.drawable.icon2,"Title2","Heading2","Description2.."));
     items.add(new EasyListObject(R.drawable.icon1,"Title3","Heading3","Description3.."));

     ListAdapter adapter = new ListAdapter(this,list);
     listview.setAdapter(adapter);
[Note] : If using adapter for listview with icons, you have to either pass String arry for 3rd line (heading) or null.
Thank you for using my library. Have a nice day :)


