-
Notifications
You must be signed in to change notification settings - Fork 4
Usage Guide
-
pla-reverse-gui has the following requirements for usage:
-
Pokemon Home (subscription not required)
-
At least one other switch game that you can transfer PLA pokemon to
- This may limit your possibilities of rng as if you cannot transfer a pokemon out to any games you have, you will not be able to use it to find seeds
-
Exp Candies and other methods of evolution are recommended to have in both games
-
A computer with a GPU and the proper drivers installed
- In theory, any operating system should work, however Windows 10 has been the only environment currently tested
-
-
Download and install
Python 3.9 - 3.12from https://www.python.org/downloads/-
Ensure python is added to path when installed

-
-
Download and install
gitfrom https://git-scm.com/download/ -
Open a new Command Prompt or Terminal window and check that python and git are installed correctly
-
python --versionandgit --version- Depending on your installation, you may need to write
python3instead ofpython

- Depending on your installation, you may need to write
-
-
Create a directory for pla-reverse-gui
-
Open Command Prompt or a Terminal in the directory you have created
-
On Windows you can open a Command Prompt within a folder by typing
cmdin the directory bar
-
-
Download pla-reverse-gui into the current directory
-
git clone --recurse-submodules https://github.com/Lincoln-LM/pla-reverse-gui.git .- If you are updating an existing installation, run
git pullinstead

- If you are updating an existing installation, run
-
-
Install the requirements to run the program
-
python -m pip install --upgrade --force-reinstall -r requirements.txt-
Depending on your installation, you may need to write
python3instead ofpython -
If you are familiar with python and rely on it for other applications, it may be smart to install the requirements in a virtualenv

-
-
-
Open Command Prompt or a Terminal in the pla-reverse-gui directory (if one is not open already)
-
Run main.py to launch the GUI
-
python ./main.py- Depending on your installation, you may need to write
python3instead ofpython

- Depending on your installation, you may need to write
-
-
 Single spawners are marked with a blue marker
 -
 Multi spawners are marked with a red marker
 -
 Unuseable spawners are marked with a grey marker
 -
Multi spawners give far greater results with a lot less required actions but are limited in their availability
-
The pokemon a spawner can generate are listed on the left section of the GUI
-
The closer ths spawner is to a fly point, the faster you can advance it
-
The spawners used for the single spawner and multi spawner sections of this guide will be the two near the beginning of Obsidian Fieldlands
-
0011 - 0xDBE5ED1E1BD5D8FF- Single spawner w/ bidoof and drifloon -
0012 - 0xDBE5EE1E1BD5DAB2- Multi spawner w/ bidoof and drifloon
-
-
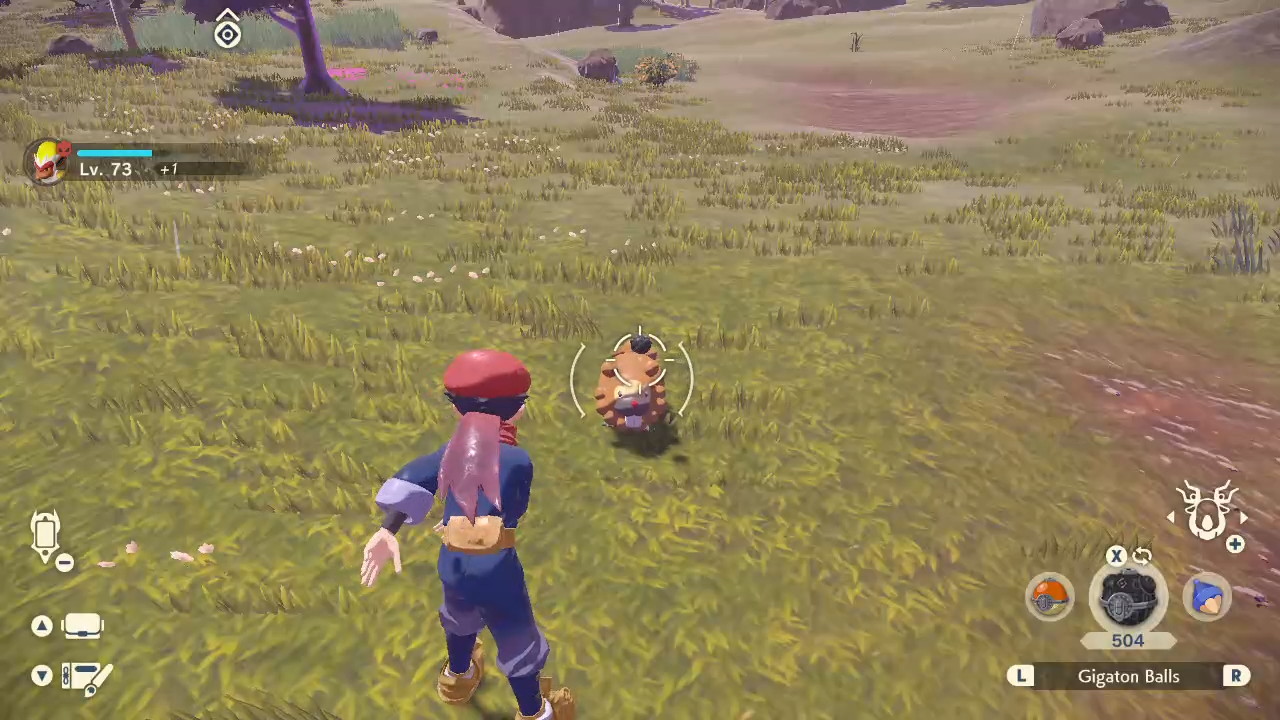
In game, catch the first pokemon your single spawner spawns

- This will be referred to as "Pokemon 1"
-
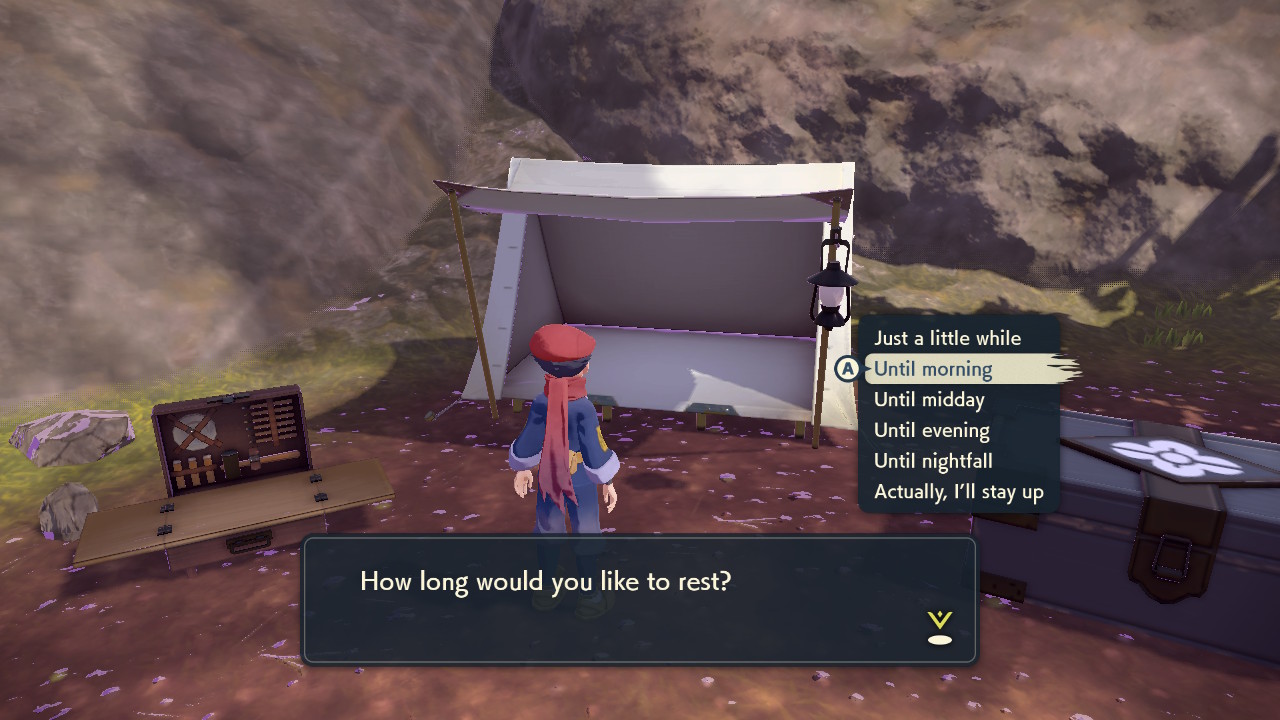
Sleep in a camp to a different time than the current time period

- This action will be referred to as a "timeskip" throughout the rest of the guide
-
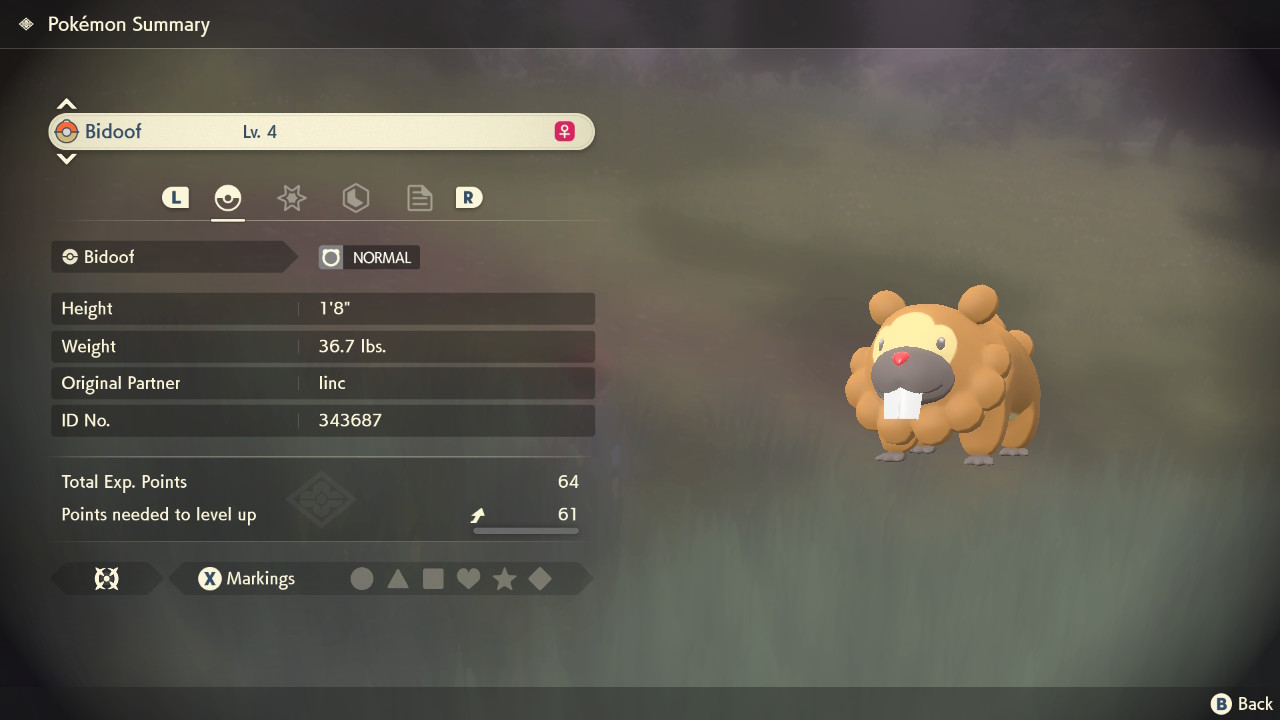
Catch the next pokemon generated by your spawner
- This will be referred to as "Pokemon 2"
-
Save the game here with both pokemon in your pasture
-
In game, save with the initial pokemon spawned
-
Catch all initial spawns and log enough information to distinguish them from other spawns


-
This includes visible things like nature/gender/effort levels/display height and weight
-
An example of said notes could be the following
Bidoof Lv. 2 Male 1'10" 47.5 lbs. Hardy Nature
Bidoof Lv. 3 Male 1'8" 47.6 lbs. Rash Nature
-
-
Restart the game without saving
-
Catch/defeat/scare away only one of the initial spawns (it does not matter which one) and make sure it is the only pokemon that is caught/defeated/runs away
- If the other pokemon is skiddish and you accidentally scare it away you can reset and try again
-
Sleep in a camp to a different time than the current time period

- This action will be referred to as a "timeskip" throughout the rest of the guide
-
Catch all currently spawned pokemon and note which one is not already in your notes
-
This pokemon is the first of the new spawns and will be referred to as "Pokemon 1"

-
-
Restart the game without saving
-
Catch/defeat/scare away two of the spawns
-
Timeskip
-
Catch all currently spawned pokemon and note which one is not already in your notes
-
This pokemon is the second of the new spawns and will be referred to as "Pokemon 2"

-
If the multi spawner only has two spawns (Spawn Count: 2-2), you can save here and continue to seed finding
-
-
If the multi spawner has three spawns, reset without saving, despawn all three initial spawns, catch only Pokemon 1 and Pokemon 2 and save here
- It is important to note that if either Pokemon 1 or Pokemon 2 are alpha or shiny they cannot be used for this process and you must restart
-
Click the
Seed Finderbutton with your spawner selected
-
Select the species of each pokemon in the dropdowns in the gui
-
Enter the research/shiny charm information for each species you caught
-
Enter the gender and nature of each pokemon

-
Select the measurement system your game uses between metric and imperial
-
Click the
Add Measurementbutton, select the species of each pokemon, and enter the sizes of each pokemon
-
For pokemon with evolutions, especially those with small height/weight ranges, the search will be more efficient if you evolve the pokemon and add its measurement info as well

-
At this point, this is the info we have filled out

-
IVs and Ability cannot be determined from PLA, so they will be obtained from another gane
-
-
Close the game without saving and transfer the two pokemon to another game via Pokemon Home
-
Enter the ability of each pokemon read from the other game

-
Click the
Calculate IVsbutton for Pokemon 1 -
Enter the current level and stats of the pokemon
-
Level up the pokemon without gaining EVs and click
Add Rowto add the stats at its new level- Exp and/or rare candies are very useful for this purpose
-
Click
Calculateand the IV Calculator will narrow down the IVs as much as possible from the provided information -
Repeat this process of leveling up and adding info until all 6 IVs are entirely narrowed down

-
Repeat from step 9 for Pokemon 2, in order to calculate the IVs of both pokemon
-
With all of the fields filled out, we are done with Pokemon 1 and Pokemon 2 and can click the
Compute Group Seedbutton
-
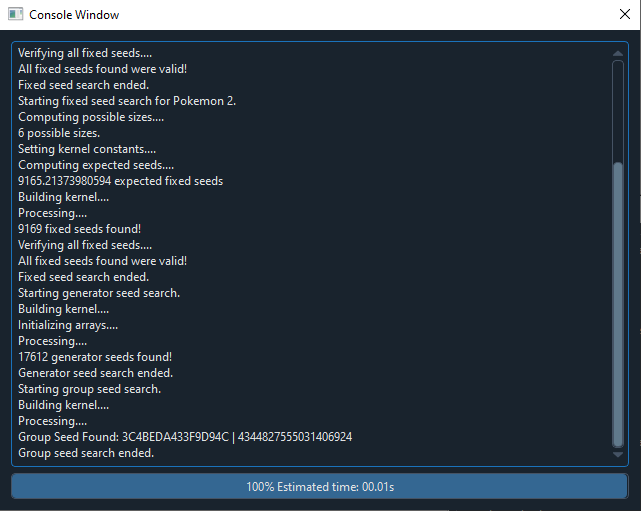
This will open a console window with information on what the program is currently doing

-
The progress bar at the bottom will give you an estimated time for how much time is left for the more intensive parts
-
If there is an error at any point, verify all of your inputs
-
-
If everything is successful, after the end of the search you will find your
Group Seed
-
Click the
Open Generatorbutton with your spawner selected -
Copy and paste the group seed into the seed box of the generator
-
Enter the research levels for each pokemon and set the weather/time to the weather/time your target pokemon appears on
- Note that weather is not as easy to control as time is
-
Enter filters for the pokemon you would like to RNG from the spawner, adjust your max advance, and click generate

-
Be aware that single spawners can only generate one new pokemon per advance and thus may have very high advance requirements
-
If the requirements are too steep for your liking, leaving to Jubilife and coming back will reset the spawner with a new seed and you can restart the process
-
-
Timeskip and despawn (ko/catch/scare) the spawned pokemon until you reach your target advance
-
The first pokemon that spawns after Pokemon 1 and Pokemon 2 will be that of advance 0
-
Keep this in mind if you need to line up your timeskips so that you end on the correct time for your target
-
If you lose track of what advance youre on, you can simply catch the spawned pokemon and filter (or manually check) for its information
-
Some time-exclusive pokemon will automatically despawn when you switch to a different time, avoiding the need to ko then

-
-
Click the
Open Generatorbutton with your spawner selected -
Copy and paste the group seed into the seed box of the generator
-
Enter the research levels for each pokemon and set the weather/time to the weather/time your target pokemon appears on
- Note that weather is not as easy to control as time is
-
Enter filters for the pokemon you would like to RNG from the spawner, adjust your max advance, and click generate

- Be aware that the amount of pokemon per advance increases exponentially with multi spawners, so you do not want to check a large amount of advances without some filters as it would be too many results to display
-
Right click your target to open the path tracker

-
Advance -1 shows the pokemon used to calculate seed if they were caught in the time you've chosen in the generator
-
Each step of the path describes how many pokemon you need to despawn (defeat/catch/scare away) at each step
-
The first step in the path (2 in this instance) refers to the action taken when catching the pokemon used for seed calculation
- If you are using a 3-3 spawner and the first step is a 3, you need to despawn the pokemon you left after catching Pokemon 1 and Pokemon 2
-
The pokemon at each advance describes the new pokemon spawned after that action (during the selected time) and can be used to ensure you are still on path
-
In this example, the timeskip after Pokemon 1 and Pokemon 2 are caught will spawn a Bold Bidoof and an Impish Alpha Bidoof

-
-
The next step is a 2 (
2->2) which means the next action is to despawn 2 spawns and timeskip- As noted in the path tracker this will spawn a Mild and an Impish Bidoof
-
The next step is a 1 (
2->2->1) which means the next action is to despawn 1 spawn and timeskip -
Continue following the steps until the last action, which will spawn your target pokemon

-