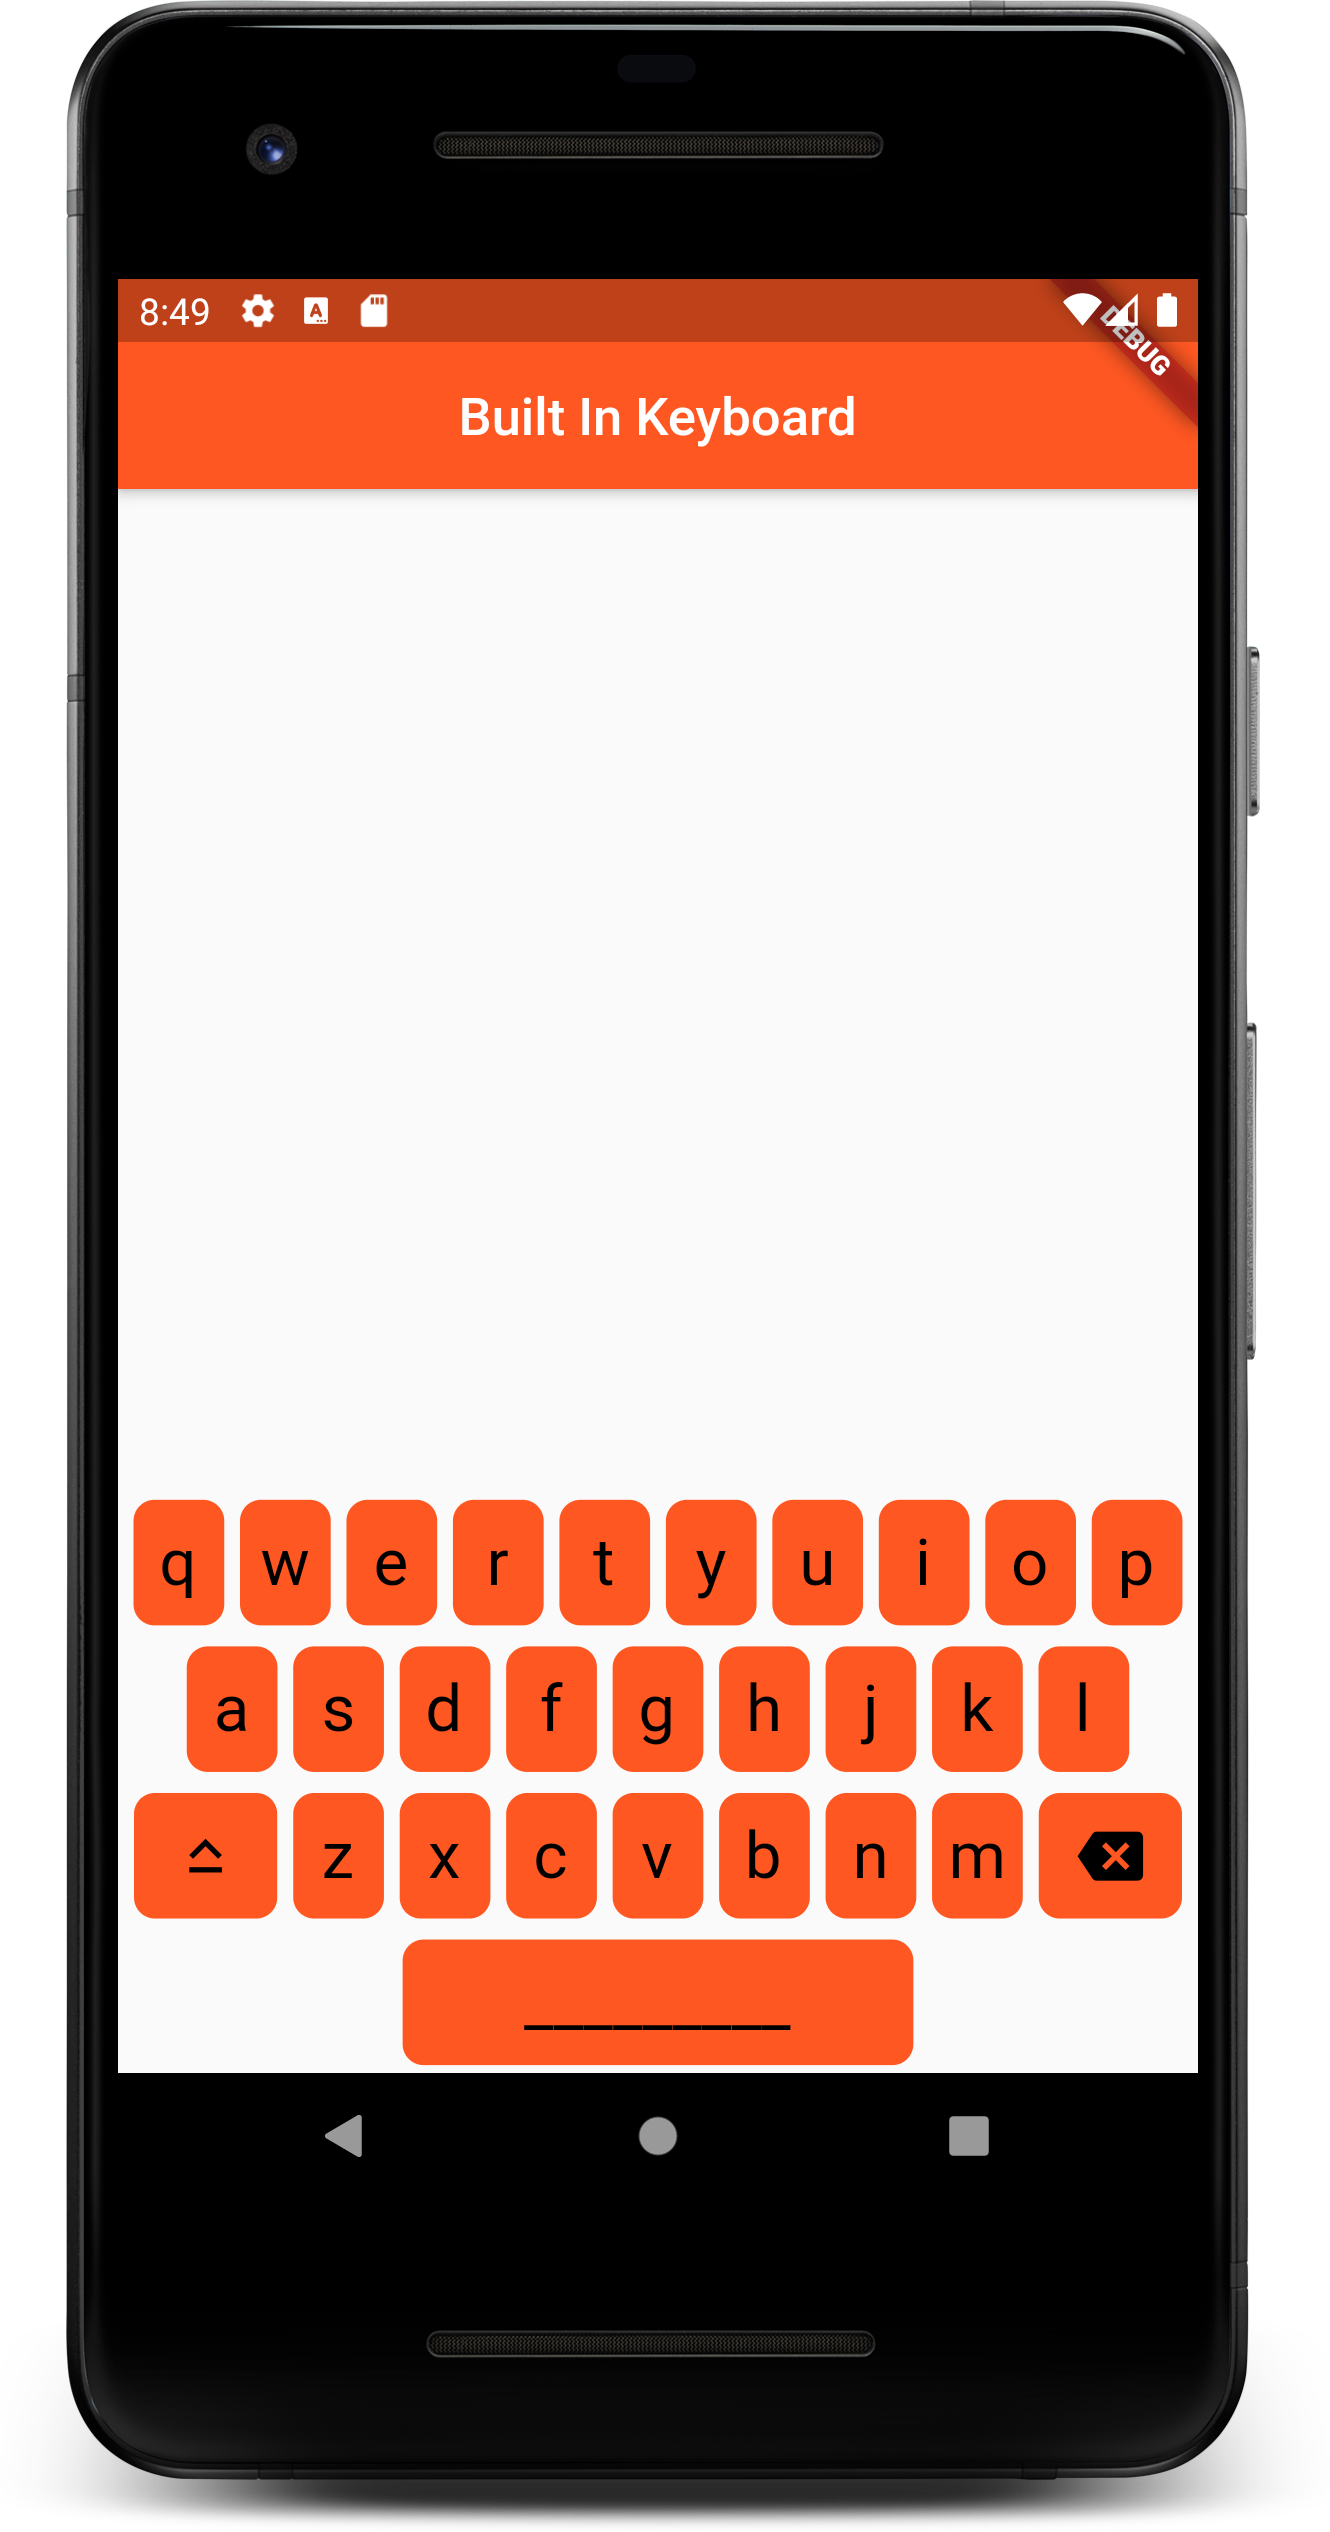
A flutter package to add built-in keyboard instead of system keyboards. This implementation relies on a textInputField and interacts with it through a TextEditingController.
First of all, add the package to your dependencies and run flutter pub get.
dependencies:
  built_in_keyboard:
    git:
      url: https://github.com/Open-pi/builtinkeyboard.git
      ref: main
With the BuiltInKeyboard widget, you can easily change the layout of the keyboard, the look and feel of the keys, etc.
Here are some attributes that you could change. keep in mind that the controller is required to make the keyboard work correctly.
BuiltInKeyboard(
  controller: this.textController, // required
  language: Language.DE, // optional
  layout: Layout.QWERTZ, // optional, BUT MUST be checked if you modify the language!
  enableSpaceBar: true, // optional, add a spacebar
  enableBackSpace: true, // optional, add a backspace button
  enableCapsLock: true, // optional, add a Caps Lock button
  borderRadius: BorderRadius.circular(8.0), // changes the border radius of the keys
  letterStyle: TextStyle(fontSize: 25, color: Colors.black) // styles the text inside the keys
)| Option | Required | By default | Description |
|---|---|---|---|
| controller | yes | - | TextEditingController |
| language | no | Language.EN | the language of the keyboard |
| layout | no | Layout.QWERTY | the layout of the keyboard |
| height | no | - | height of keys |
| width | no | - | width of keys |
| spacing | no | 8.0 | the spacing between each row |
| borderRadius | no | - | the radius of the keys |
| letterStyle | no | fontSize: 25, color: black | TextStyle of the letters |
| color | no | deepOrange | color of the keys (keyboard color) |
| enableSpacebar | no | false | adds a spacebar |
| enableBackSpace | no | true | adds a backspace button |
| enableCapsLock | no | false | adds a Caps Lock button |
| enableAllUppercase | no | false | makes the keyboard uppercase |
| enableLongPressUppercase | no | false | writes an uppercase when long pressing on the keys |
| highlightColor | no | - | color when pressed |
| splashColor | no | - | color when pressed (material style) |
To add a new language or a keyboad layout to the package you only need to modify the language.dart file. The following steps will show you how to do that.
- Add the short name form of your new language to the
Languageenum.
enum Language {
  EN,
  FR,
  DE,
  <your language>,
}- Add your layout name to the
Layoutenum if not present.
enum Layout {
  QWERTY,
  QWERTZ,
  AZERTY,
  <your layout>,
}-
Create a new map variable called
<language name>Config. The keys of this map will be the layouts from theLayoutenum (e.g: Layout.QWERTY), and the values will be maps with types<String, String>that contain the core configuration. These latter maps must contain four fields o:layout: The full text layout of the keyboard.horizontalSpacing: A floating number which will represent the spaceing between each key.topLength: The lenght of the top/first row of keys. In other words, the number of keys to display in the top row.middleLength: The number of keys in the middle row.
(The bottom/last row will just take the remaining keys).
example:
var frenchConfig = {
  Layout.QWERTY: <String, String>{
    'layout': 'qwertyuiopasdfghjklzxcvbnm',
    'horizontalSpacing': '6.0', // space between keys
    'topLength': '10', // number of keys
    'middleLength': '9', // number of keys
  },
  Layout.AZERTY: <String, String>{
    'layout': 'azertyuiopqsdfghjklmwxcvbn',
    'horizontalSpacing': '6.0', // space between keys
    'topLength': '10', // number of keys
    'middleLength': '9', // number of keys
  },
};
-
And finally your new language config map to the
languageConfigmap, with the key as the short language name from theLanguageenum.
var languageConfig = {
  Language.EN: englishConfig,
  Language.FR: frenchConfig,
  Language.DE: germanConfig,
  Language.<short language name>: <language name>Config,
};
Feel free to also modify or add new things to existing languges.
