Making changes
Before you begin, make sure you follow the steps in the Setup guide to install all dependencies and clone the repository to your machine.
Git is a version control system that follows a tree-like model for managing parallel changes.
To ensure that contributors can make changes in parallel without overwriting one another's work, all changes should be submitted to new branches.
When you create a new branch locally, the branch only exists on your machine. You need to push the branch to create it on GitHub, then push your changes to make sure they're stored in the repository. If you're collaborating on a branch, changes need to be pushed so that other users can pull them and see the changes you've made.
An example workflow looks like this:
gitGraph
   commit
   commit
   branch ios-change
   checkout ios-change
   commit
   commit
   checkout main
   branch android-change
   checkout android-change
   commit
   checkout ios-change
   commit
   checkout android-change
   commit
   checkout main
   merge ios-change
   merge android-change
   commit
In this flow, a contributor creates a branch called ios-change to update some iOS documentation. At the same time, another contributor creates a branch called android-change to update some Android documentation. The two contributors work on their branches at different paces and submit pull requests to get their changes merged. When the changes are approved, both branches are merged into the main branch. The main branch now contains all of the changes made in both the ios-change and android-change branches.
Changes to files are made in stages. Unlike most other document systems where saving the file is enough to commit a change, Git uses the following workflow:
- A changed file is staged using
git add <filename>. This adds it to the staging area, which is the list of changes that will eventually make a commit. You can stage files when you have finished making changes to it, and leave files you're still working on. You can remove files from the staging area usinggit restore --staged <filename>. This keeps the changes you've made, but removes them from the staging area until you're ready. - A group of changes are committed to the current branch. This adds the changes to the local version of the branch so that they are recorded in the branch's history.
- The local branch is pushed to the remote version of the branch to update it.
flowchart
   edit([The contributor changes a file\nand saves the change]) --> stage(The contributor stages the change)
   stage --> commit(The contributor makes a commit\ncontaining all staged changes)
   commit --> push([The contributor pushes all of their\ncommits to the remote branch])
This style of working ensures that contributors can work on a set of changes in isolation without needing to worry about changes being overwritten. Here's how to use Visual Studio Code to submit changes to the repository.
Visual Studio Code is a one-stop shop for managing your editing, Git workflow, and live preview. Follow these instructions to start hacking on the docs.
- Open Visual Studio Code
- Select File -> Open folder
- Find the
sdk-docsfolder you cloned earlier and open it
You should see the repository structure in the sidebar.
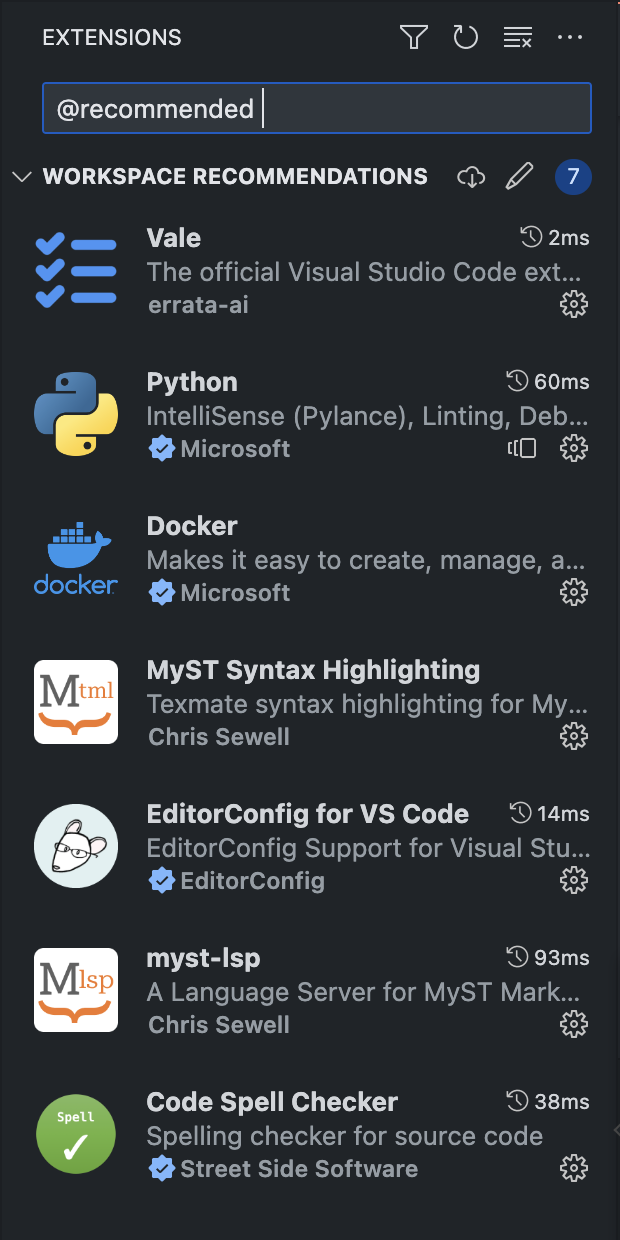
To get the best experience, install the recommended extensions found in the root of the repository.
-
Select the Extensions icon in the sidebar or press
Shift+Cmd+K -
Enter
@recommendedin the search bar at the top to show the recommended extensions -
Select the cloud icon next to the Workspace recommendations to install all recommended extensions
To start a live preview that updates as you save your changes, follow these steps.
-
Go to Visual Studio Code and select Terminal -> New Terminal or press
Ctrl+Shift+` -
Enter the following into the terminal that appears at the bottom of the screen and press Return after each line:
# Install project dependencies
npm i
# Run the preview
npm run dev
-
Open http://localhost:4321 to see your the live preview
When you are finished with the live preview, select the terminal and press Ctrl + C to stop the container.
As mentioned above, all work should take place on a new branch. You can manage your branches easily in VS Code.
-
Select the branch indicator in the bottom-left of the screen to open the branch menu. By default, this shows the
mainbranch name -
In the branch menu, select
+ Create new branch... -
Give your branch a name relating to what you're working on. Use lowercase letters and separate words with a hyphen (
-). Press enter to save your branch -
The branch indicator updates to show you're now working on the new branch


Now it's time to edit the documentation! The documentation in this repository is written in a special flavor of Markdown called MyST. Check out the Markdown primer in this wiki for information about the syntax and conventions to use.
As you save your changes, you'll notice the source control icon on the sidebar indicates the number of files you've changed.
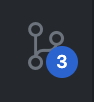
Select this icon to open the source control menu.
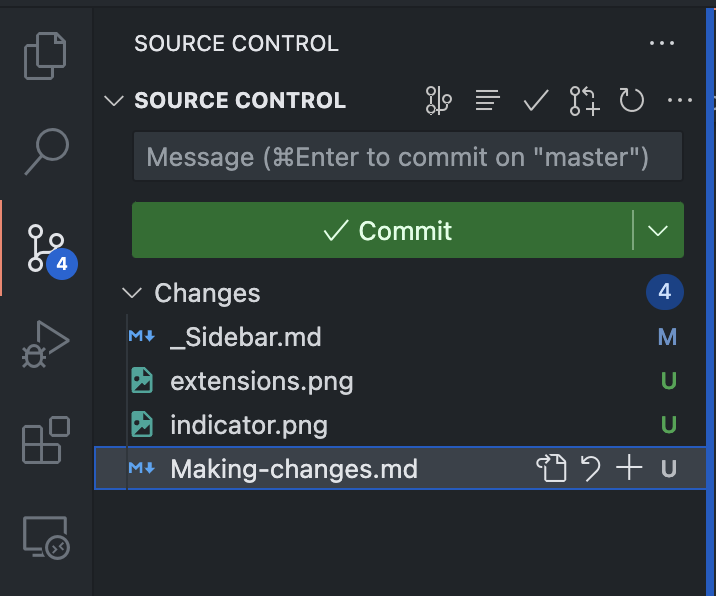
When you're ready to stage a file, select the + icon next to it. It will move to the staging area above the other files.
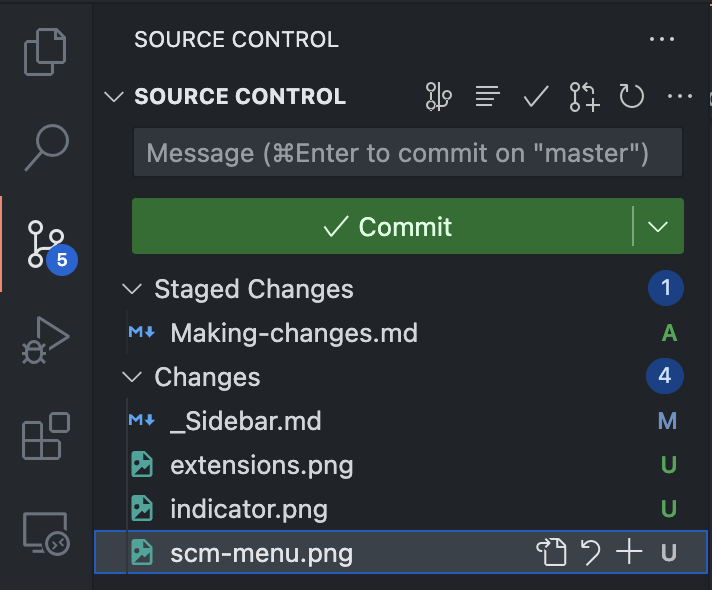
If you make further changes to the file, it will stay in the staging area but a new entry will appear in the Changes section. Select the + button again to add those changes on top of the staged changes.
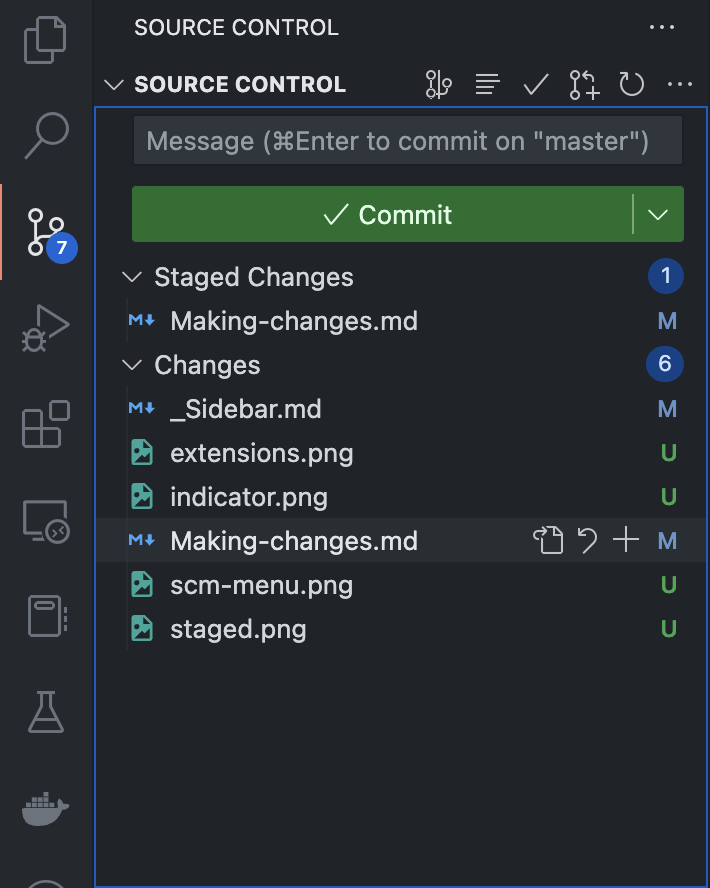
You can stage as many changes as you want to. To remove a staged change, select the - button next to the entry in the Staged Changes section.
Note: This doesn't undo your saved changes. To revert your changes, select the Discard changes icon on the file in question

Once you've staged all your changes, you need to make a commit. Each commit must include a short message summarizing the changes made. To write your commit message, enter it into the Message bar at the top of the source control menu.
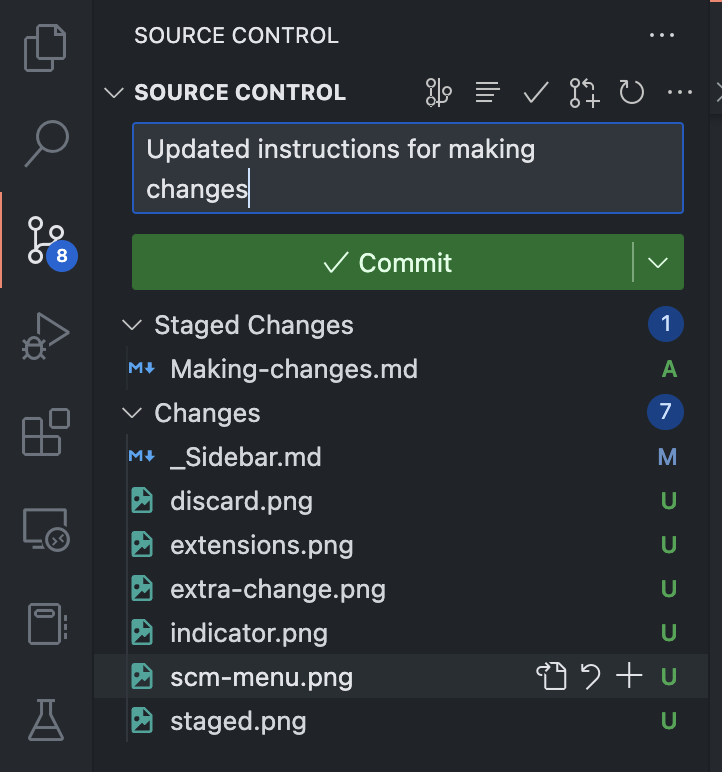
When you've added your message, select the Commit button. All files in the Staged Changes section are committed to the branch and disappear from the source control menu.
When you've committed all your changes, you need to push your changes.
-
Select the three dot menu in the source control menu to see more options
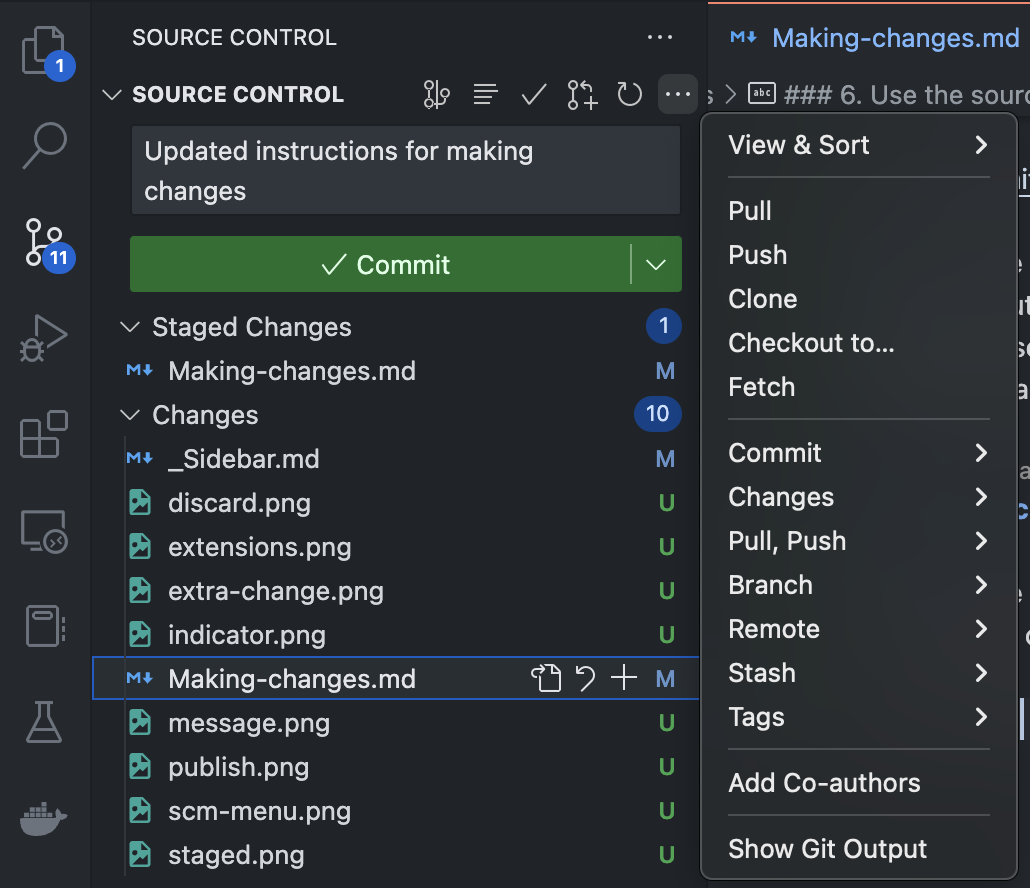
-
Select Push
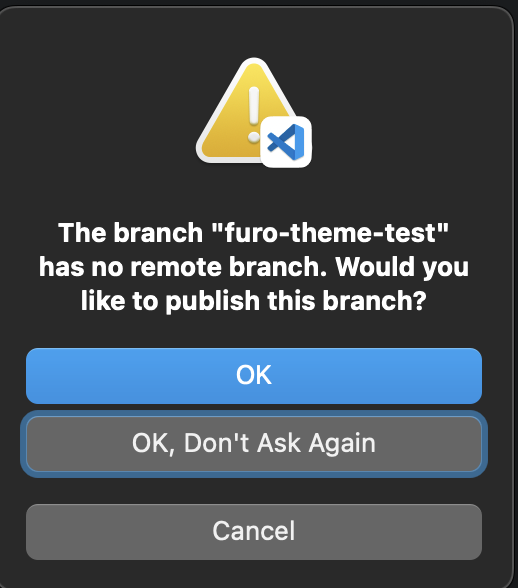
-
If your branch is already published, your changes will be pushed. If the branch isn't already published, VS Code will ask you if you want to publish the branch. Select OK to publish the branch
Your changes are now published on the remote branch on GitHub. This allows other people to pull the branch.
A pull request is a GitHub feature that enables you to submit changes for review. Other contributors can check your changes, submit suggestions, and help to catch any errors.
Follow GitHub's guide to Creating a pull request to open a pull request with your newly pushed branch.
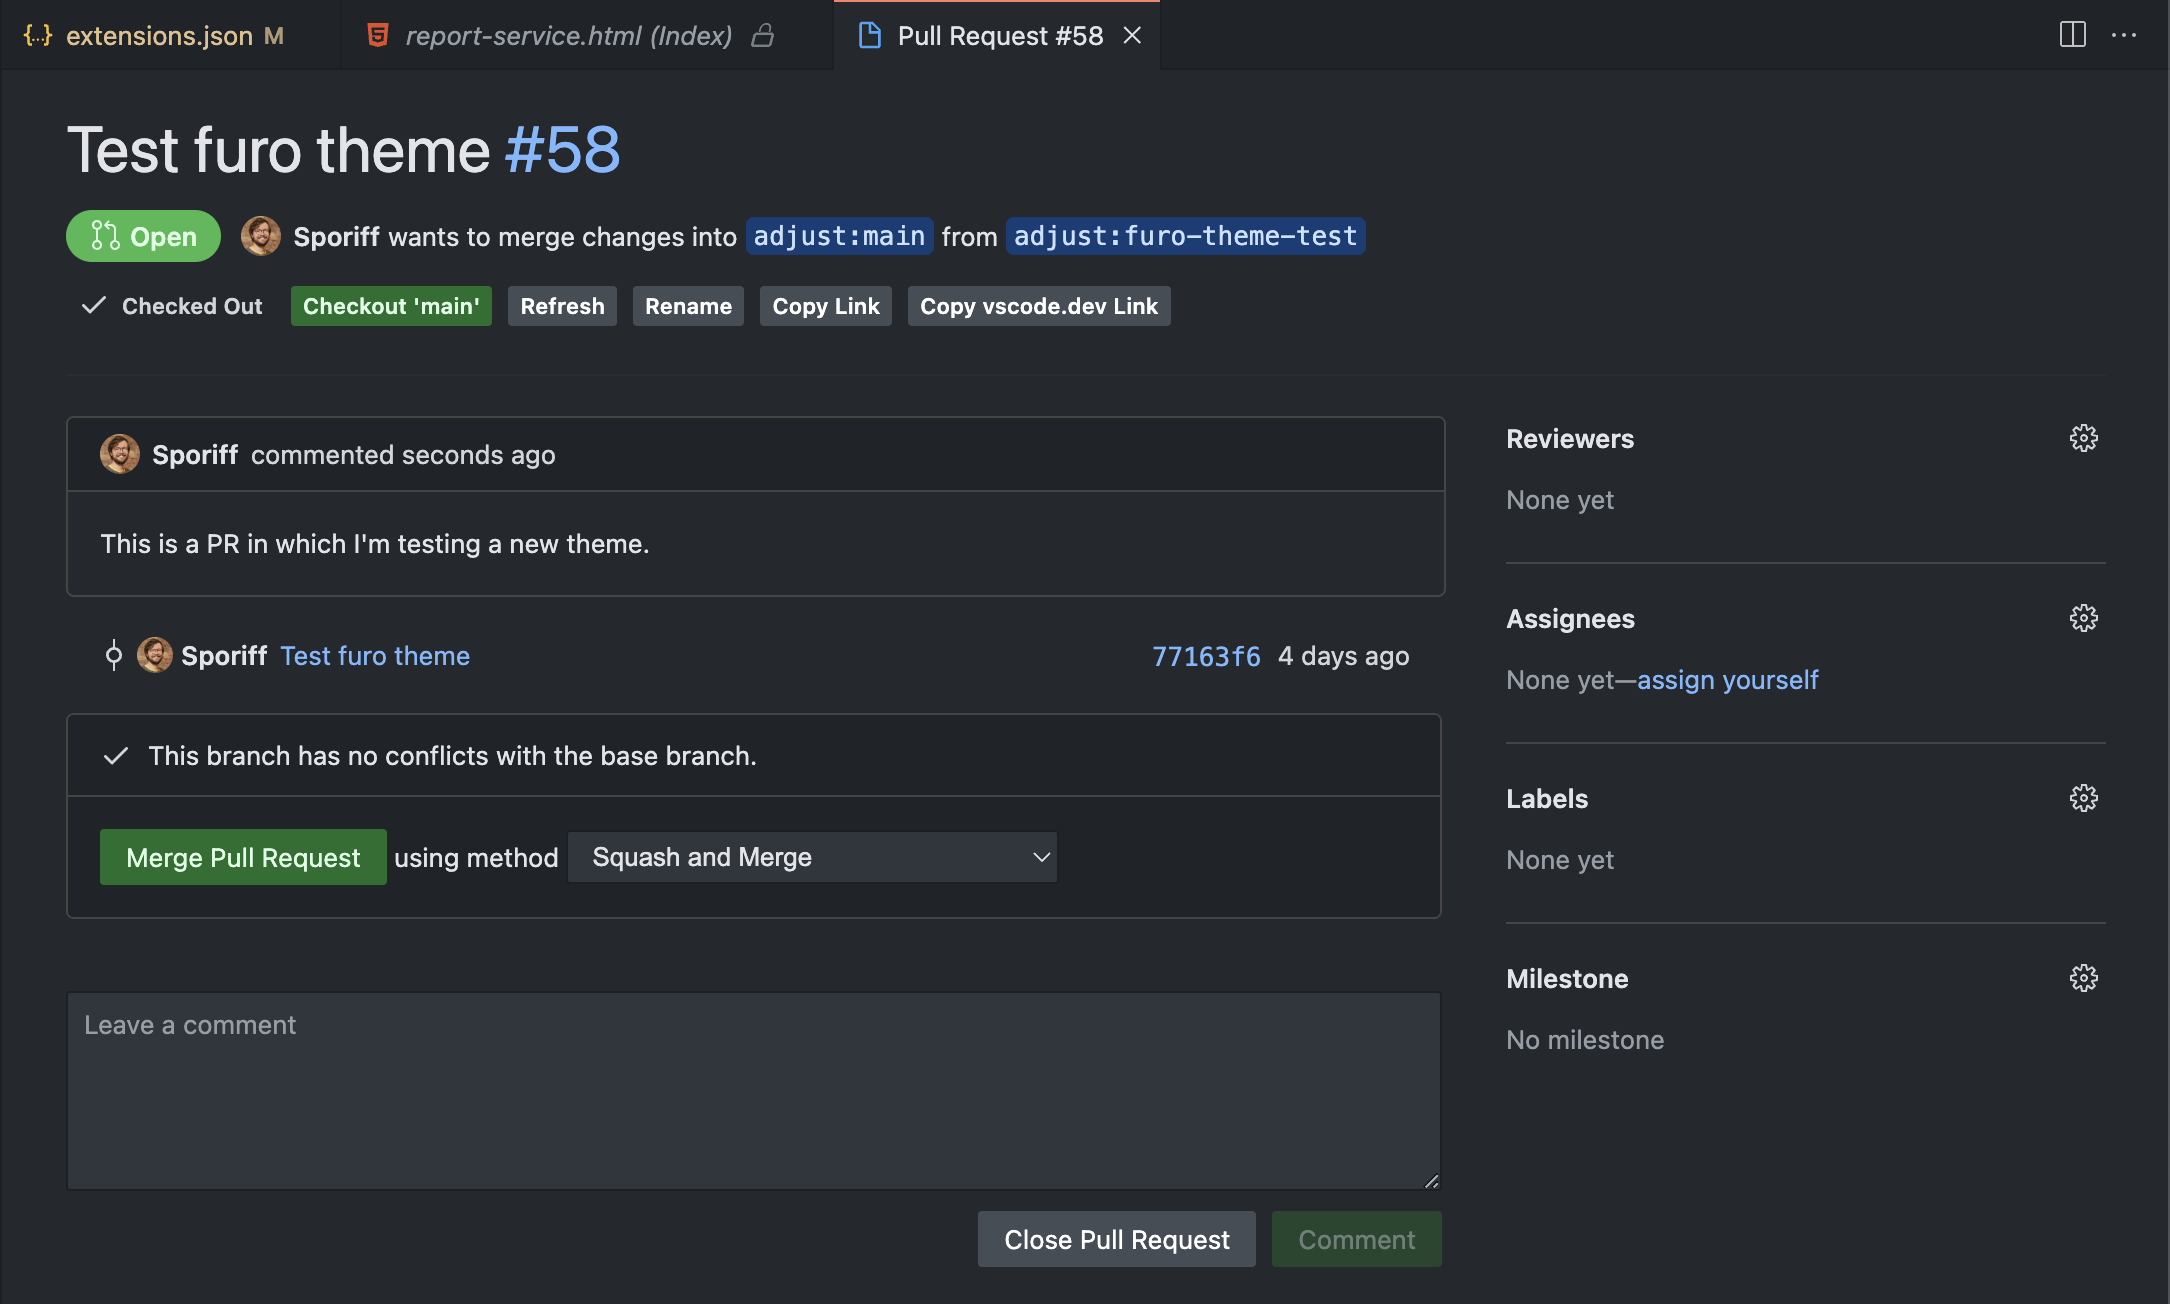
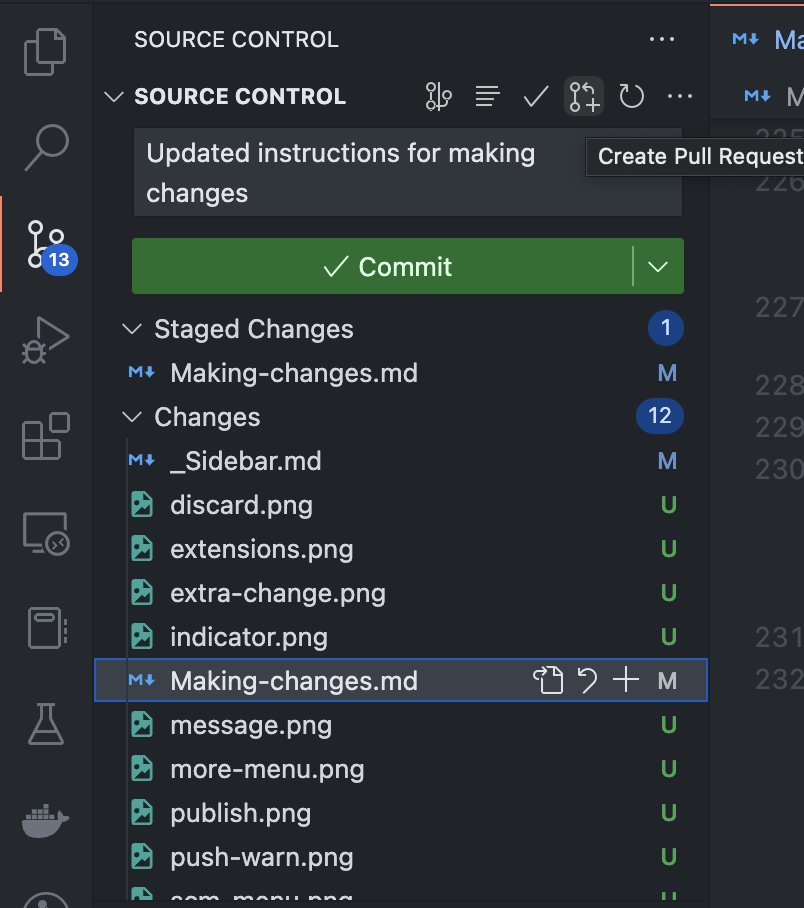
If you've installed the GitHub Pull Requests and Issues extension and prefer to create the pull request directly from VS Code, select the Create Pull Request button in the source control menu.
Make sure your feature branch is selected in the Merge changes from section, and your target branch is selected in the Into section. Add a title and description and select Create to open the pull request.

VS Code will publish your branch and open the pull request summary in your editor.