Hover is a floating menu implementation for Android.
The goals of Hover are to:
-
Provide an easy-to-use, out-of-the-box floating menu implementation for Android developers, and
-
Provide common tools for Android developers to create their own floating menu.
Hover is still under heavy development. There is still a lot of code cleanup to do, so expect breaking API changes over time.
That said, Hover should be in a usable state at this time.
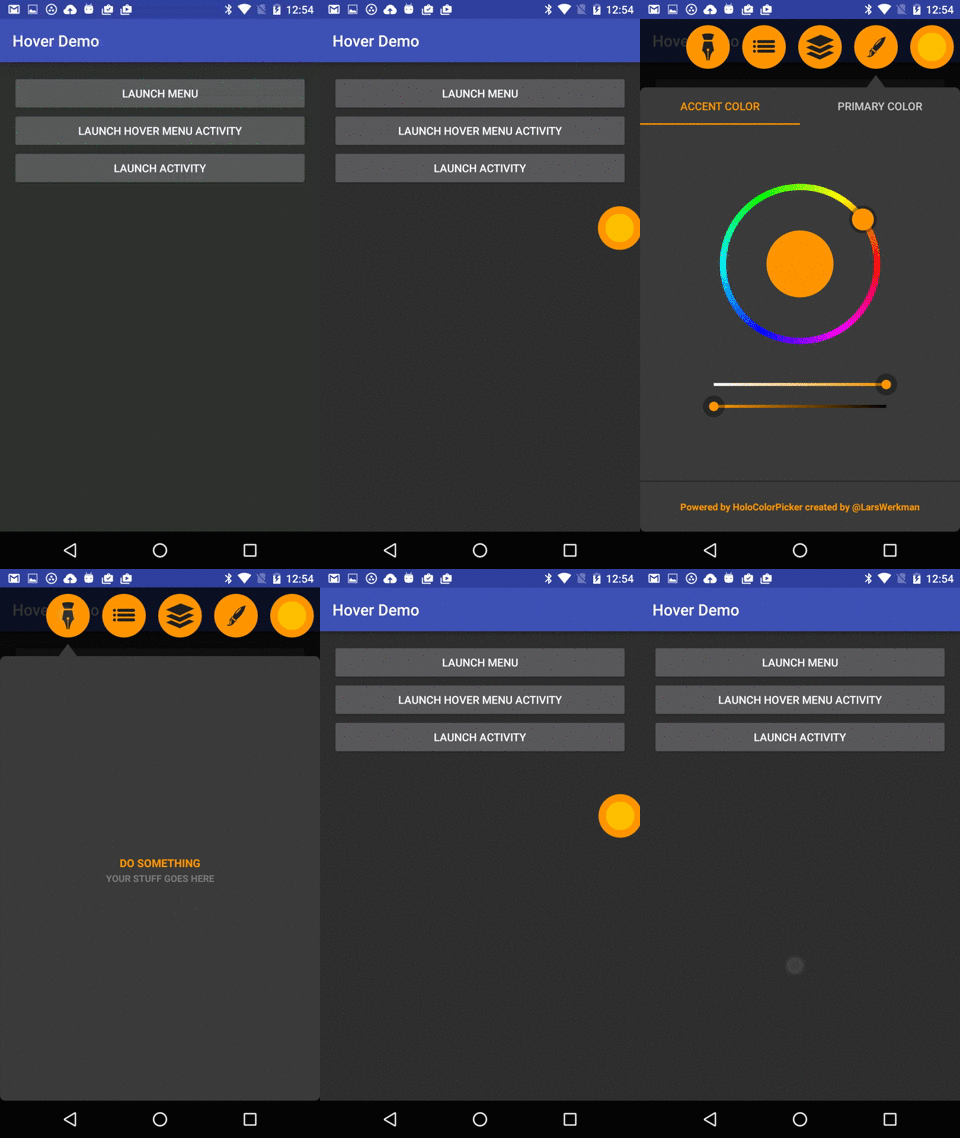
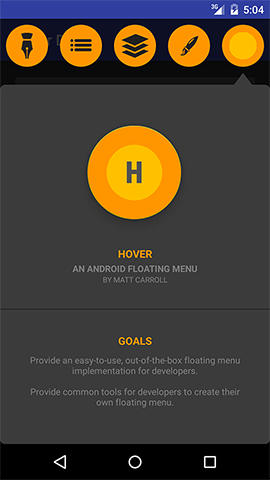
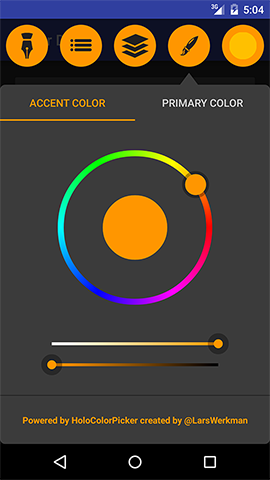
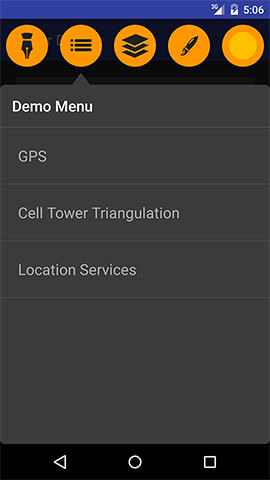
A demo app is included with the Hover repo. Here are some screenshots of the demo in action.
To get started with Hover, create a subclass of HoverMenuService to host your Hover menu. The only method that you're required to override is createHoverMenuAdapter() which essentially returns the content of your Hover menu.
public class MyHoverMenuService extends HoverMenuService {

    @Override
    protected HoverMenuAdapter createHoverMenuAdapter() {
        // Create and configure your content for the HoverMenu.
        return myHoverMenuAdapter;
    }

}A HoverMenuAdapter acts a lot like a standard Android Adapter. HoverMenuAdapters provide a View for each tab that appears in your Hover menu. It also provides the corresponding NavigatorContent for each tab.
public class MyHoverMenuAdapter extends BaseHoverMenuAdapter {

    private List<String> mTabs;
    private Map<String, NavigatorContent> mContentMap = new HashMap<>();

    public MyHoverMenuAdapter() {
        mTabs = Arrays.asList("first", "second");
        mContentMap.put("first", /*...*/);
        mContentMap.put("second", /*...*/);
    }

    @Override
    public void getTabCount() {
        return mTabs.size();
    }

    @Override
    public long getTabId(int position) {
        return mTabs.get(position).hashCode();
    }

    @Override
    public View getTabView(int position) {
        String tabName = mTabs.get(position);
        if ("first".equals(tabName)) {
            // Create and return the tab View for "first".
        } else if ("second".equals(tabName)) {
            // Create and return the tab View for "second".
        }
        // etc.
    }

    @Override
    public NavigatorContent getNavigatorContent(int position) {
        String tabName = mTabs.get(position);
        return mContentMap.get(tabName);
    }

}If you want to create your own Hover menu Service from scratch, or if you want to experiment with a HoverMenu directly, you can instantiate one yourself. Use HoverMenuBuilder to configure a HoverMenu for your particular requirements.
// Build a HoverMenu.
HoverMenu hoverMenu = new HoverMenuBuilder(context)
                        .displayWithinWindow()
                        .useNavigator(myNavigator)
                        .startAtLocation(savedLocationMemento)
                        .useAdapter(adapter)
                        .build();

// When you're ready for your HoverMenu to appear on screen.
hoverMenu.show();

// When you want to remove your HoverMenu from the screen.
hoverMenu.hide();

// When you want to force your HoverMenu to expand fullscreen.
hoverMenu.expandMenu();

// When you want to force your HoverMenu to collapse to a draggable icon.
hoverMenu.collapseMenu();

// When you want to change the tabs and content in your HoverMenu.
hoverMenu.setAdapter(otherAdapter);

// When you want to save the display state of your HoverMenu.
Parcelable displayState = hoverMenu.createDisplayStateMemento();

// When you want to be notified when your HoverMenu is added to/removed from the display.
hoverMenu.addOnVisibilityChangeListener(listener);

// When you want to be notified when your HoverMenu expands or collapses.
hoverMenu.addOnCollapseAndExpandListener(listener);Hover is available through jCenter:
compile 'io.mattcarroll.hover:hover:0.9.7'At the current time, Hover menus cannot be used within normal view hierarchies. It can only be used within a Window.
This is not an official Google product.
Copyright (C) 2016 Nest Labs

Licensed under the Apache License, Version 2.0 (the "License");
you may not use this file except in compliance with the License.
You may obtain a copy of the License at

    http://www.apache.org/licenses/LICENSE-2.0

Unless required by applicable law or agreed to in writing, software
distributed under the License is distributed on an "AS IS" BASIS,
WITHOUT WARRANTIES OR CONDITIONS OF ANY KIND, either express or implied.
See the License for the specific language governing permissions and
limitations under the License.


