- Fully Functional Blockchain
- Create a Wallet
- Create Transactions
- Sign a Transaction
- Validate a Transaction
- Generate a Transaction from Multiple inputs
- Broadcast Transactions
- Memory Pool
- Listen for New Transactions and add them in a Block
- Mine a Block
- Automatically remove transactions from Memory Pool that are included in a Block.
- Automatically Adjust the Mining Difficulty
- Frontend to View all the Blocks in a Chronological Order
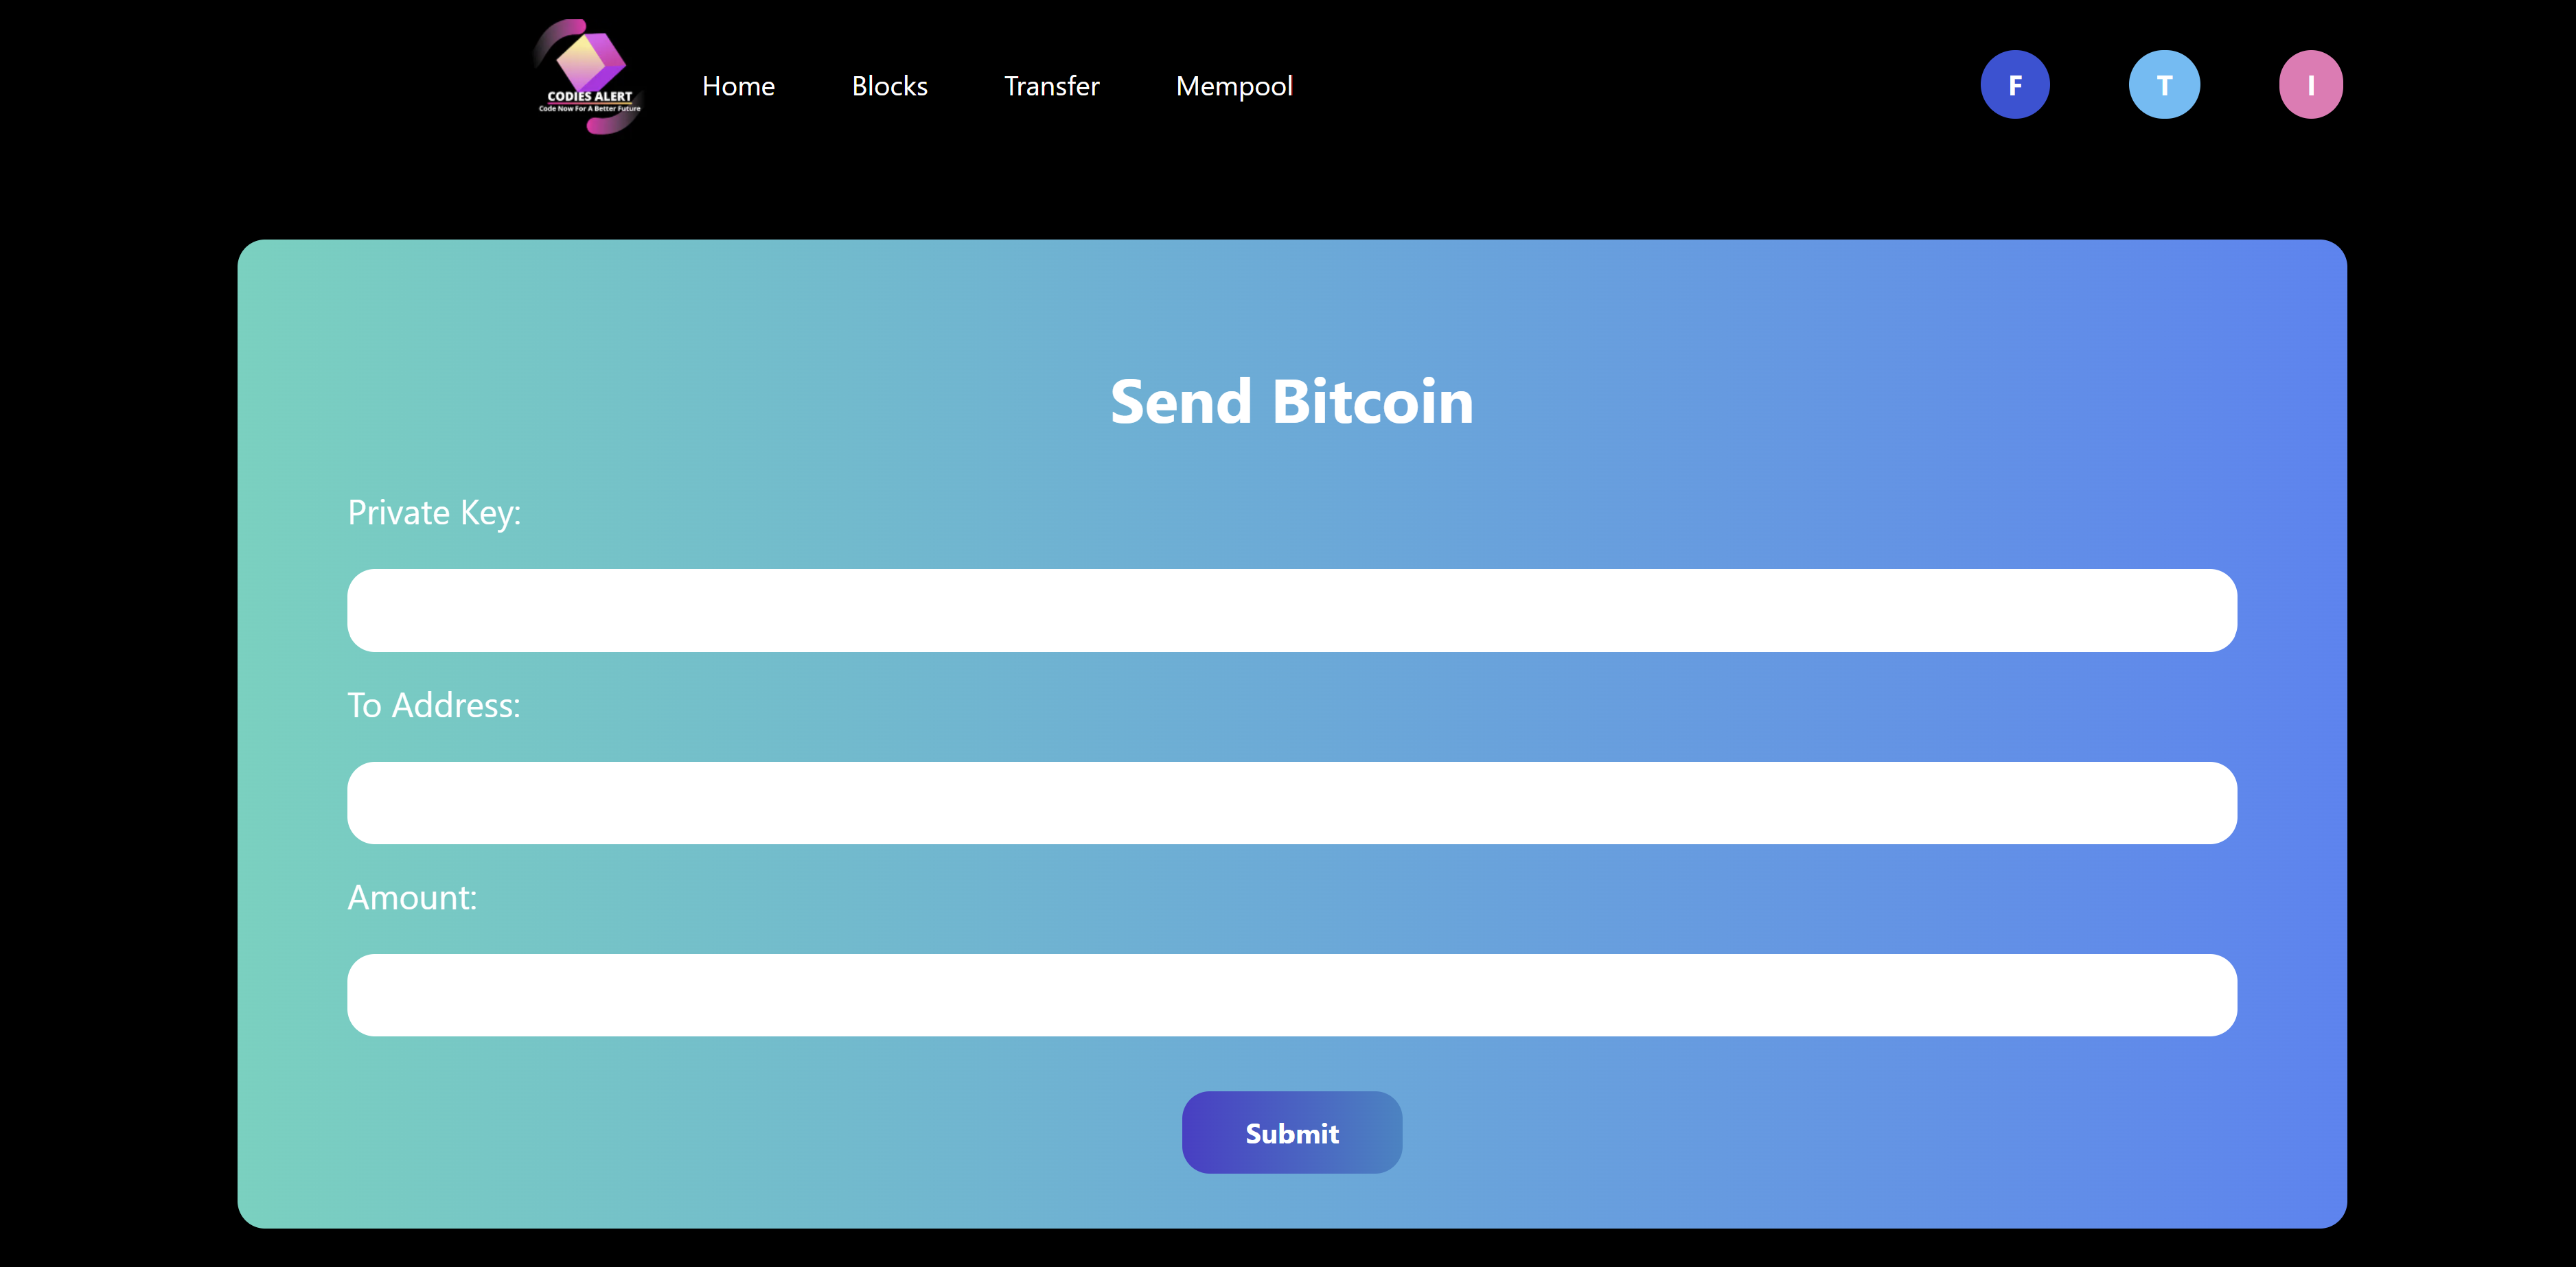
- Create Transactions from the Frontend
- As soon Transaction is created it will appear in Mempool.
- Click on address to view the Total account Balance and complete Tx History.
- Click on any TxId to view in which block that transaction was included.
- On your local machine, download or clone the repository.
- Go to the local directory in VSCODE or any other IDE. For example, if you have this repository saved at C:/users/abc/desktop/anni maan
- Run npm install from the anni maan directory. It will install all of the Project's essential dependencies.
- You'll need a free MongoDB online atlas account. Simply create a user account. If you don't know how to make a mongoDB account, there are numerous YouTube videos available.
- You should now have an Url that you may use to connect to MongoDB on your local PC.
- You must generate two .env files, one in the anni maan/Backend/core/.env directory and the other in the anni maan/Backend/database/.env directory.
- That's all there is to it; you should now be able to work on your projects.
- cd backend/core and make sure you're on anni maan.
- Dummy Private Key and Public Address is already hardcoded in core/Tx.Js file to receive the mining award.
- If you don't want to use the Dummy Private Key and Public address then you generate new Private Key and Public by running wallet.js script. Now you can update Tx.Js with the new Private Key and Public Address.
- Start your Blockchain node by typing node blockchain
- Voila! Your blockchain mining node is now up and running.

- cd frontend and create copy the .env file with database uri.
- cd frontend and run npm install and then npm run dev.
- http://localhost:3000/
- There 3 main sections, Blocks, Transfer and Mempool.
- Block is to see all the Blocks in our Blockchain.
- Transfer is to send coins to any address. You can type any random intergers and it will automatically generate your Public Address. Make sure the from and to addresses are correct.
- once you hit the Submit button, you should be able to see your transaction in mempool. Once Transaction is confirmed it will be automatically removed from the mempool.
- You can goto back to blocks and one the block should have 2 transaction. First transaction will always be COINBASE transaction which is the mining reward and other transaction you just initiated.
- You can click on any Transaction Id to see who sent you the coins.
- You can also Click on the Public address to view the total balance and you the transaction you have received as far on this address.


