-
Notifications
You must be signed in to change notification settings - Fork 2
Adding resources
There are several ways to add resources to Amphora. This page describes how to add individual resources by uploading a file. You can upload just about anything to Amphora.
It's a good idea to add your resources to collections. You can start adding a resource from the collection view by clicking on the "+ Upload" on the right-hand side of the screen.

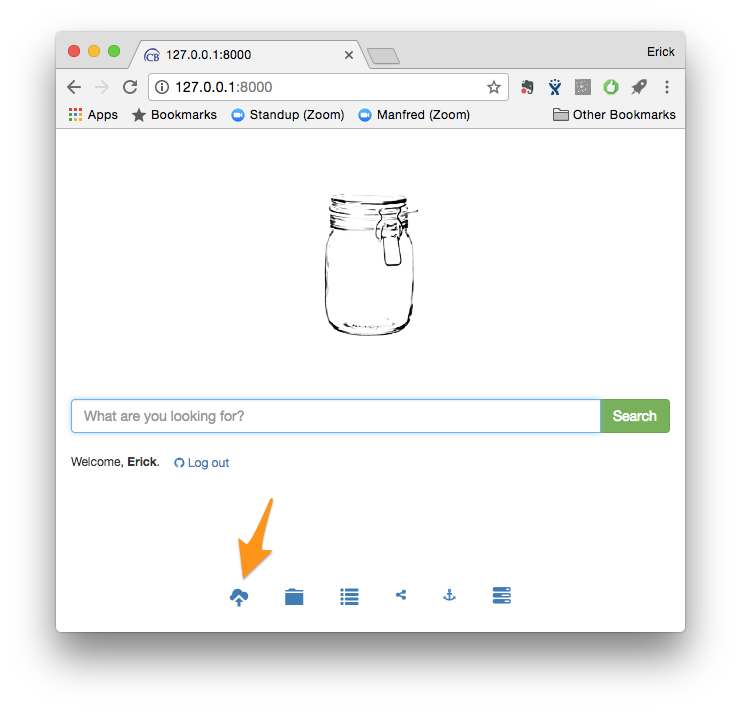
You can also start adding a resource (from anywhere in the app) by clicking on the upload button in the menu at the bottom of the screen.

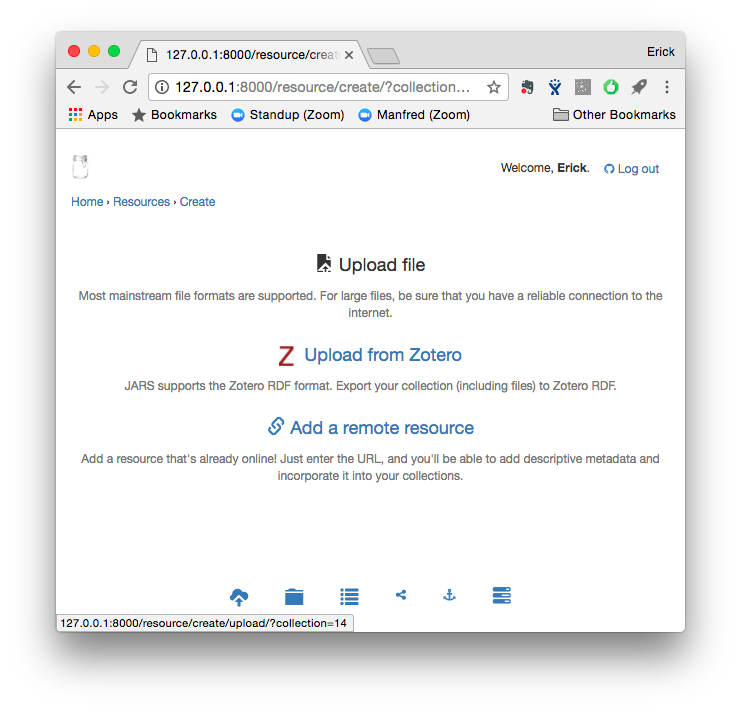
We're going to upload a file, so select that option when prompted.

Select the file that you'd like to upload from your computer, and click the green "Upload" button. In the current version there is no progress bar, but most browsers will show the upload progress in the status bar at the bottom of your browser window.

When the upload is complete, you will be prompted to enter a few additional details about the resource.
- Name: The resource name will be the filename by default, but you can (and should) change this to something more informative, since this is the primary way that other others will find your resources.
- Resource type: Select the resource type that best matches the nature of the resource. Amphora has types from several schemas built in.
- Collection: If you started adding this resource from a collection, this will be automatically populated. Otherwise, you can select the collection to which this resource should be added here.
- URI: If this resource is a surrogate for a resource that already has an URI (e.g. an article with a DOI, a webpage with an URL), you can enter it here.
- Description: Provide a terse description of the resource. This will be used for search in upcoming versions of the platform.
- Public: If you want everyone in the world to be able to view this resource, and you have the right to make it so, check this box. Note that if you are adding this to a collection that already allows public access, leaving this box unchecked will not restrict access automatically. You can always change access control later.

When you're ready, click the green "Create" button in the lower right.
You should be taken to a detail view for the resource.

Amphora documentation is provided under a CC0 1.0 Universal (CC0 1.0) license.