Installation
Installation differs depending on whether you need the Swift (CPU) version, the Metal version, or both.
- Add a dependency on blitcurve. File->Swift Packages->Add Package Dependencies...
- In your target settings, add blitcurve to your "Frameworks, Libraries, and Embedded Content".
For Metal, blitcurve must be installed to a known location on disk. For this reason, Xcode's "add package dependencies" cannot be used (FB8102669). For more details, see my metal faq.
- First, fix a path for blitcurve relative to your project repository. One way to do this is just to copy the files into your repository. A better way might be git submodules:
this will place blitcurve in a "blitcurve" directory. For more details on git submodules, see my git submodules faq
git submodule add https://github.com/drewcrawford/blitcurve.git
- Open the
blitcurvedirectory we created in the prior step. DragblitcurveMetal.xcodeprojunderneath your own xcode project.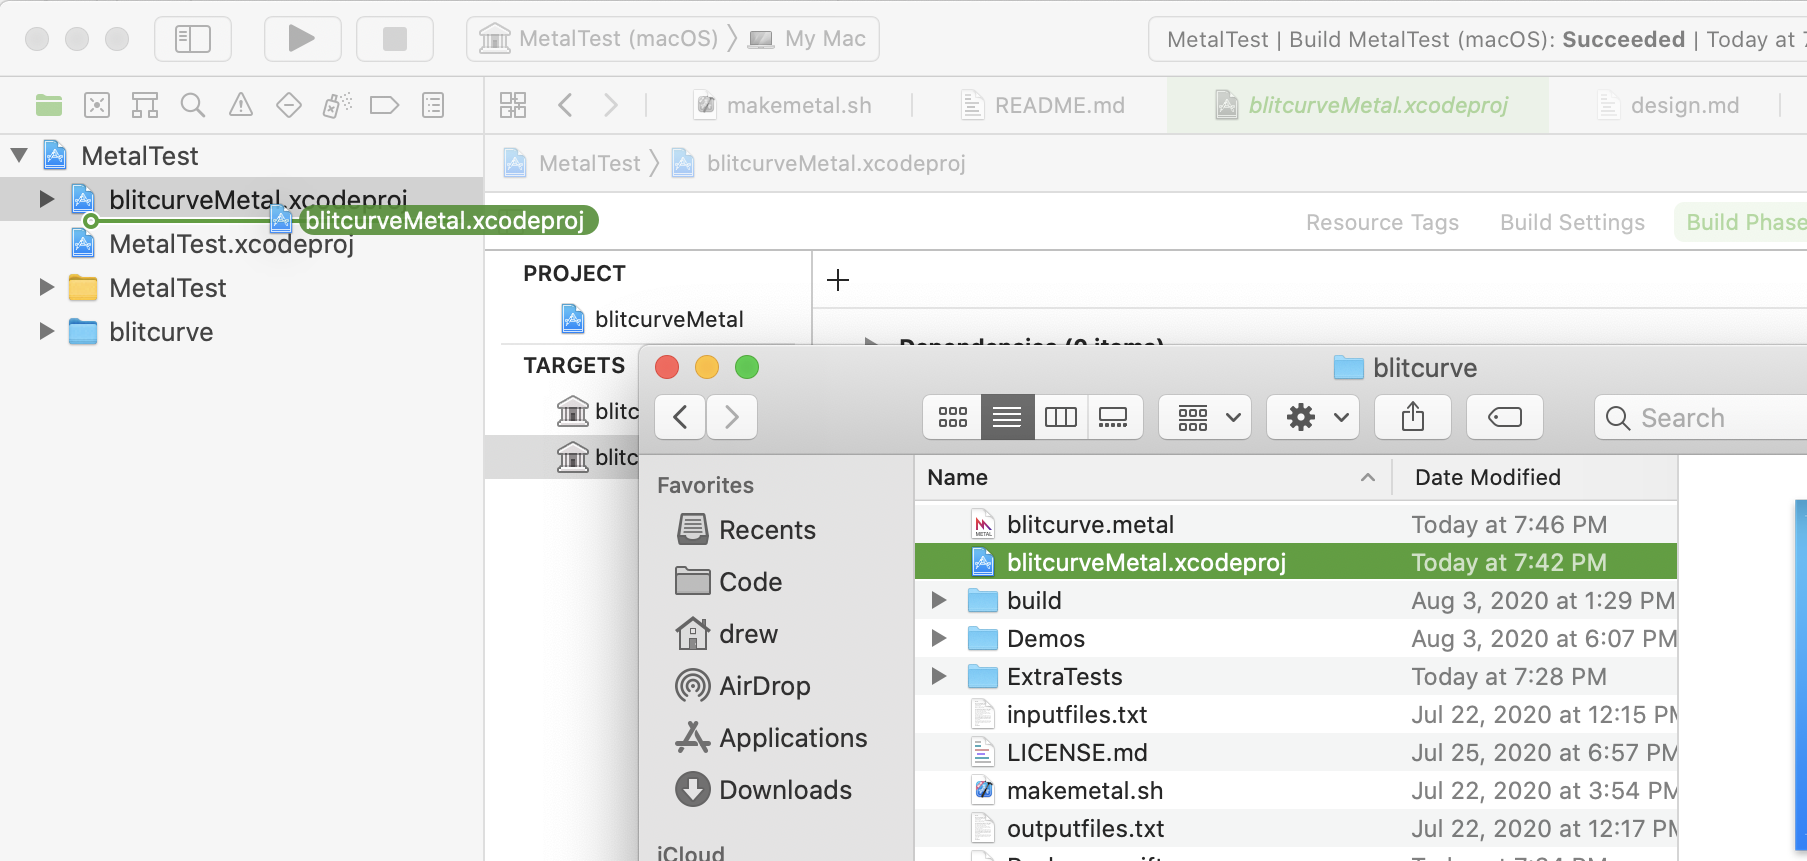
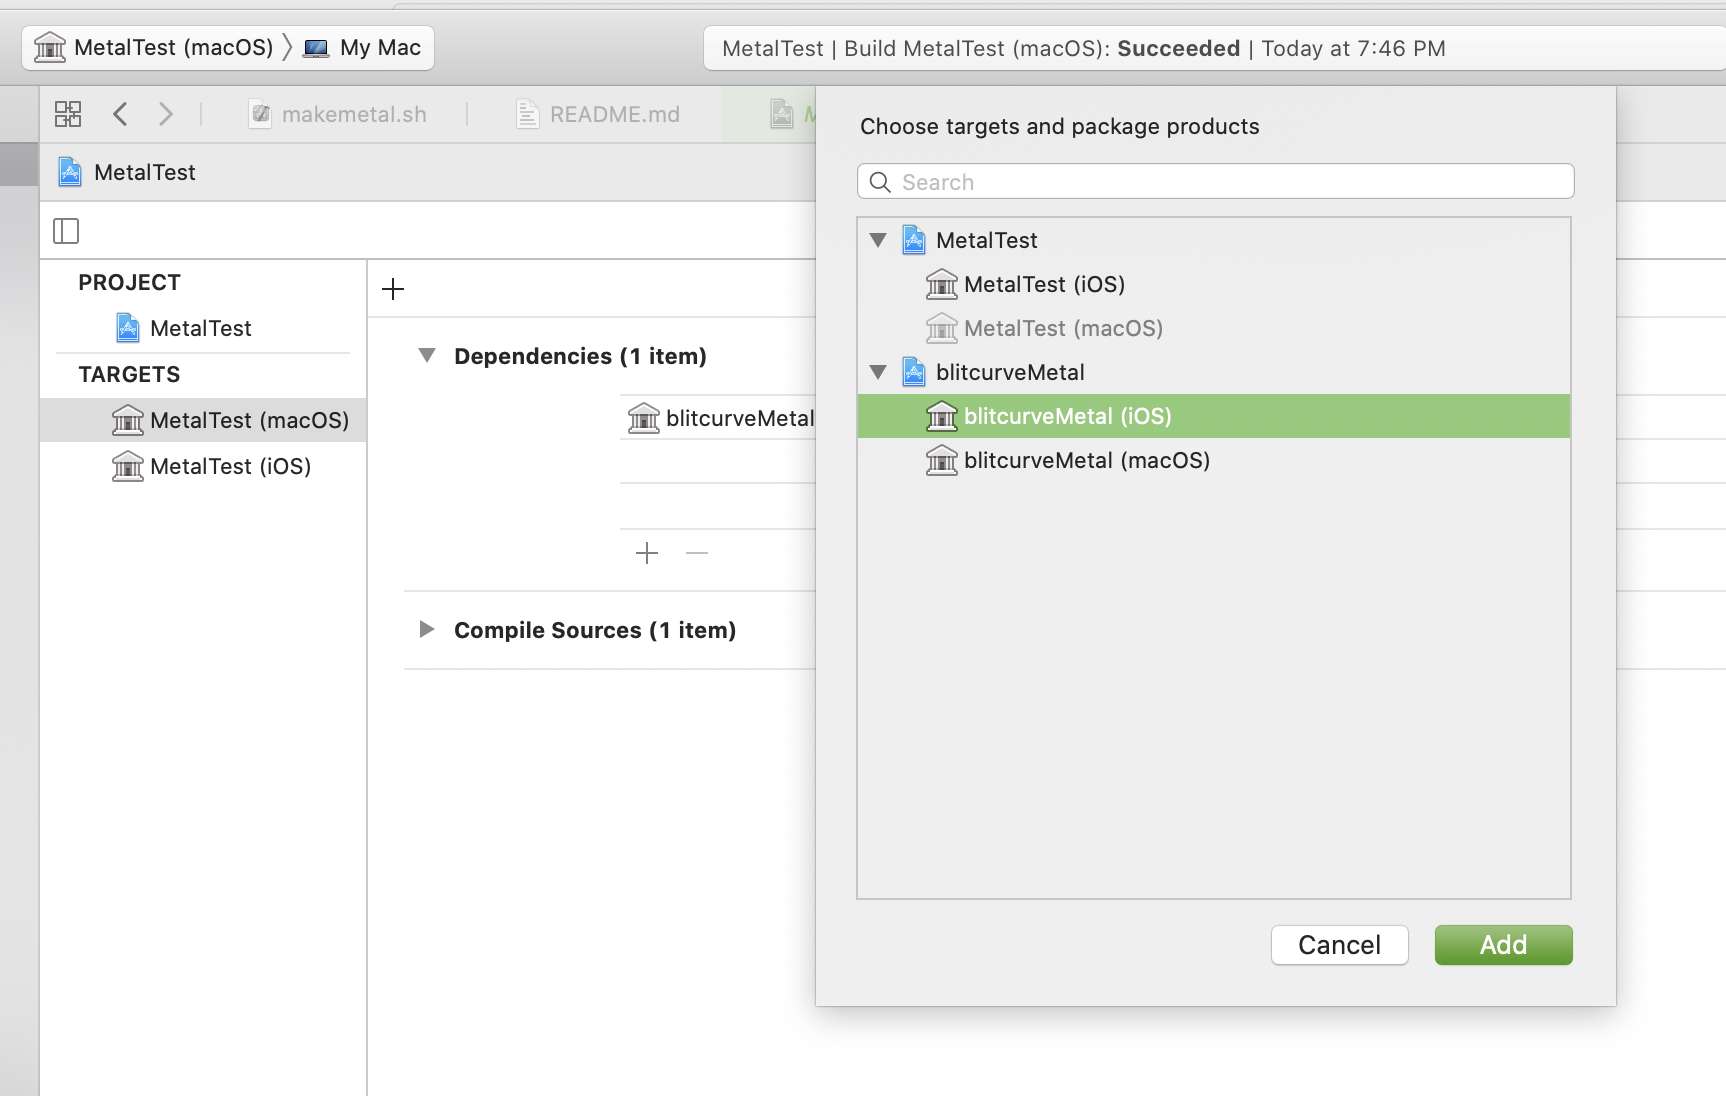
- In your target settings, add blitcurve as a dependency.
- In your target settings, add
path-to-blitcurve/Sources/blitcurve-c/includeto "Header Search Paths" under "Metal Compiler - Build Options". Note that this is a different setting from "Header Search Paths" under "Search Paths".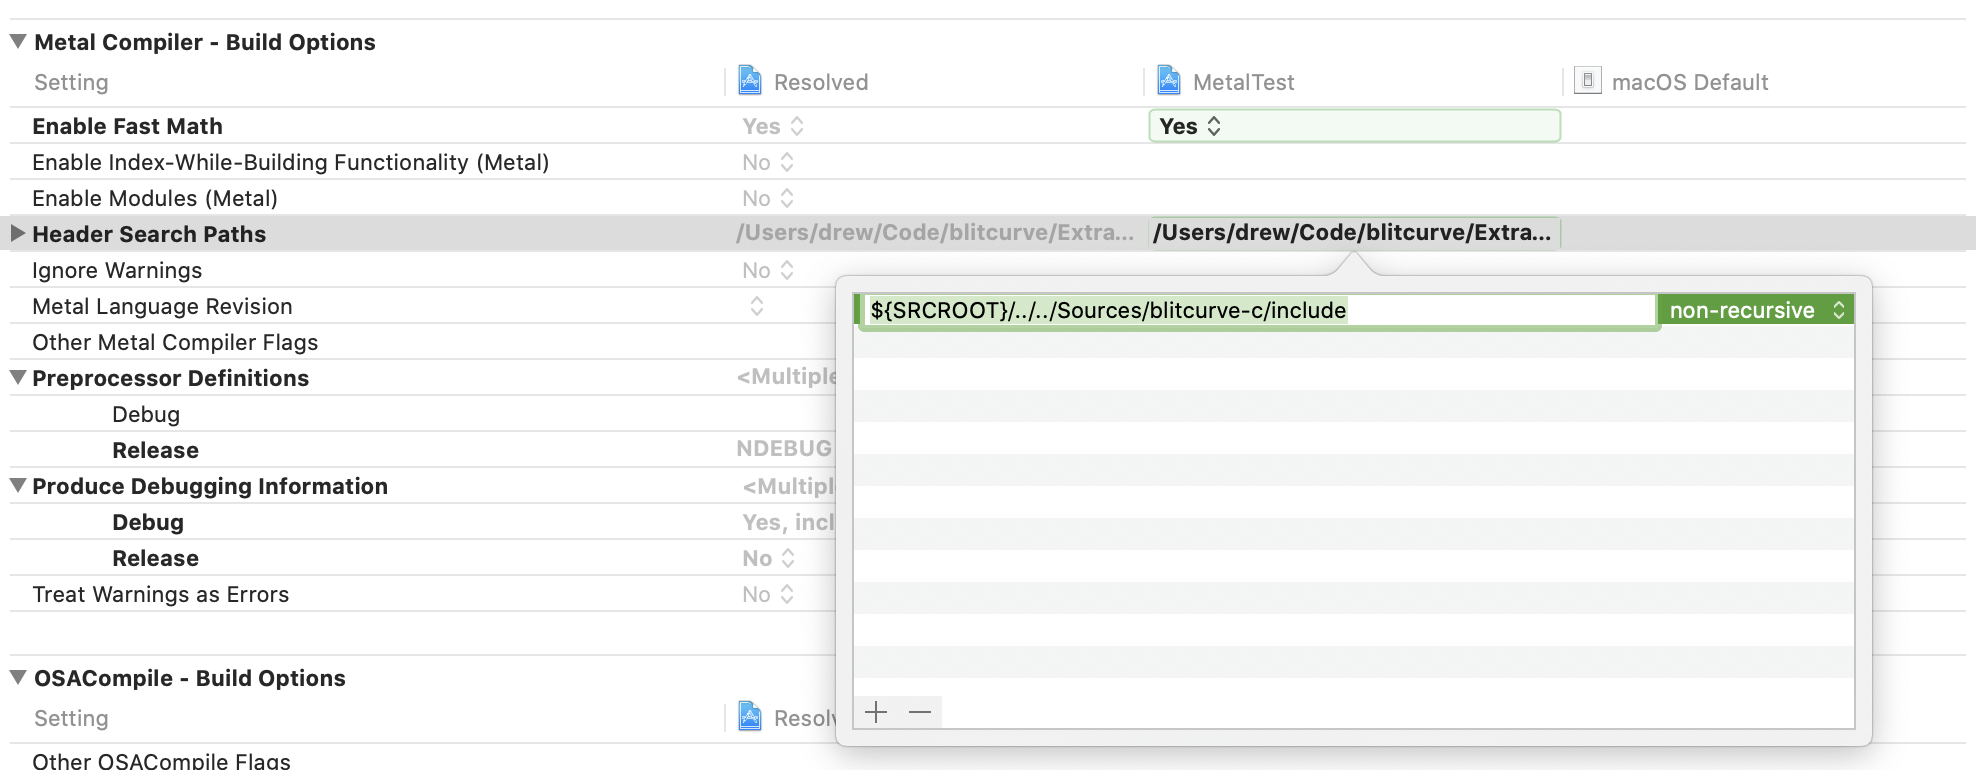
- Create a
MTLLINKER_FLAGScustom build setting. You can do this from Edit -> Add Build Setting -> Add User Defined Setting. The value for this setting is-L ${BUILT_PRODUCTS_DIR} -l blitcurve-metal.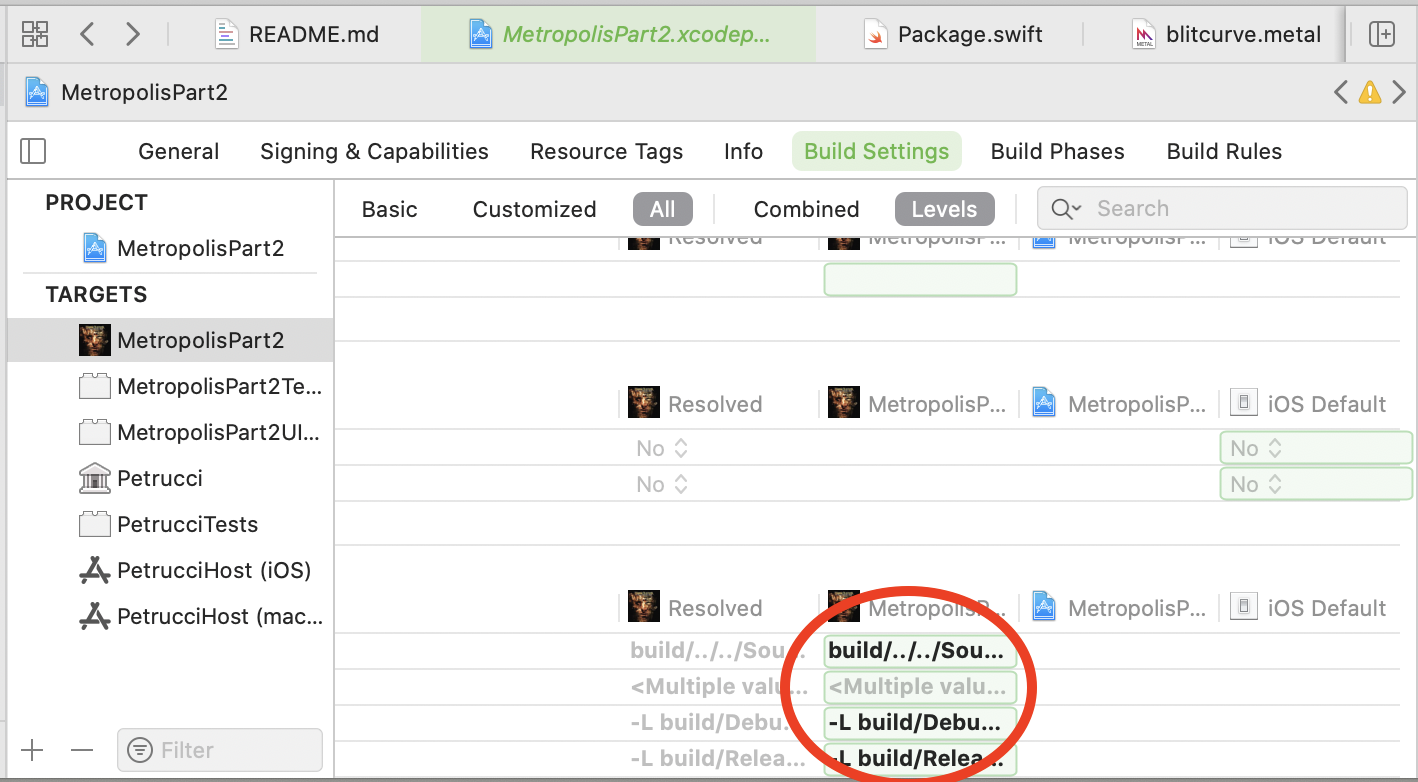
- Follow the instructions for the Metal only version
- Drag the blitcurve folder you created in the prior step underneath your xcodeproject in the lefthand pane. Xcode should recognize this as a Swift package.
- In your target settings, add blitcurve to your "Frameworks, Libraries, and Embedded Content".