-
Notifications
You must be signed in to change notification settings - Fork 32
Getting Started
To get started with this project, you will need to have .NET 7 and Databases installed on your local machine.
Once you have those installed, follow these steps:
The following tools will be needed to run the project
- Clone the repository to your local machine under /SuuCat directory
git clone https://github.com/ebubekirdinc/SuuCat.git
- Make sure Docker Desktop is running on your local machine.
Then run the following command on terminal at the root of the project to start the services on Docker:
docker-compose -f docker-compose.yml -f docker-compose.override.yml up -d- In Docker Desktop you will be able to see the containers.
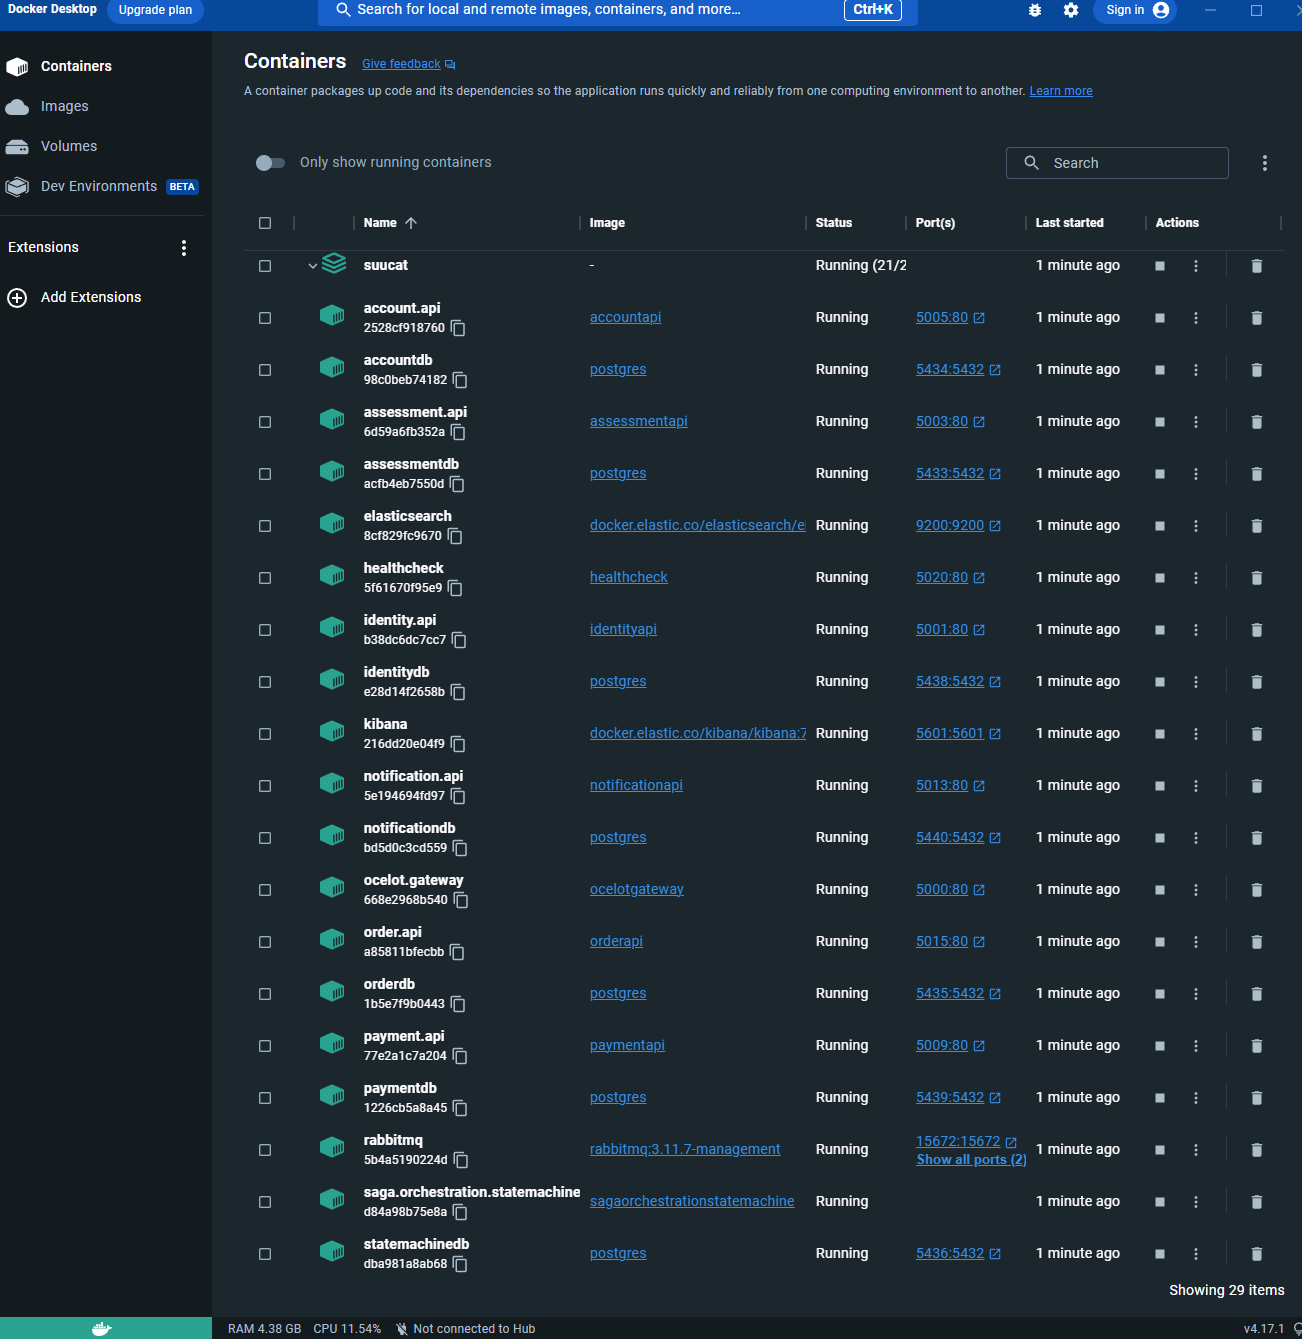
You can also check the containers on terminal with the following command:
docker ps
- Then you can see the swagger pages of the microservices.
Identity Microservice http://localhost:5001/swagger/index.html
Assessment Microservice http://localhost:5003/swagger/index.html
Account Microservice http://localhost:5005/swagger/index.html
Subscription Microservice http://localhost:5007/swagger/index.html
Payment Microservice http://localhost:5009/swagger/index.html
Discount Microservice http://localhost:5010/swagger/index.html
Notification Microservice http://localhost:5013/swagger/index.html
Order Microservice http://localhost:5015/swagger/index.html
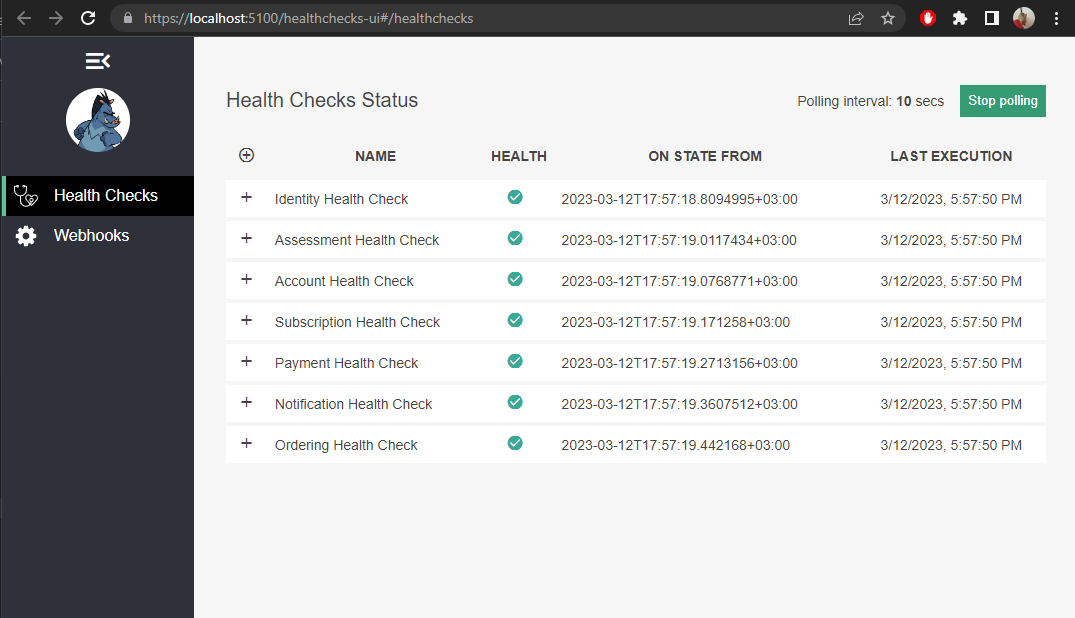
- Use the following url to see the health status of each microservice
HealthCheck http://localhost:5020/healthchecks-ui#/healthchecks
Click on the Expand All button to see the details of the health status of each microservice.
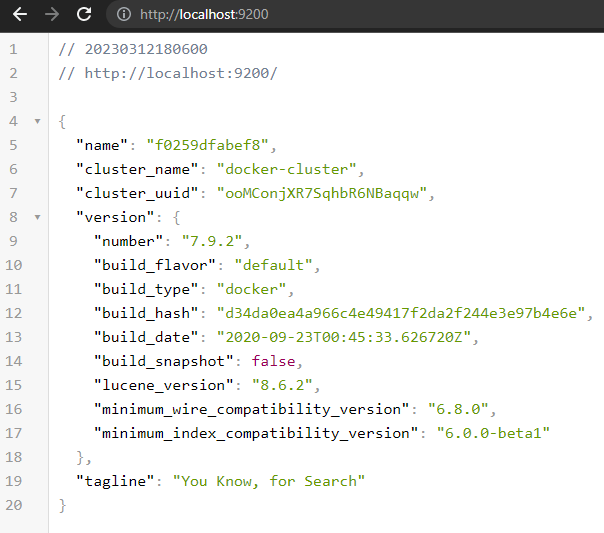
- Proceed to http://localhost:9200/ to get to the ElasticSearch page.
If you see the following screen, it means that ElasticSearch is up and running.
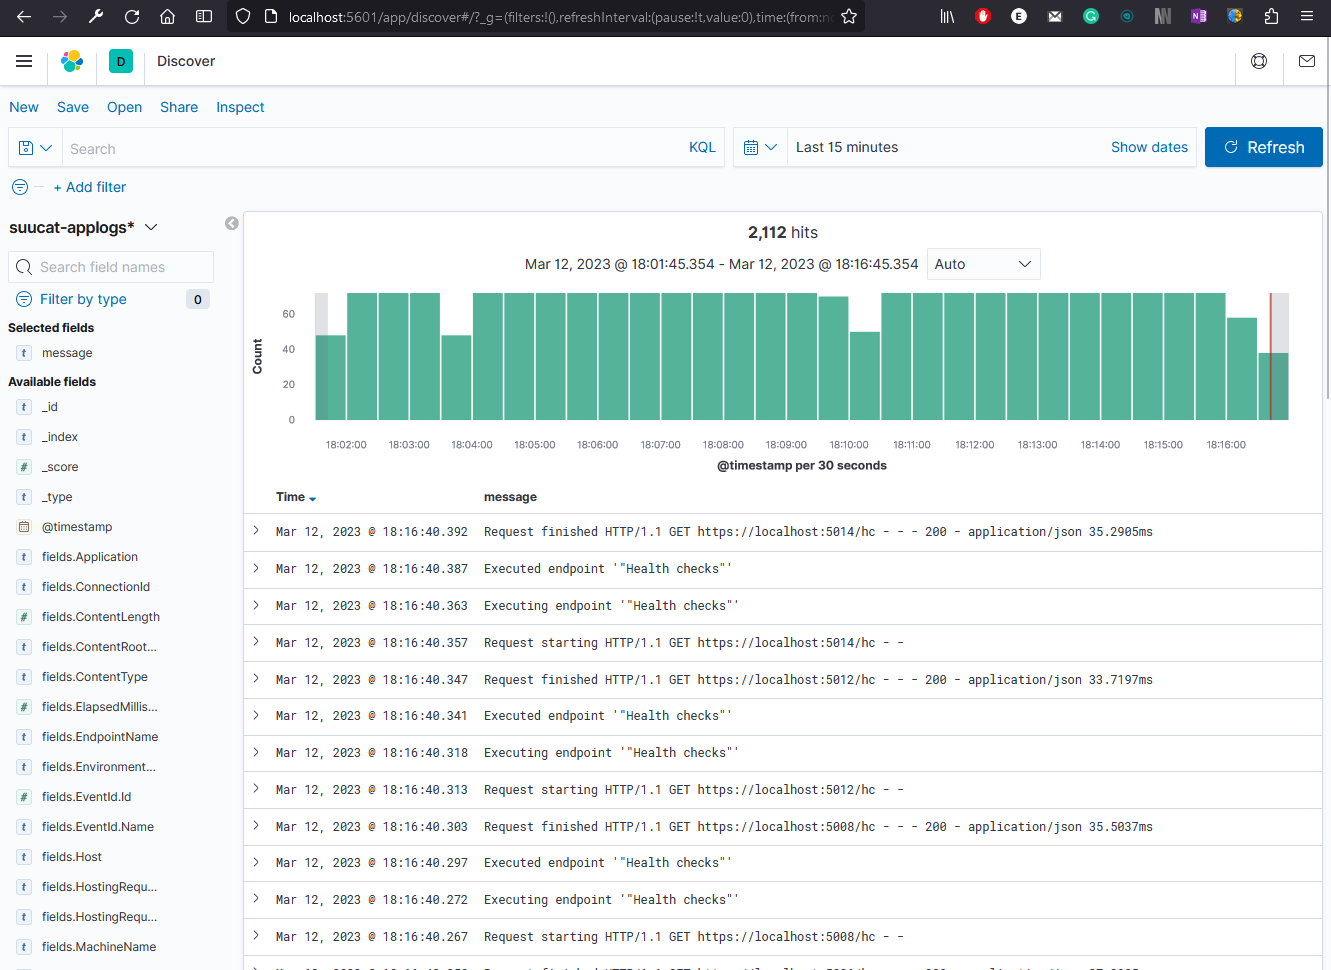
- Use the following url to see the logs of each microservice on Kibana.
Use default credentials to login to Kibana.
user: elastic
password: changeme
Then click on Discover button to see the logs of each microservice.
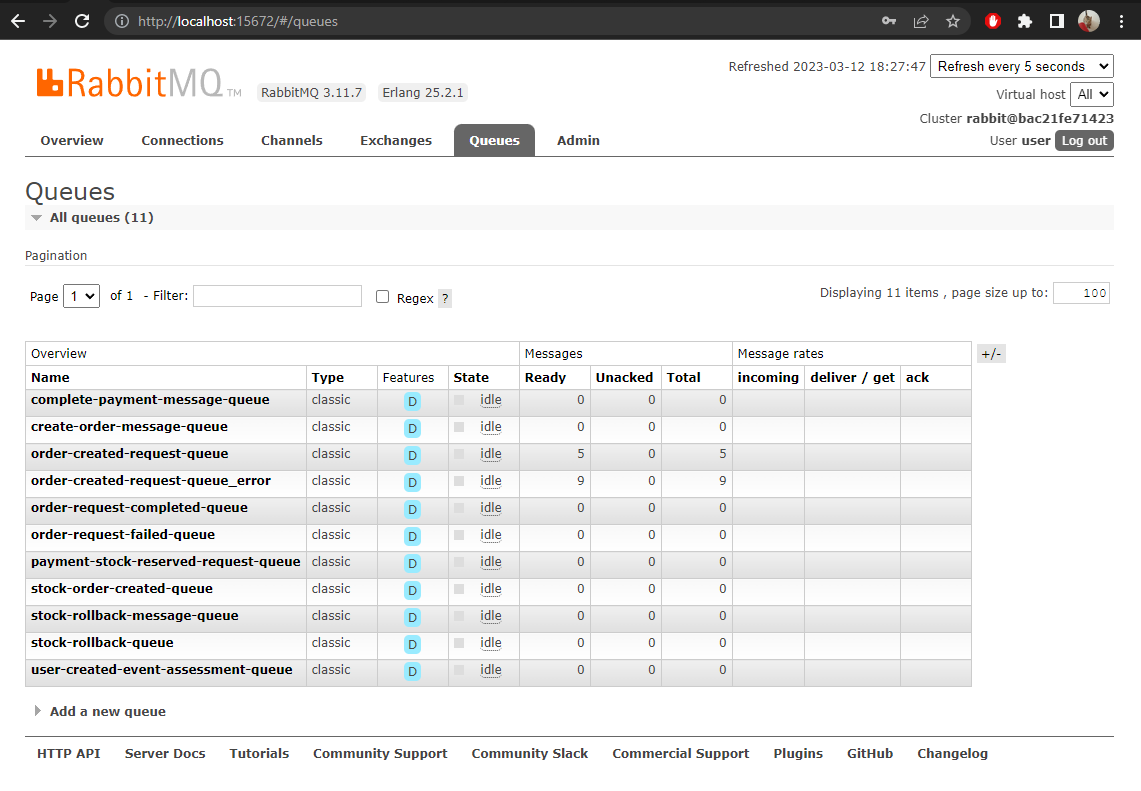
- Also check the following url to see the RabbitMq management page.
With the following credentials you can login to RabbitMq.:
user: user
password: password
