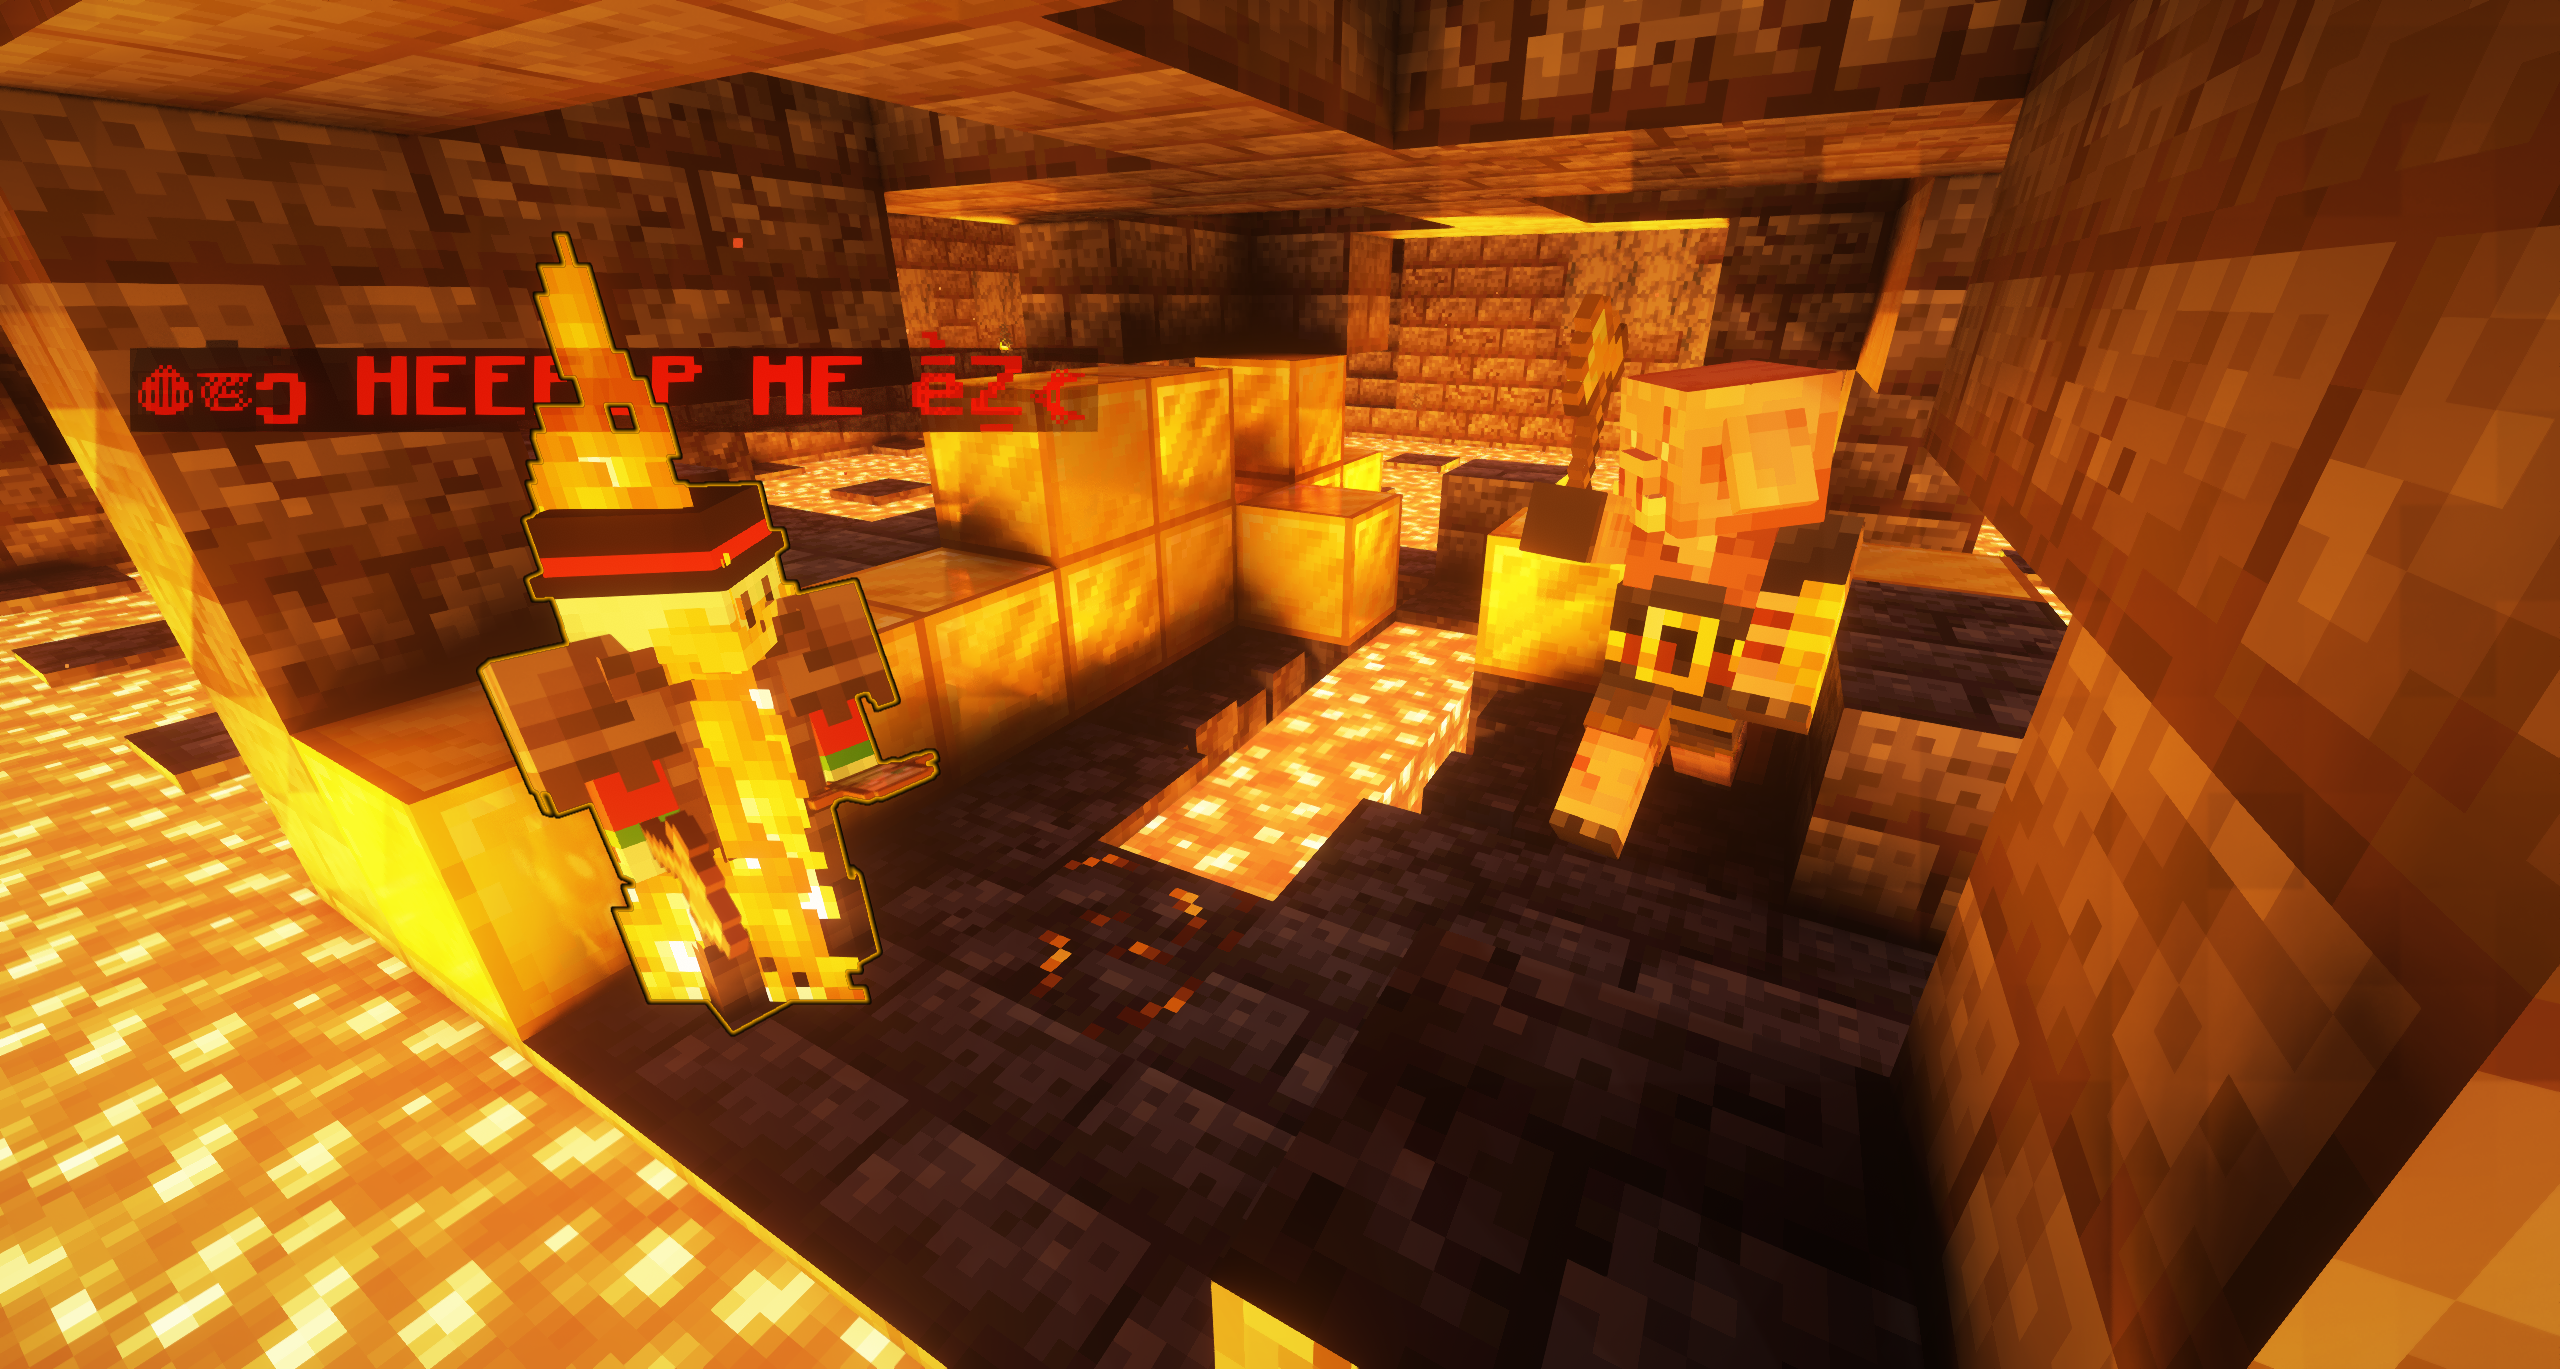
- Bukkit & Forks (including Folia) supported via ProtocolLib or PacketEvents
- Minestom supported
- Skin (Static and Dynamic loading)
- Attributes (Status, Pose, Skin Layers)
- Equipment (Main & Off Hand, Armor)
- Interaction (Interact & Attack)
- Action Controller (Automatic Looking at Player, Player Imitation & Spawning etc.)
- LabyMod Extension (Sending Emotes & Sprays)
- ...
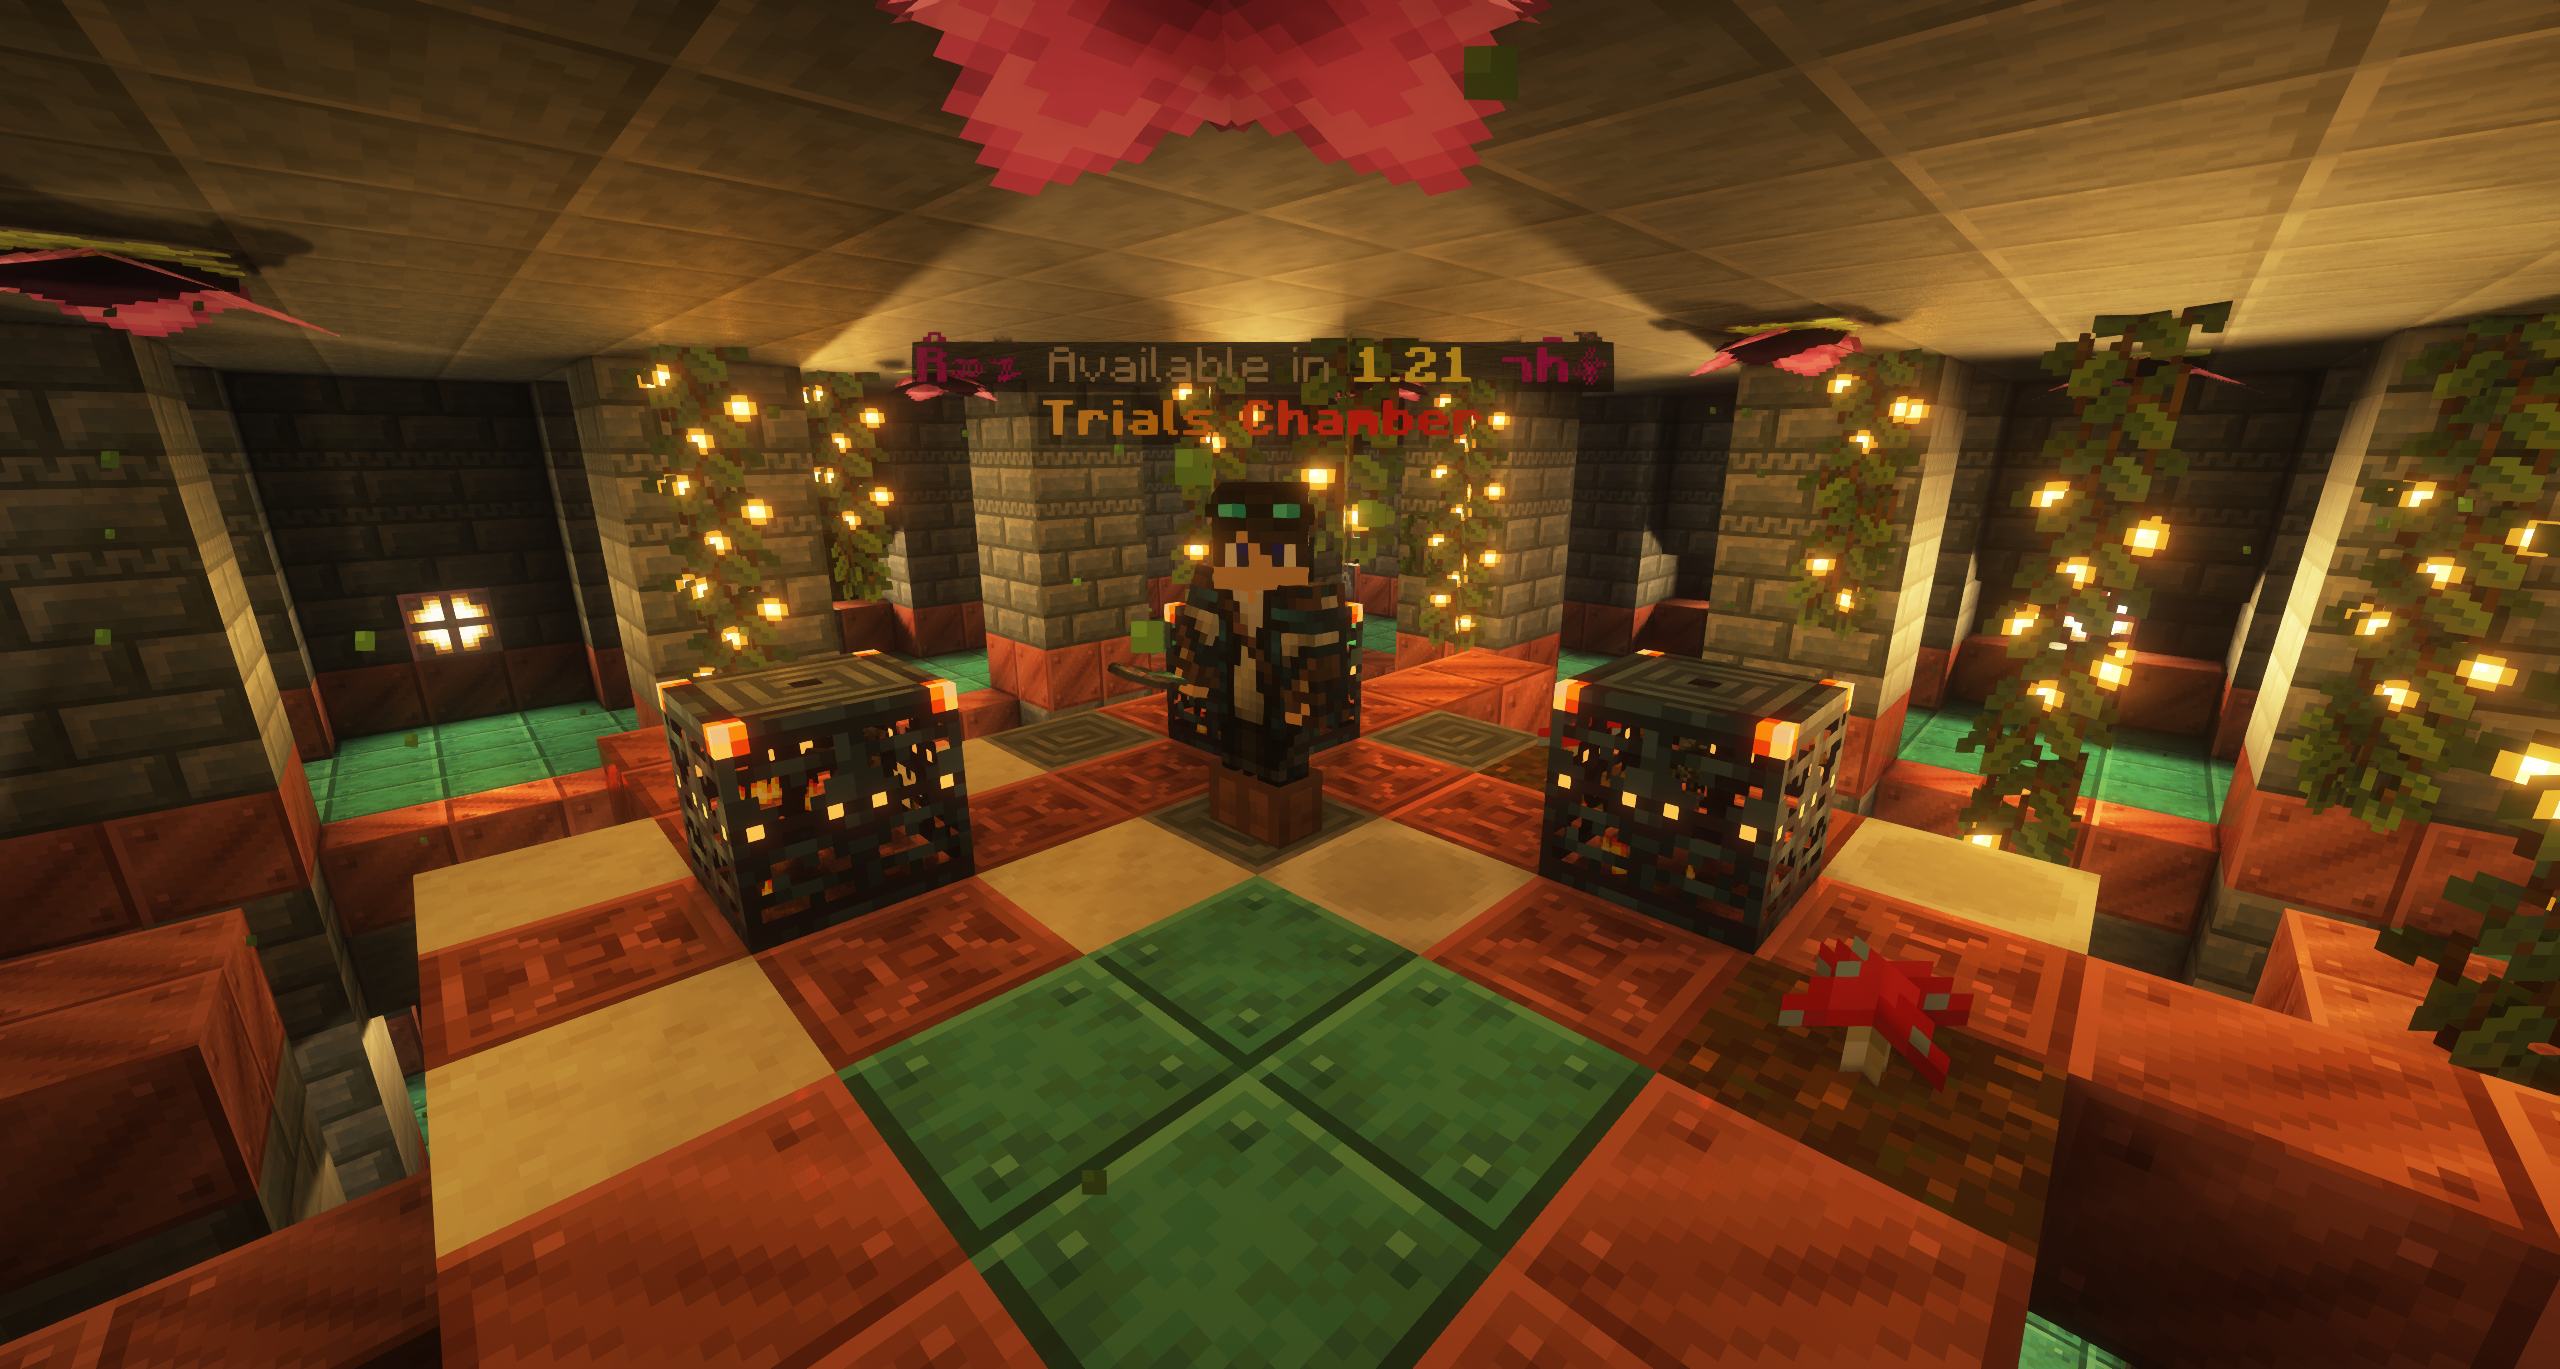
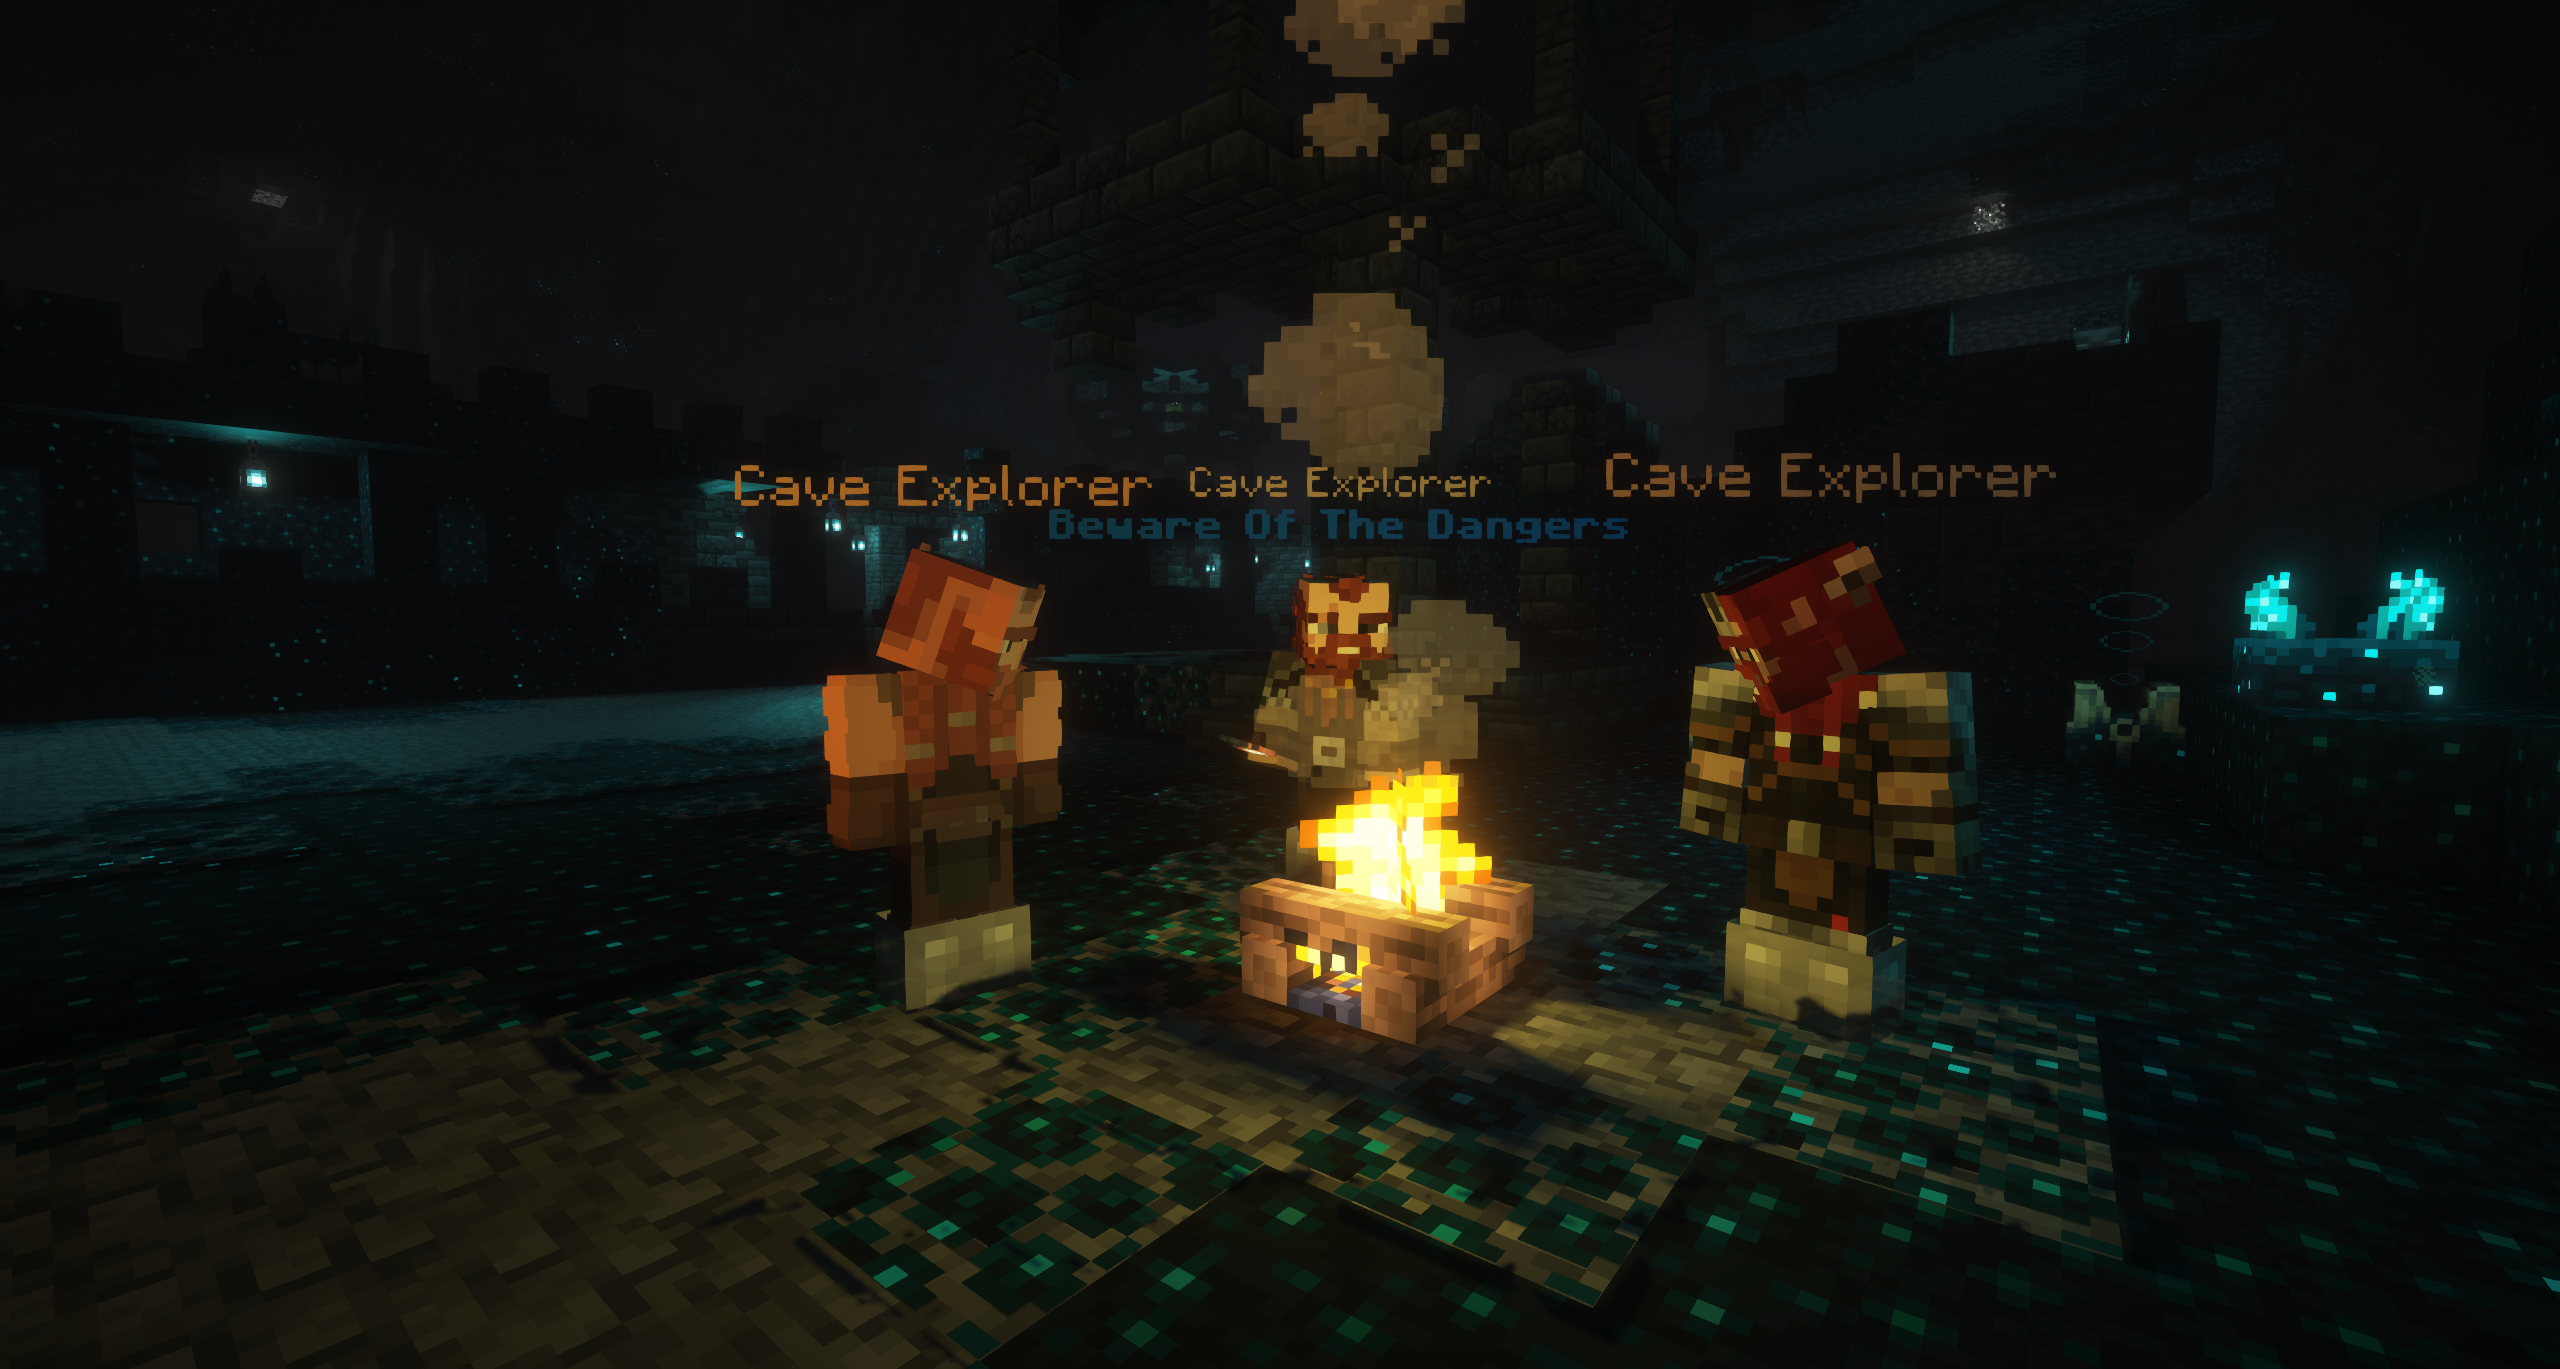
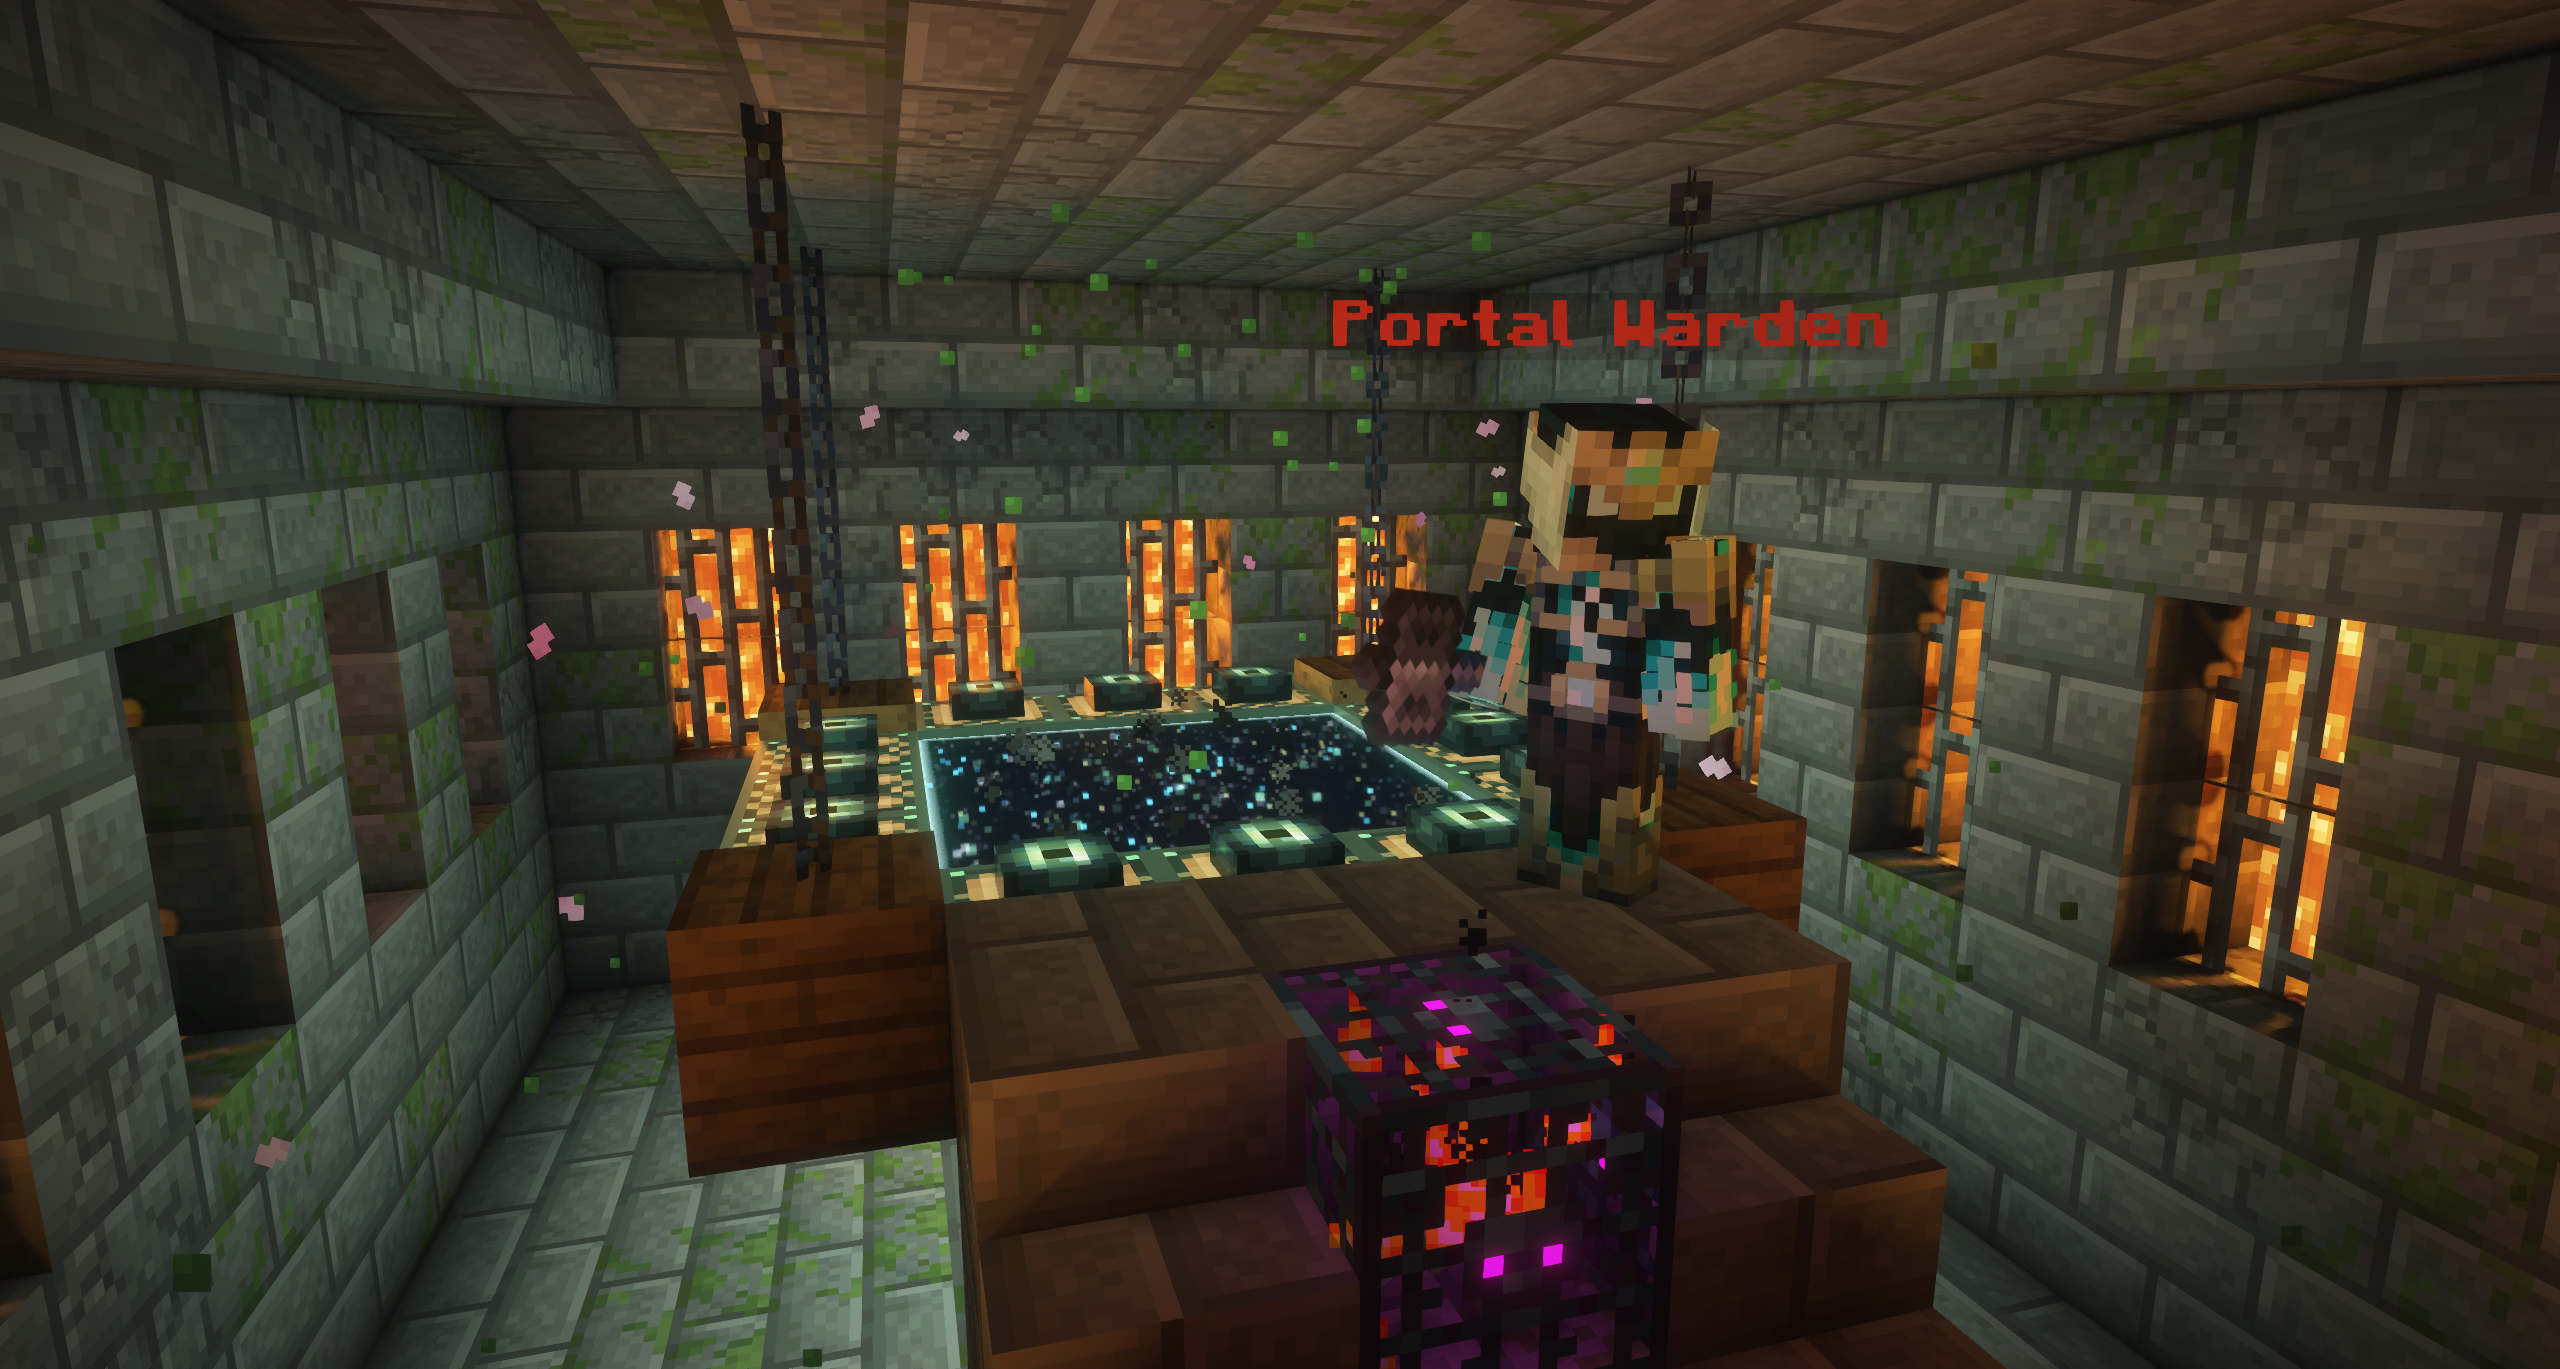
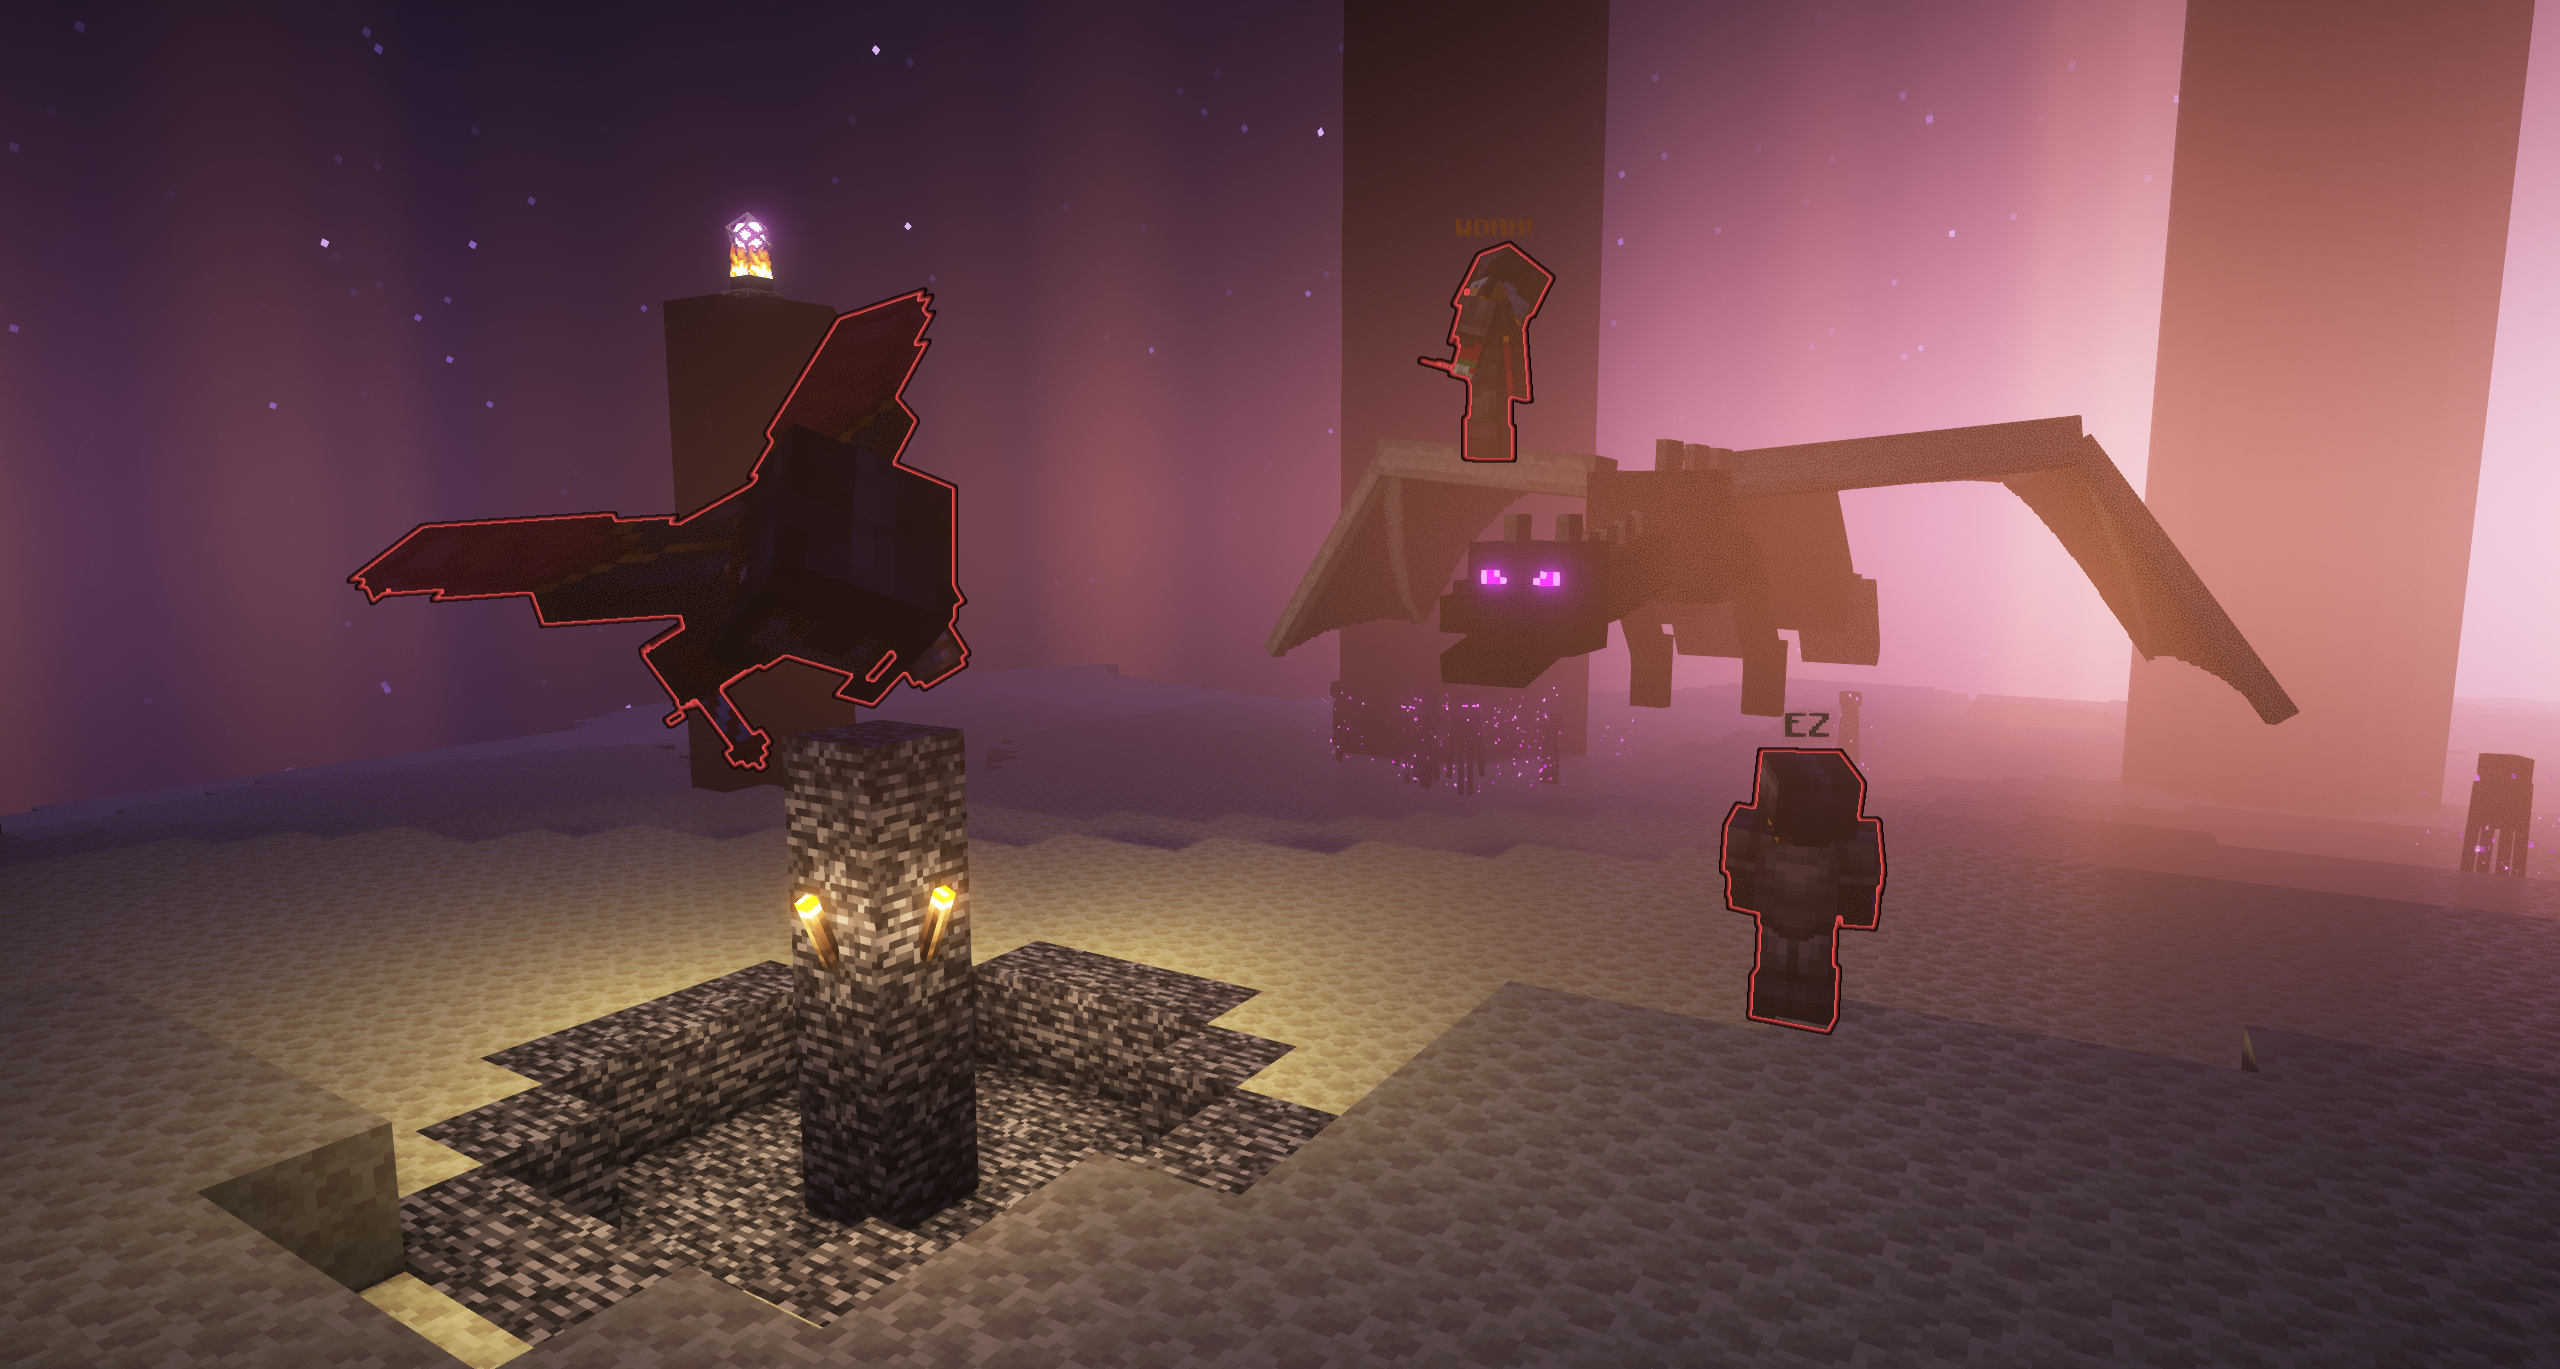
There are some images down below showcasing the use and features of this library.
All modules are available in maven central:
| Module artifact name | Module description |
|---|---|
| npc-lib-api | General NPC-Lib API without platform specific class usage. This module should be used when the underlying implementation does not matter. |
| npc-lib-common | Abstract implementation of the api module. This module should be used when a new platform implementation is made. |
| npc-lib-bukkit | Platform specific implementation for Bukkit. This module implements the complete API (and common) to support Bukkit (and forks). |
| npc-lib-minestom | Platform specific implementation for Minestom. This module implements the complete API (and common) to support Minestom (and forks). |
| npc-lib-labymod | This module contains helper methods for accessing LabyMod NPC features (such as emotes and stickers). See the LabyMod documentation for more information. |
Maven:
<dependency>
  <groupId>io.github.juliarn</groupId>
  <artifactId>(module name from the list above)</artifactId>
  <version>(latest version)</version>
  <scope>compile</scope>
</dependency>
Gradle:
implementation("io.github.juliarn", "(module name from the list above)", "(latest version)")Depending on your setup you might need to add the following repositories as well to download all the transitive dependencies coming from the modules:
https://repo.papermc.io/repository/maven-public/(For PaperLib)https://repository.derklaro.dev/releases/(You can also usehttps://jitpack.ioinstead, used e.g. for ProtocolLib).https://repo.codemc.io/repository/maven-releases/(For PacketEvents)https://s01.oss.sonatype.org/content/repositories/snapshots/(For all kinds of snapshot dependencies that don't have a stable release published to maven central yet)
This library is specifically made in a way that it can be shaded into your plugin jar. Below is a list of packages that are used by this library and that you probably want to relocate to prevent dependency issues with other plugins including the same libraries. You can use the gradle or maven shade plugin to achieve this:
net.kyoriio.papermc.libio.leangen.geantyrefio.github.retroopercom.github.retroopercom.github.juliarn.npclib
Platform specific (server software specific) code is only needed to obtain a platform instance. The platform instance can then be used to create NPCs, without knowing which underlying platform is actually used.
Usually all classes you need provide a builder and shouldn't be instantiated directly. To obtain a platform builder use the following:
BukkitPlatform.bukkitNpcPlatformBuilder()MinestomPlatform.minestomNpcPlatformBuilder()In all further examples bukkit will be used as a reference, but the api is the same on all other platforms:
BukkitPlatform.bukkitNpcPlatformBuilder()
  // enables debug logging in the platform. this mostly enables errors
  // to be printed into the console directly instead of being held back
  // to prevent spamming the console.
  // Defaults to false (debug disabled).
  .debug()
  // sets the extension of the platform, which is usually the plugin that
  // uses the plugin. on bukkit this is for example used to schedule sync
  // tasks using the bukkit scheduler.
  // This option has no default and must be set.
  .extension()
  // the logger to use for internal logging of the library. while this logger
  // has the possibility to log info messages, the level won't be used unless
  // information relevant to the user are being printed.
  // Defaults to a platform-specific logger instance, on bukkit it uses an
  // implementation which is backed by the plugin logger.
  .logger()
  // the event manager to use for the platform. all events, such as npc interacts
  // or spawns are propagated using this event manager.
  // Defaults to an internal default implementation.
  .eventManager()
  // the tracker for npcs that are created by this library. as explained below
  // a spawned npc can either be tracked or kept untracked if not needed.
  // the tracker is used to store all spawned npcs and automatically execute
  // actions on them, for example automatic spawning when a player moves into
  // their spawn distance. it's also used to fire npc events such as interact when
  // an interact packet is received.
  // Defaults to an internal default implementation.
  .npcTracker()
  // a scheduler for tasks that need to be executed either sync or async. the
  // implementation depends on the platform, for bukkit it's backed by the bukkit
  // scheduler, on minestom the minestom scheduler is used.
  // Defaults to a platform-specific implementation.
  .taskManager()
  // the resolver to use for npc profiles. the resolver is given an unresolved
  // version of a profile (for example only an uuid or name) and completes the
  // profile data (name, uuid, textures).
  // see BukkitProfileResolver for the available resolvers on bukkit (paper or spigot)
  // Defaults to a platform-specific implementation.
  .profileResolver()
  // the resolver for worlds of npcs. each npc position contains a world identifier
  // which is resolved using this resolver. the resolver can also provide the
  // identifier of a world using the world instance.
  // see BukkitWorldAccessor for the available resolvers on bukkit (name or key based)
  // see MinestomWorldAccessor for the available resolver on minestom (uuid based)
  // Defaults to a platform-specific implementation.
  .worldAccessor()
  // the provider for version information about the current platform. it's internally
  // used to determine which features can be used. an example is the profile resolver:
  // when on paper 1.12 or later the paper profile resolver is used, when on spigot
  // 1.18.2 or later the spigot profile resolver is used, else a fallback mojang api
  // based access is used.
  // see BukkitVersionAccessor for the bukkit implementations (PaperLib based)
  // see MinestomVersionAccessor for the minestom implementation
  // Defaults to a platform-specific implementation.
  .versionAccessor()
  // the factory for packets that need to be sent in order to spawn and manage npcs.
  // see BukkitProtocolAdapter for the available options on Bukkit (ProtocolLib or PacketEvents)
  // see MinestomProtocolAdapter for the minestom implementation
  // Defaults to a platform-specific implementation.
  .packetFactory()
  // configures the default action controller for the platform. if this method isn't called
  // during the build process, the default action controller is disabled. the method provides
  // a builder which can be used to modify the settings of the action controller. if the default
  // values should be used, don't call any methods and just provide an empty lambda.
  .actionController(builder -> builder
    .flag(NpcActionController.SPAWN_DISTANCE, 5))
  // builds the final platform object which can then be used to spawn and manage npcs
  .build();
The standard action controller controls stuff like automatic npc spawning, player imitation and more. The action
controller implementations are controlled by flags which can be dynamically adjusted as needed. Custom flags can also
be added to control extra stuff that isn't directly available using the default action controller. The default action
controller flags are the following (all located as constants in the NpcActionController class):
| Flag Name | Default Value | Description |
|---|---|---|
| AUTO_SYNC_POSITION_ON_SPAWN | true | Controls if the npc head rotation should automatically be set when the npc is spawned for a player. This only does something when the npc is set up to look at the player. |
| SPAWN_DISTANCE | 50 | The distance (in blocks) in which the npc will be shown to a player. |
| TAB_REMOVAL_TICKS | 30 | The ticks before the player removal packet is sent when spawning an npc. This can be lowered on newer versions (1.19.3+) as the player isn't added to the tablist at all due to new protocol options. |
| IMITATE_DISTANCE | 20 | The distance (in blocks) in which the npc will start imitating the player actions. |
The platform object constructed in the last step contains a method to construct a NPC builder: newNpcBuilder. This
builder can be used to customize and spawn a npc:
platform.newNpcBuilder()
  // the id to use for the entity. if not provided a random integer is generated and used instead.
  .entityId()
  // the position where the npc should be spawned and located.
  // this option is required and must be set before spawning the npc.
  .position()
  // sets resolved or unresolved profile for the npc. if an unresolved profile is used the method
  // returns a future completed with the current build when the profile was resolved. a specific
  // profile resolver to use can be provided as well.
  .profile()
  // allows to add additional settings to the npc:
  //  - a tracking rule to select the players which should be tracked automatically by the npc
  //  - a profile resolver which can dynamically resolve the npc profile when it gets spawned
  // if no builder callback is provided default npc settings are applied. this means that the npc will be
  // spawned to all players in range and the skin (via the profile) provided to this builder will always be used.
  .npcSettings()
  // sets a value for a flag on the npc.
  .flag();
There are two ways to build a final npc instance: build and buildAndTrack. The first option only builds a raw NPC
instance, leaving the full control to the caller which actions should be executed on the NPC. The second one uses the
npc tracker of the base platform to track the npc, allowing the action controller and packet listeners to call actions
for the NPC.
Some action controller related settings can also be done by using the npc flags (provided as constants in NPC).
However, flags can also be used to add custom markers or settings to any flagged object, for example to store the base
configuration from which a NPC was created.
| Flag Name | Default Value | Description |
|---|---|---|
| LOOK_AT_PLAYER | false | Controls if tracked NPCs should automatically look at the player (only has an effect if the action controller is enabled on the platform) |
| HIT_WHEN_PLAYER_HITS | false | Controls if tracked NPCs should swing their main hand in case the player swings his main hand (only has an effect if the action controller is enabled on the platform) |
| SNEAK_WHEN_PLAYER_SNEAKS | false | Controls if tracked NPCs should sneak when the player sneaks (only has an effect if the action controller is enabled on the platform) |
This library provides some events to catch when certain actions are executed. Note that all events shown below are not platform specific. Event listeners must be registered into the event manager provided by the platform and not, for example, into the bukkit event system. Note that event listeners can be called from any thread, there is no guarantee that events happen on a specific thread (such as the main server thread). For example, if you need to access the Bukkit api, make sure that you manually execute the corresponding code on the main server thread.
| Event Class Name | Description |
|---|---|
| AttackNpcEvent | Fired when a player hits (attacks) a NPC |
| InteractNpcEvent | Fired when the player interacts with a NPC. Note that due to Minecraft weirdness this event is always called for both player hands at the moment. |
| ShowNpcEvent.Pre | Fired before a NPC is spawned for a player. This event can be cancelled to prevent this action. |
| ShowNpcEvent.Post | Fired after a NPC was successfully spawned to a player. |
| HideNpcEvent.Pre | Fired before a NPC is despawned for a player. This event can be cancelled to prevent this action. |
| HideNpcEvent.Post | Fired after a NPC was successfully despawned for a player. |
Unfortunately events cannot be fired typesafe. Therefore, the player instance must be known to the event receiver and must be put into a typed variable to give it a specific type rather than object:
public final class AttackEventConsumer implements NpcEventConsumer<AttackNpcEvent> {
  @Override
  public void handle(AttackNpcEvent event) {
    var badPlayer = event.player(); // player type is object as the type couldn't be inferred
    Player goodPlayer = event.player(); // player type is Player, but it must be known at compile time
  }
}The following code is a minimal example how a platform object is created and an NPC is spawned. In this example the
default action controller is enabled which means that after spawning the npc using buildAndTrack the npc will
automatically be spawned and shown to players in a 50 block range:
public final class TestPlugin extends JavaPlugin {
  private final Platform<World, Player, ItemStack, Plugin> platform = BukkitPlatform
    .bukkitNpcPlatformBuilder()
    .extension(this)
    .actionController(builder -> {}) // enable action controller without changing the default config
    .build();

  public void spawnNpc(Location location) {
    this.platform.newNpcBuilder()
      .position(BukkitPlatformUtil.positionFromBukkitLegacy(location))
      .profile(Profile.unresolved("derklaro"))
      .thenAccept(builder -> {
        var npc = builder.buildAndTrack();
        // continue using the npc...
        npc.unlink(); // when the npc is no longer needed it can be completely removed using this method
      });
  }
}As mentioned above the action controller can be changed using flags. In this example the action controller of the platform is configured in a way that NPCs are shown to players being 100 blocks away and simulation already starts when the player is 50 block away:
public final class TestPlugin extends JavaPlugin {
  private final Platform<World, Player, ItemStack, Plugin> platform = BukkitPlatform
    .bukkitNpcPlatformBuilder()
    .extension(this)
    .actionController(builder -> builder
      .flag(NpcActionController.SPAWN_DISTANCE, 100)
      .flag(NpcActionController.IMITATE_DISTANCE, 50))
    .build();
}Sometimes it's crucial that specific stuff is always setup the same, which isn't the case for some settings. In this example the protocol adapter will be set to always use PacketEvents (rather than preferring ProtocolLib when available on the server) and the world resolver will always use the world name (instead of using the world key in modern versions on paper):
public final class TestPlugin extends JavaPlugin {
  private final Platform<World, Player, ItemStack, Plugin> platform = BukkitPlatform
    .bukkitNpcPlatformBuilder()
    .extension(this)
    .packetFactory(BukkitProtocolAdapter.packetEvents())
    .worldAccessor(BukkitWorldAccessor.nameBasedAccessor())
    .build();
}In this example the spawned NPC is configured to use the skin of the player it is being spawned to, as well as only being spawned to players that have reached an exp count of 50 or higher:
public final class TestPlugin extends JavaPlugin {
  public void spawnNpc(Location location) {
    this.platform.newNpcBuilder()
      .position(BukkitPlatformUtil.positionFromBukkitLegacy(location))
      .npcSettings(builder -> builder
        .profileResolver((player, npc) -> {
          // copy the profile properties into the profile of the npc to preserve the name
          // and uuid of the npc and not use the player name / uuid instead.
          var playerProfile = Profile.unresolved(player.getUniqueId());
          return this.platform.profileResolver()
            .resolveProfile(playerProfile)
            .thenApply(profile -> npc.profile().withProperties(profile.properties()));
        })
        .trackingRule((npc, player) -> player.getExp() >= 50))
      .profile(Profile.unresolved("derklaro"))
      .thenAccept(builder -> {
        var npc = builder.buildAndTrack();
        // continue using the npc...
      });
  }
}Custom flags can be quite helpful when spawning a NPC, for example if the NPC was spawned based off a configuration: a flag can be used to keep the original configuration entry around, for example to easily allow modification or to resolve additional settings on an NPC interact:
public final class TestPlugin extends JavaPlugin {
  private static final NpcFlag<NpcEntry> CONFIG_ENTRY_FLAG = NpcFlag.flag("npc_config_entry", null);

  public void spawnNpc(NpcEntry configEntry) {
    this.platform.newNpcBuilder()
      .flag(CONFIG_ENTRY_FLAG, configEntry)
      .position(BukkitPlatformUtil.positionFromBukkitLegacy(configEntry.location()))
      .profile(Profile.unresolved(configEntry.profileName()))
      .thenAccept(builder -> {
        var npc = builder.buildAndTrack();
        var configEntry = npc.flagValue(CONFIG_ENTRY_FLAG).orElseThrow();
        // continue using the npc...
      });
  }
}By default, a NPC will not imitate any actions the players and will not look at the player. In this example the flags will be set to enable that behaviour: the NPC will look at the player and imitate if the player hits or sneaks:
public final class TestPlugin extends JavaPlugin {
  public void spawnNpc(Location location) {
    this.platform.newNpcBuilder()
      .flag(Npc.LOOK_AT_PLAYER, true) // look at the player
      .flag(Npc.HIT_WHEN_PLAYER_HITS, true) // swing main hand when the player does so
      .flag(Npc.SNEAK_WHEN_PLAYER_SNEAKS, true) // sneak when the player does so
      .position(BukkitPlatformUtil.positionFromBukkitLegacy(location))
      .profile(Profile.unresolved("derklaro"))
      .thenAccept(builder -> {
        var npc = builder.buildAndTrack();
        // continue using the npc...
      });
  }
}When a NPC is tracked when being spawned the protocol will catch interacts with it and fire a corresponding lib event
depending on the action that was taken. When being attacked (usually triggered by a left click) a AttackNpcEvent event
is fired, when being interacted with (usually triggered by a right click) a InteractNpcEvent event is set off:
public final class TestPlugin extends JavaPlugin {
  private final Platform<World, Player, ItemStack, Plugin> platform = BukkitPlatform
    .bukkitNpcPlatformBuilder()
    .extension(this)
    .actionController(builder -> {}) // enable action controller without changing the default config
    .build();

  public void registerNpcListeners() {
    var eventManager = this.platform.eventManager();
    eventManager.registerEventHandler(AttackNpcEvent.class, attackEvent -> {
      var npc = attackEvent.npc();
      Player player = attackEvent.player();
      player.sendMessage("You attacked NPC " + npc.profile().name() + "! That's not nice!");
    });
    eventManager.registerEventHandler(InteractNpcEvent.class, interactEvent -> {
      var npc = interactEvent.npc();
      Player player = interactEvent.player();
      player.sendMessage("[" + npc.profile().name() + "]: Move along citizen!");
    });
  }
}Some Minecraft functionalities are controlled by metadata. This includes for example sneaking, skin layers or the entity status. Note: in the example shown below the entity status will be reset when the npc meta of sneaking is updated. Therefore, the auto sneaking action is basically exclusive with the entity status settings:
public final class TestPlugin extends JavaPlugin {
  private final Platform<World, Player, ItemStack, Plugin> platform = BukkitPlatform
    .bukkitNpcPlatformBuilder()
    .extension(this)
    .actionController(builder -> {}) // enable action controller without changing the default config
    .build();

  public void registerNpcListeners() {
    var eventManager = this.platform.eventManager();
    eventManager.registerEventHandler(ShowNpcEvent.Post.class, showEvent -> {
      var npc = showEvent.npc();
      Player player = showEvent.player();

      // enable all skin players
      npc.changeMetadata(EntityMetadataFactory.skinLayerMetaFactory(), true).schedule(player);

      // set the npc on fire
      // note: the glowing entity status must be sent in order for the entity to appear glowing. The logic of adding
      // the npc into a team and setting the glowing color must be handled by your plugin.
      var entityStatus = EnumSet.of(EntityStatus.ON_FIRE);
      npc.changeMetadata(EntityMetadataFactory.entityStatusMetaFactory(), entityStatus).schedule(player);
    });
  }
}You can add items into the main hand, off hand & armor inventory item slots of a NPC:
public final class TestPlugin extends JavaPlugin {
  private final Platform<World, Player, ItemStack, Plugin> platform = BukkitPlatform
    .bukkitNpcPlatformBuilder()
    .extension(this)
    .actionController(builder -> {}) // enable action controller without changing the default config
    .build();

  public void registerNpcListeners() {
    var eventManager = this.platform.eventManager();
    eventManager.registerEventHandler(ShowNpcEvent.Post.class, showEvent -> {
      var npc = showEvent.npc();
      Player player = showEvent.player();

      // puts a dragon egg into the main hand of the npc
      var dragonEggItem = new ItemStack(Material.DRAGON_EGG);
      npc.changeItem(ItemSlot.MAIN_HAND, dragonEggItem).schedule(player);
    });
  }
}The NPC class contains a lot of utility methods to work with a NPC, some of them were shown already. This collection here shows some additional useful methods that can be used when working with the NPC. Note that all constructed packets below are only sent to one specific player. If you want other players to see the change as well you can either provide a list of players to send the change to or schedule it for all players that are tracked by the NPC (only works when the action controller is enabled in the platform):
public final class TestPlugin extends JavaPlugin {
  private final Platform<World, Player, ItemStack, Plugin> platform = BukkitPlatform
    .bukkitNpcPlatformBuilder()
    .extension(this)
    .actionController(builder -> {}) // enable action controller without changing the default config
    .build();

  public void registerNpcListeners() {
    var eventManager = this.platform.eventManager();
    eventManager.registerEventHandler(ShowNpcEvent.Post.class, showEvent -> {
      var npc = showEvent.npc();
      Player player = showEvent.player();

      // let the NPC look into the direction of 0, 50, 0
      var spawnLocation = Position.position(0, 50, 0, npc.position().worldId());
      npc.lookAt(spawnLocation).schedule(player);

      // lets the NPC swing his main arm
      npc.playAnimation(EntityAnimation.SWING_MAIN_ARM).schedule(player);

      // sets the player head rotation to yaw=0 & pitch=90
      npc.rotate(0, 90).schedule(player);
    });
  }
}Sometimes you don't want to leave the job of automatically (de-) spawning a npc to the action controller. In these cases you need to track and untrack the players manually from a NPC:
public final class TestPlugin extends JavaPlugin {
  public void spawnNpcToPlayer(Npc<World, Player, ItemStack, Plugin> npc, Player player) {
    // use this method if you want to spawn the npc to the player, but only if all preconditions
    // (such as the player tracking rule) are met. You can manually check if a player would be
    // tracked by a npc by calling: `npc.shouldIncludePlayer(player)`.
    npc.trackPlayer(player);

    // Use this method if you want to spawn the npc to the player even is preconditions aren't met.
    // Note: this still calls the ShowNpc.Pre event which can still be cancelled by one of your event
    // listeners causing the npc to not get spawned for the player.
    npc.forceTrackPlayer(player);
  }

  public void removeNpcForPlayer(Npc<World, Player, ItemStack, Plugin> npc, Player player) {
    // despawns the npc for the given player unless the npc is not spawned for the player. you can always
    // check the players for which a NPC is spawned by calling `npc.trackedPlayers()` or check for a
    // specific player by using `npc.tracksPlayer(player)`.
    // Note: this method calls the HideNpcEvent.Pre event which means that an event listener can
    // prevent the npc despawn process from being executed.
    npc.stopTrackingPlayer(player);
  }
}Using the LabyMod extension module, packets can be constructed to make the players do LabyMod emotes and Sprays. Note that NPCs must be spawned with their second uuid half being zeroed to use this feature. The factory only supports LabyMod version 4 (neo). A detailed explanation of the mentioned limitation and a list of available emotes can be found in the LabyMod Developer Documentation:
public final class TestPlugin extends JavaPlugin {
  public void playLabyModEmoteForPlayer(Npc<World, Player, ItemStack, Plugin> npc, Player player, int... emoteIds) {
    LabyModExtension.createEmotePacket(npc.platform().packetFactory(), emoteIds).schedule(player, npc);
  }
}Follow these steps to build and publish the library to your local maven repository:
git clone https://github.com/juliarn/npc-lib.git
cd npc-lib
gradlew publishToMavenLocalFeel free to open a pull request to add your image to this list.


