-
Notifications
You must be signed in to change notification settings - Fork 0
v0.4.0 Lab 5 Extend test coverage
In this lab you will enhance an existing module by adding additional tests.
For this lab, we will use another simple and quick to deploy module: availabilitySets.
- Step 1 - Examine the module
- Step 2 - Update existing parameter file
- Step 3 - Add a new parameter file
- Step 4 - Add the new file to the workflow
- Step 5 - Upload your changes to GitHub
- Step 6 - Test the deployment
- Optional Appendix
-
In your VSCode, navigate to the path
arm/Microsoft.Compute/availabilitySets. You will notice thereadme.mdfile describes several parameters and only one of them,name, is marked asRequired.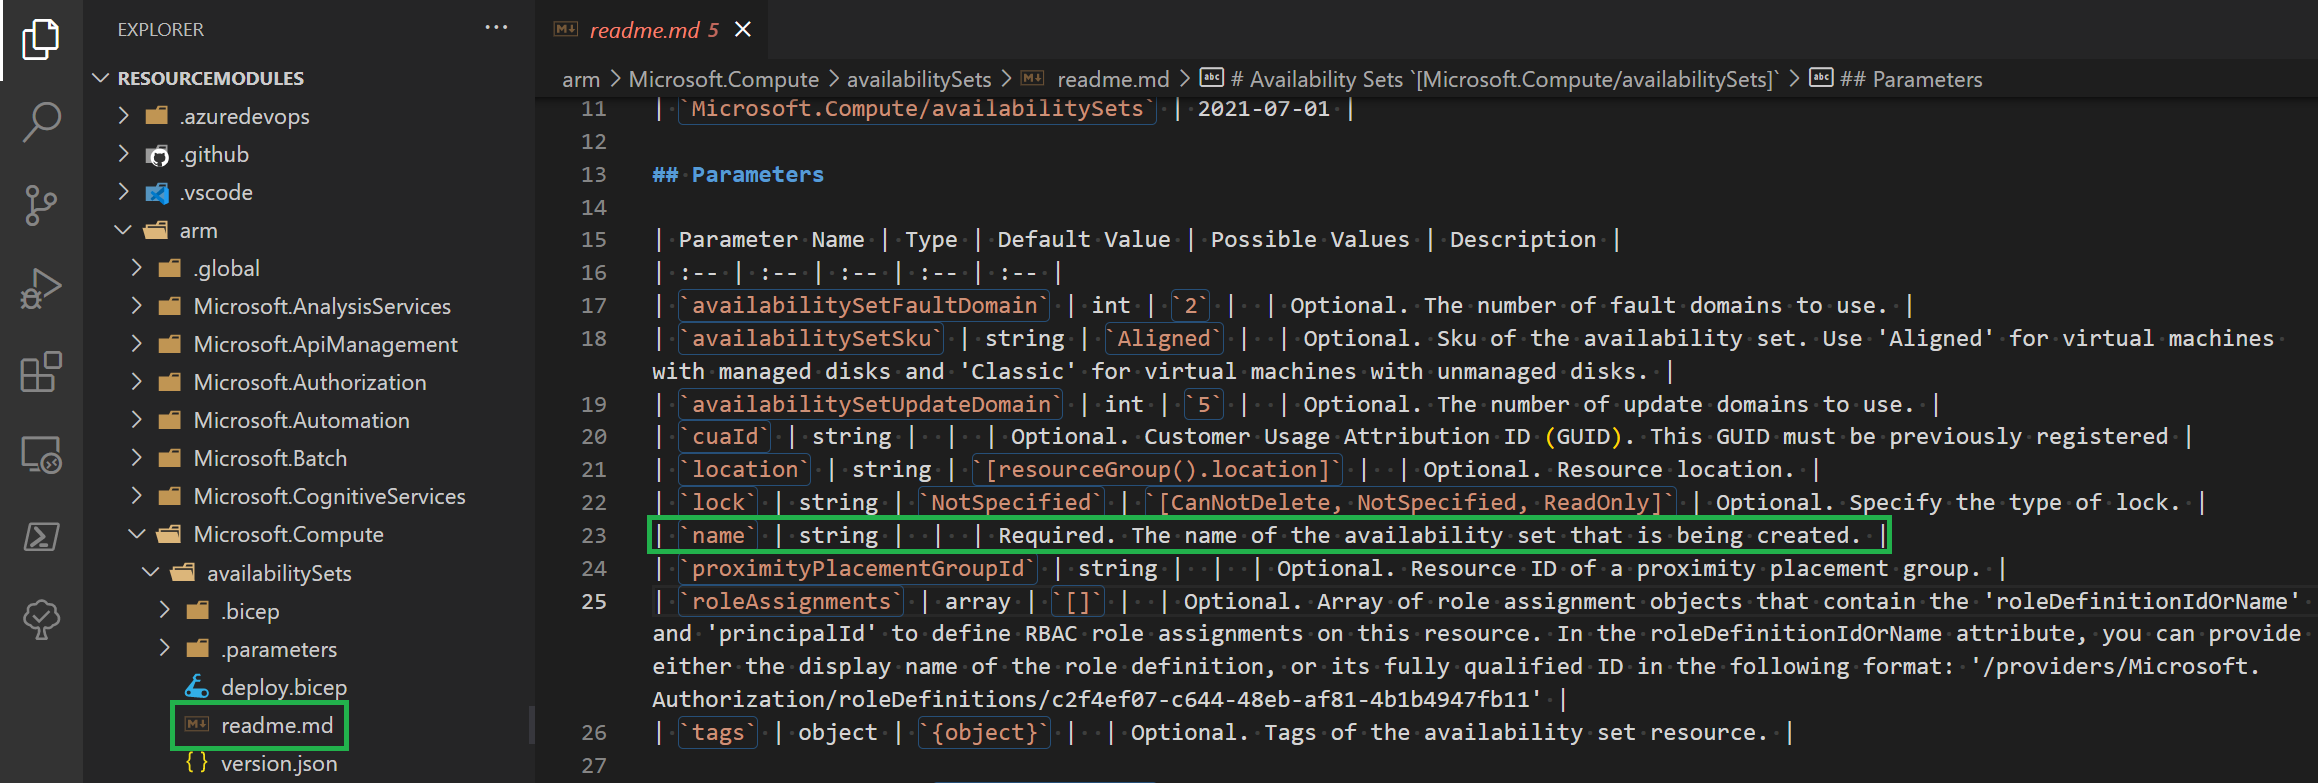
-
Navigate to
.parameters/parameters.jsonin the availability set module. This file is currently used to validate the actual deployment of the module in Azure. It specifies only thenameandroleAssignmentsparameters. In this lab you will perform the following tasks:- Update the existing
parameters.jsonfile to test an additional parameter - Integrate one additional parameter file to test the minimum set of input parameters required by the availability set module
- Update the existing
Ensure that the dependency pipeline you run in Lab 3 deployed a Proximity Placement Group in your lab environment.
Note: In case the pipeline failed for any reason you can create the dependency manually by following the steps described here. Once the dependency is available, proceed with the follow steps:
Now lets update the existing parameter file.
-
If not already open, navigate back to the
parameters.jsonfile in patharm/Microsoft.Compute/availabilitySets/.parameters/parameters.jsonin your local VSCode. -
Add the below snippet as a new parameter to the parameter file and ensure the name of the proximity placement group matches the one you deployed as a dependency. The
<<subscriptionId>>&<<namePrefix>>tokens will be automatically replaced with their correct values by the pipeline"proximityPlacementGroupId": { "value": "/subscriptions/<<subscriptionId>>/resourceGroups/validation-rg/providers/Microsoft.Compute/proximityPlacementGroups/adp-<<namePrefix>>-az-ppg-x-001" }
-
By adding the new parameter, the deployment in the pipeline will pick it up and validate that the template uses it successfully and as intended. The full parameter file should look like
{
    "$schema": "https://schema.management.azure.com/schemas/2019-04-01/deploymentParameters.json#",
    "contentVersion": "1.0.0.0",
    "parameters": {
        "name": {
            "value": "<<namePrefix>>-az-avs-x-001"
        },
        "roleAssignments": {
            "value": [
                {
                    "roleDefinitionIdOrName": "Reader",
                    "principalIds": [
                        "<<deploymentSpId>>"
                    ]
                }
            ]
        },
        "proximityPlacementGroupId": {
            "value": "/subscriptions/<<subscriptionId>>/resourceGroups/validation-rg/providers/Microsoft.Compute/proximityPlacementGroups/adp-<<namePrefix>>-az-ppg-x-001"
        }
    }
}
Now you will create a new parameter file that will test that the template's default values work as intended by providing only the minimum set of parameters.
-
If not already, navigate again to the
arm/Microsoft.Compute/availabilitySets/.parametersfolder -
Create a new file and name it
min.parameters.json -
As you examined earlier, the template only requires you to provide the
nameparameter. To this end, add the follow content to the created parameter file:{ "$schema": "https://schema.management.azure.com/schemas/2019-04-01/deploymentParameters.json#", "contentVersion": "1.0.0.0", "parameters": { "name": { "value": "<<namePrefix>>-az-avs-min-001" } } }Note: The name value is different from the previous
parameters.jsonfile. As both resources are deployed in parallel, they must have different names to not interfere with one another.
Now you have to modify the workflow file to make sure it also uses the new parameter file during the tests.
-
Navigate to the availability sets validation pipeline in
.github/workflows/ms.compute.availabilitysets.yml. -
In line 84 you should see the parameters
matrixwhere you will need to add themin.parameters.json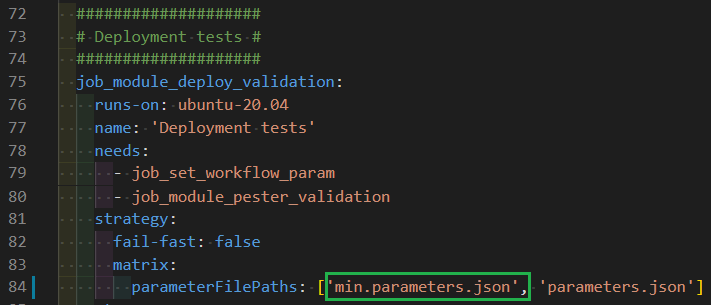
Note: If this was a direct contribution to the main CARML repository, we'd also ask you to update the corresponding Azure DevOps template file with the analogous changes.
Now that the tests are implemented and the pipeline updated, you can upload your changes to GitHub. You can do this in two ways
Alternative 1: Via VSCode's terminal
-
If a Terminal is not in sight, you can alternatively open it by expanding the
Terminal-dropdown on the top, and selectingNew Terminal -
Now, execute the following PowerShell commands:
git add .
git commit -m 'Added new minimum parameter test file and proximity placement group test to availability set module'
git push
Alternative 2: Via VSCode's UI
-
Add your changes: If not already there, navigate to the source control menu to the left and add the changed files to the commit. To do so, select the
+icon next toChanges(appears when hovering)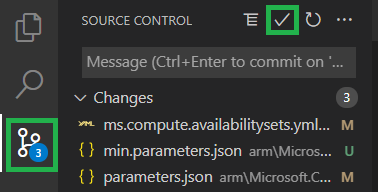
-
Commit your changes: Next, you should give the commit a meaningful message such as 'Added new minimum parameter test file and proximity placement group test to availability set module' and can then click the checkmark symbol on the top to create the commit
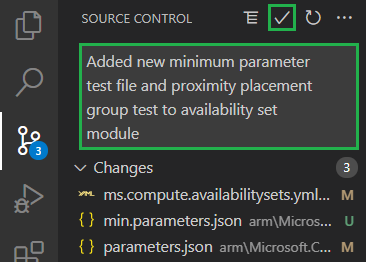
-
Push your changes: Finally, you can push the changes to the repository by selecting the blue
Publish Branchbutton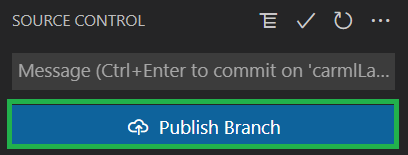
You will now manually test the deployment, verifying its template is using both parameter files.
-
On GitHub, go to
Actions
-
Find the
Compute: AvailabilitySetsworkflow and selectRun workflow
-
Further select your branch from the
Branch:dropdown (e.g.carmlLab)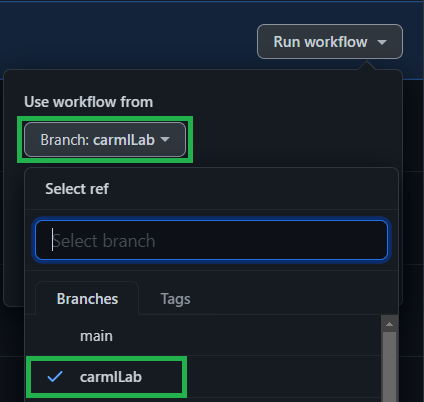
-
Unflag the
Remove deployed moduleand execute the workflow by selectingRun workflow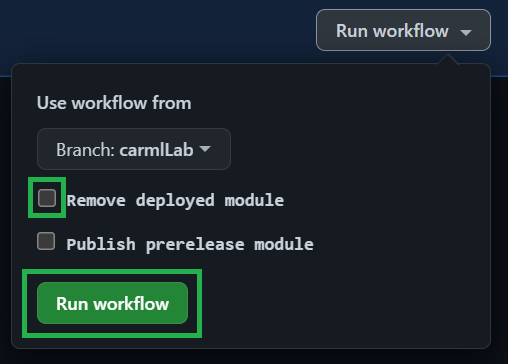
Note: The pipeline will take about 5-6 minutes to complete
-
You can click on the running workflow and verify that you have a separate job for each specified parameter file.
Note: The separate jobs will only be visible once the
Deployment testsstage starts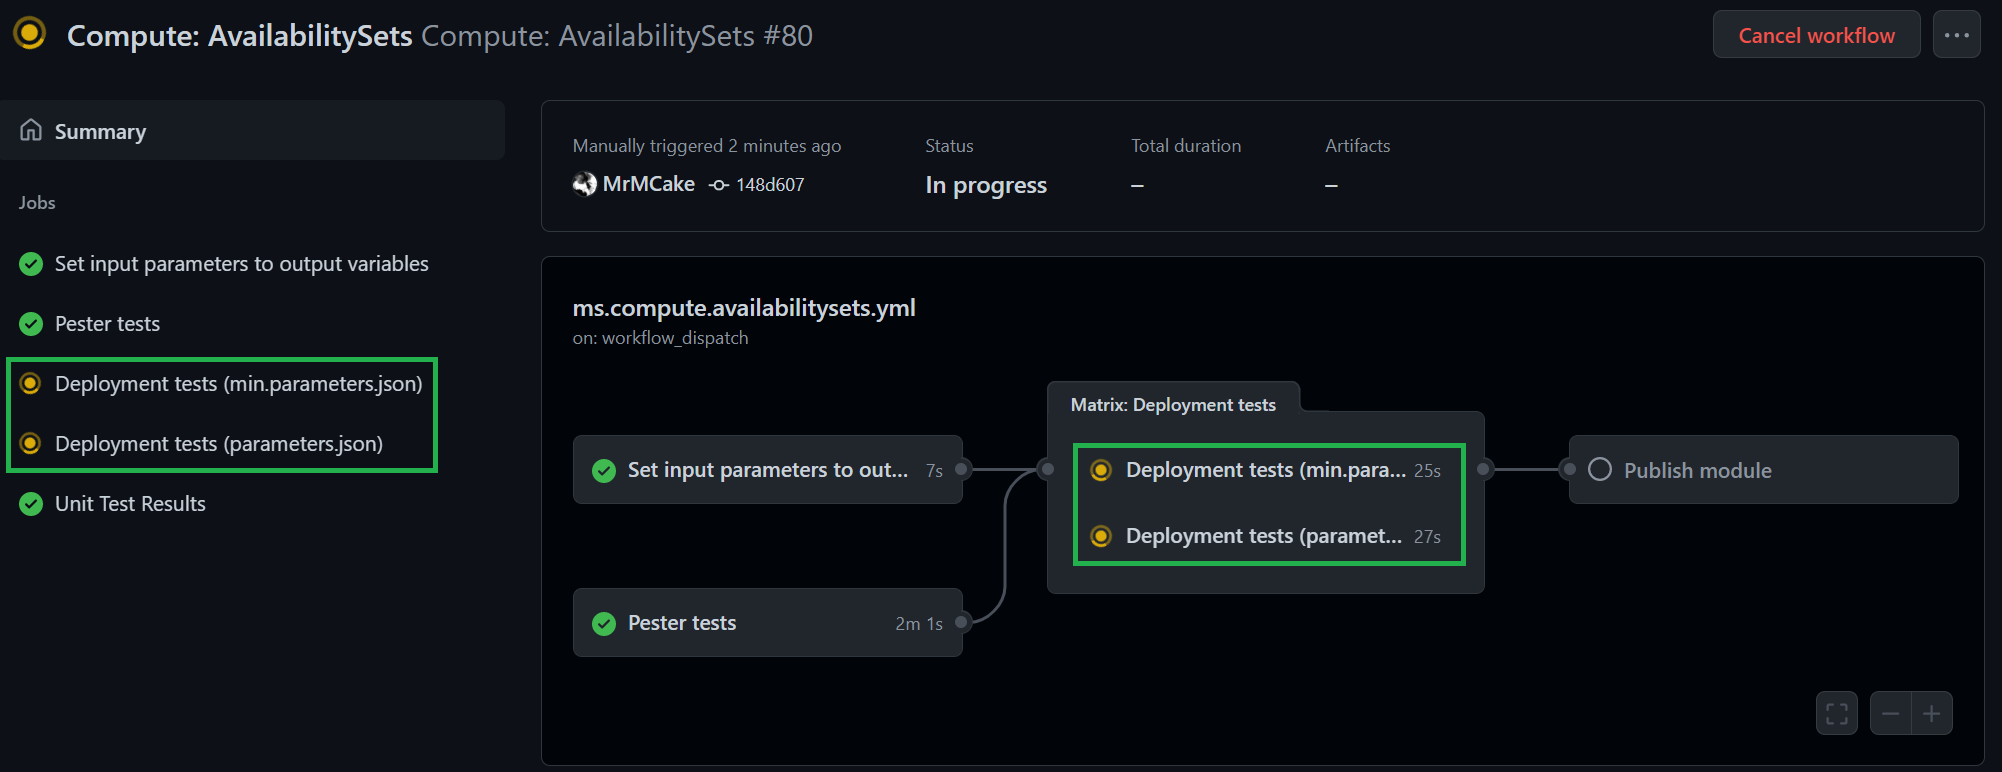
-
Once the jobs are completed, go to the Azure portal and open the
validation-rgresource group. Verify that both availability groups have been deployed to Azure and that they have been configured with the settings specified in their corresponding parameter files.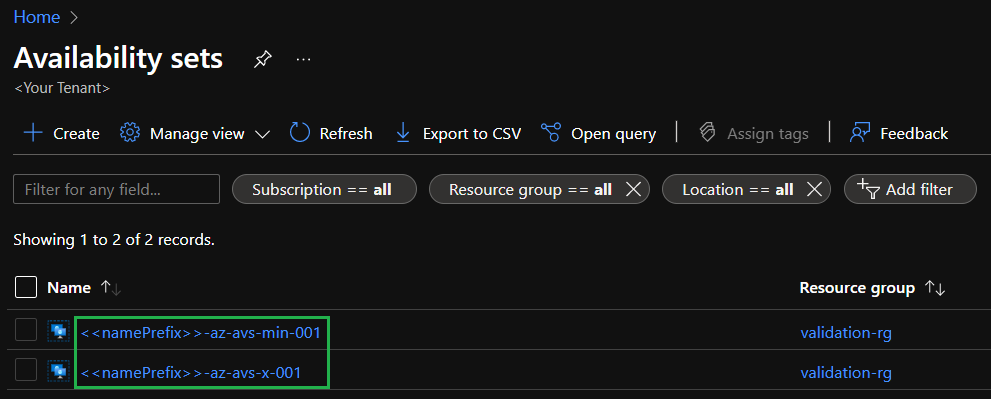
If ready, proceed to the next lab: Lab 6 - Publishing
In case the dependency pipeline of Lab 3 failed to deploy the required proximity placement group for any reason, you can use the below instructions to create it manually from the Azure portal:
-
Navigate to the Azure portal and search for proximity placement groups

-
Next, select the
+ Createbutton in the Proximity placement groups view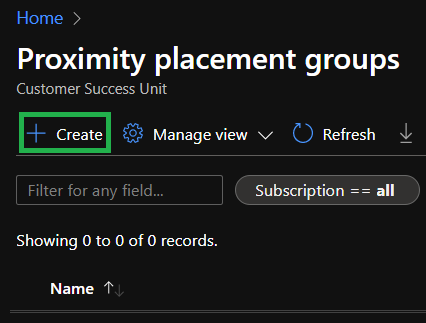
-
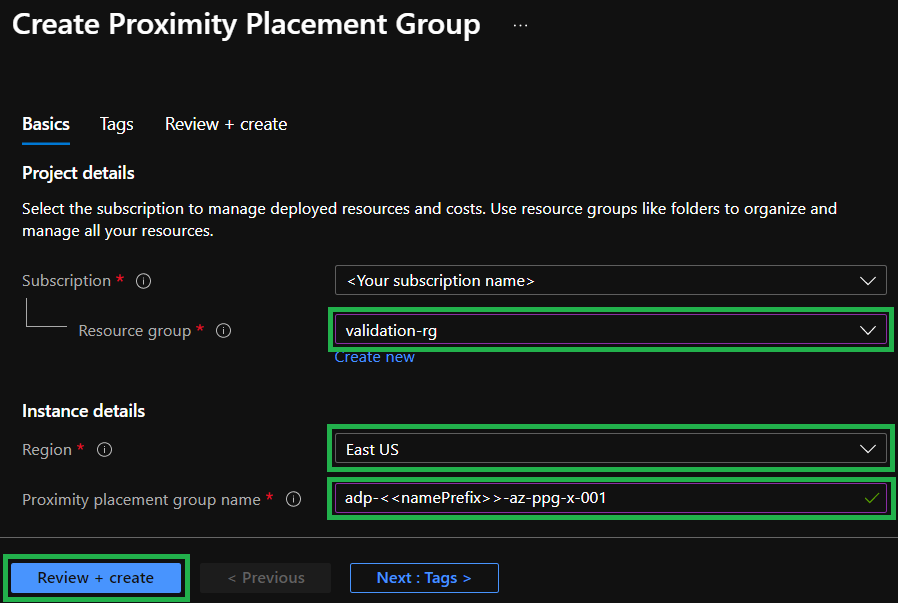
Select the
validation-rgresource group, alocationand anamefor the resource (e.g.adp-<<YourNamePrefix>>-az-ppg-x-001) and create the resourceNote: The name you give the resource must exactly match the one specified in the availability set's parameter file (excluding the token).
If ready, proceed to the next lab: Lab 6 - Publishing
This wiki is being actively developed