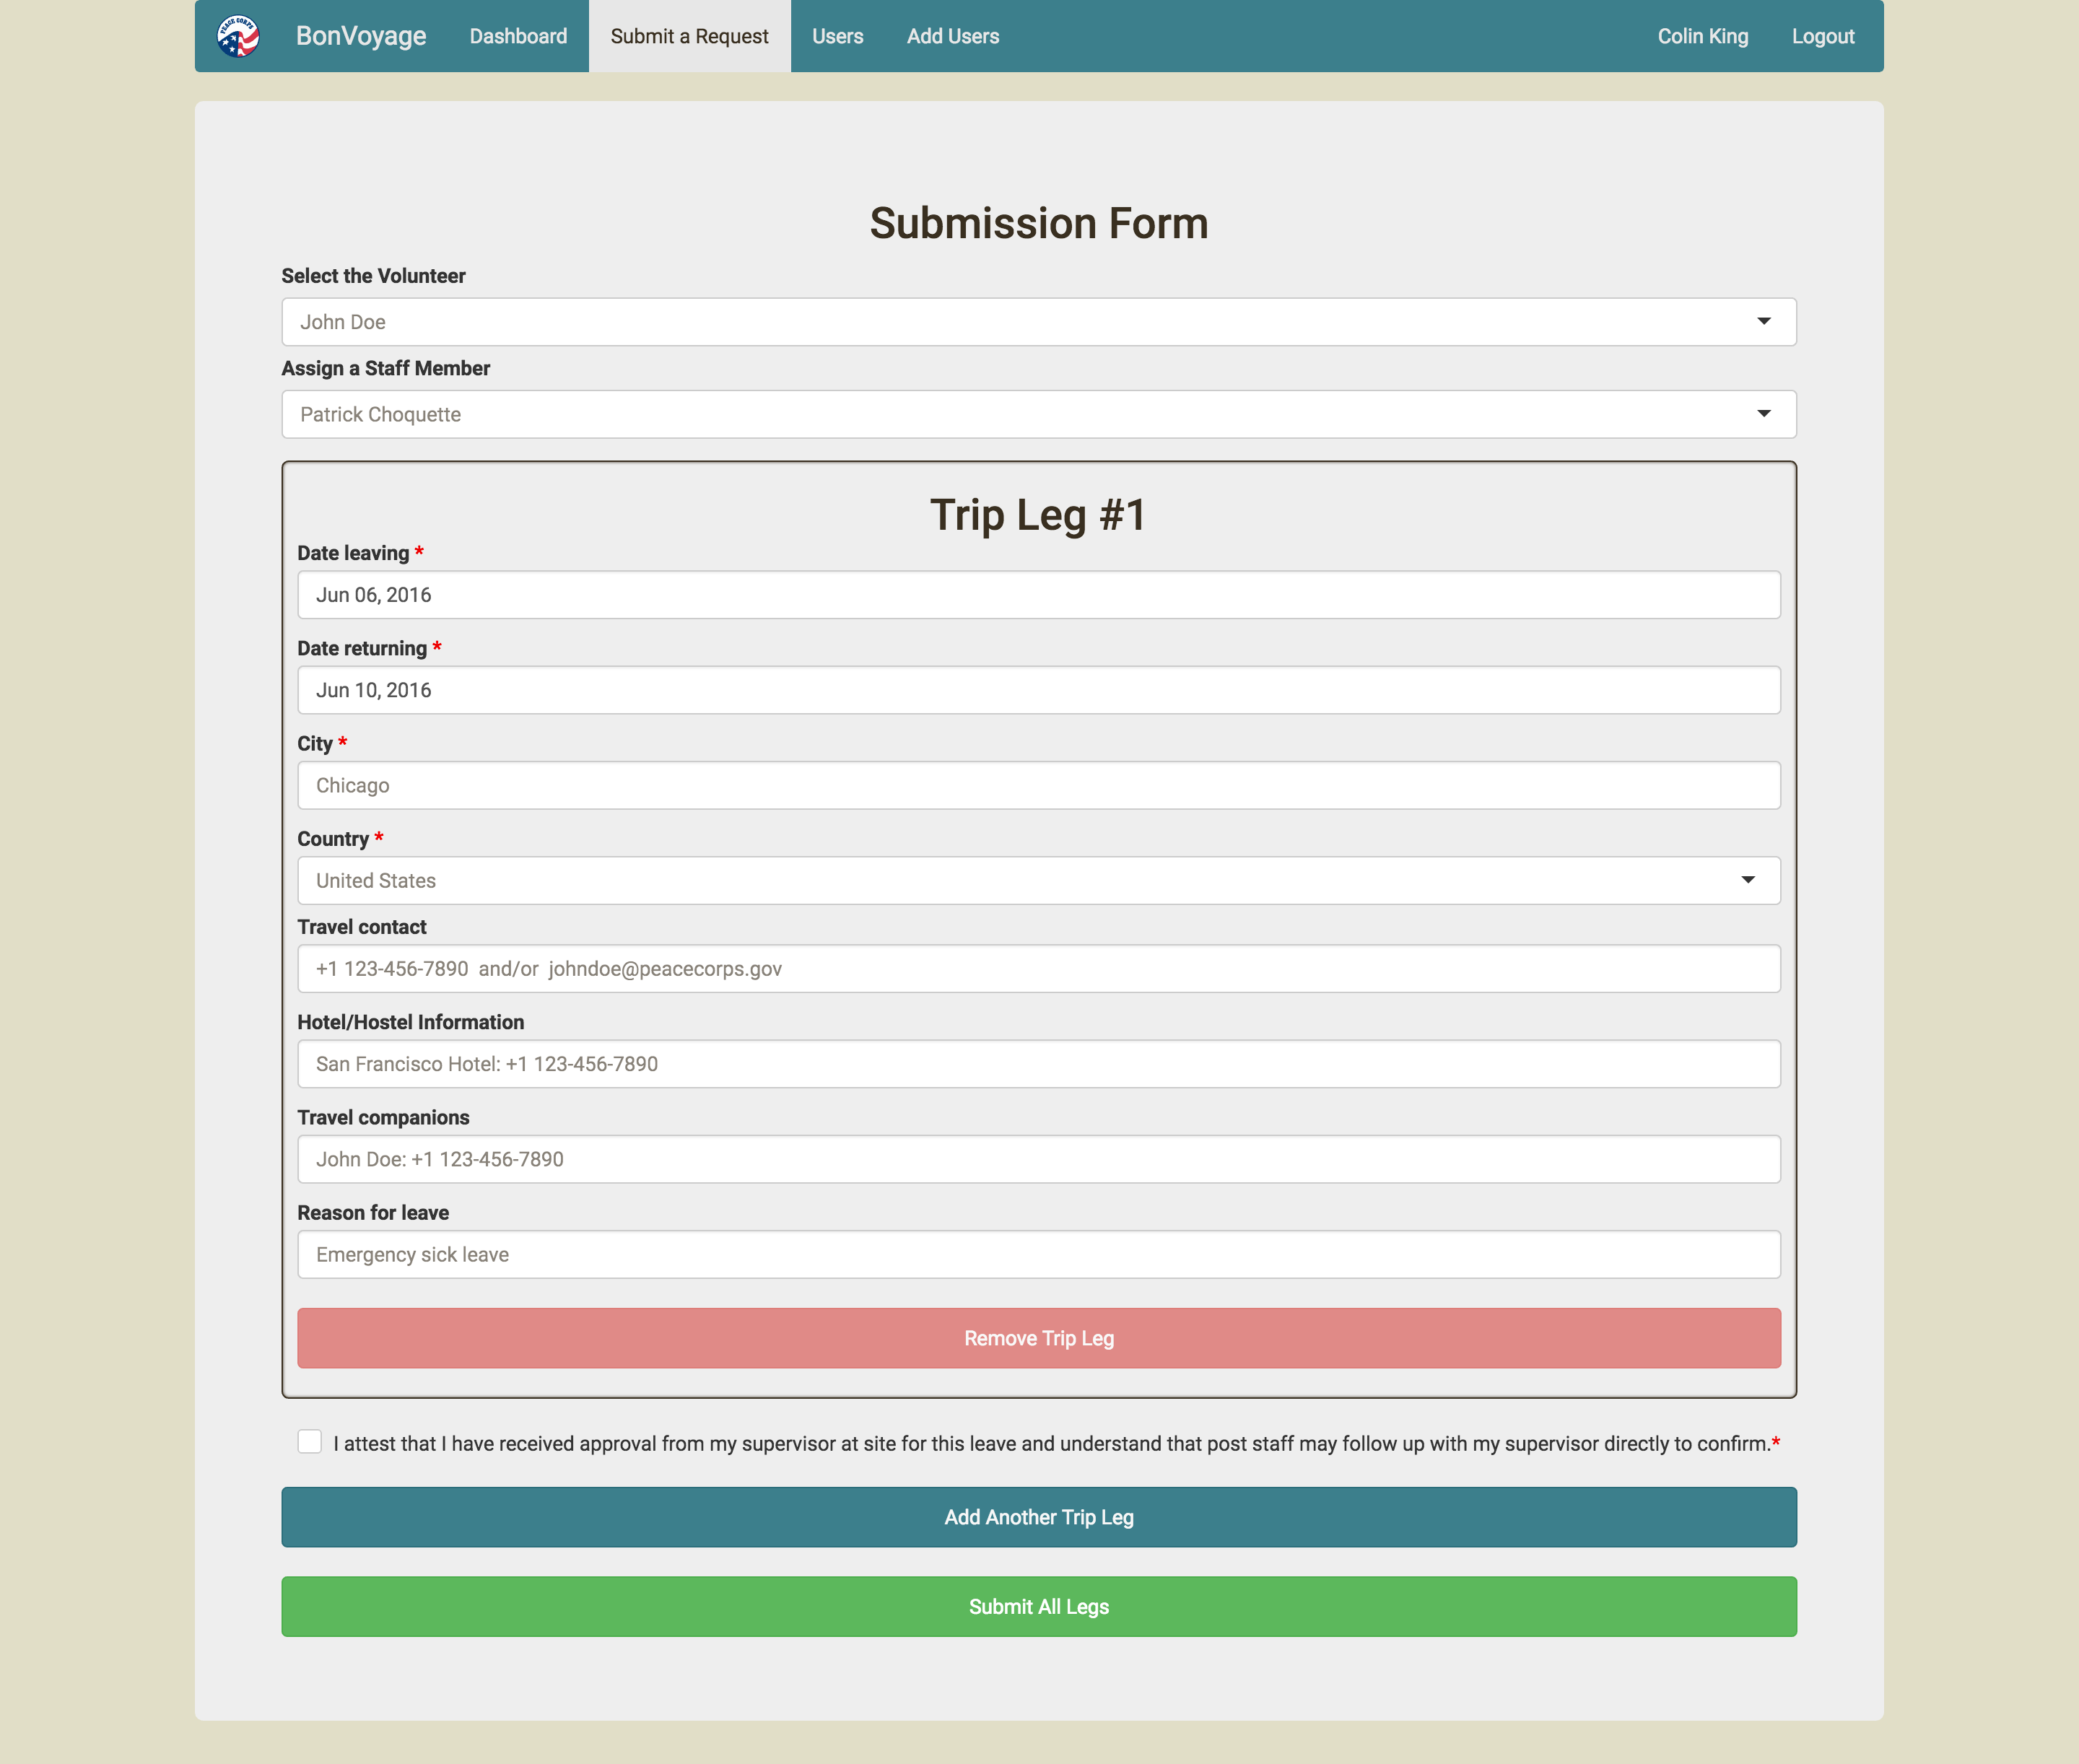
BonVoyage is a web application built to provide a simplified and automated web-based method for Peace Corps volunteers to request leave.
This project is currently in development under Patrick Choquette and Project Delta.
Peace Corps: peacecorps.gov
Project Delta: projectdelta.io
- Patrick Choquette
- Albert Zhang
- Ben Chang
- Edwin Tan
- Colin King
- Hiroshi Furuya
- Sean Bae
This project is built on top of Node.JS and uses the Express.JS web application framework. The leave request data is stored in a NoSQL database, MongoDB, and we use Mongoose to manage our database schemas. We use Jade as an HTML pre-processor and SASS as a CSS pre-processor. Gulp automates the process of linting and pre-processing. Our service sends emails via Mailgun and SMS messages via Twilio. The website is hosted on Heroku.
Below is a tutorial on how to set up this web site to run locally.
Vagrant will be used to create a development environment where this web site can be run separated from your computer. In order to use Vagrant, you will also need to have installed VirtualBox.
The rest of this tutorial will be completed on the command line. Open a new terminal window.
- Clone the project from GitHub.
git clone https://github.com/peacecorps/BonVoyage.git
cd BonVoyage- Using Vagrant, create a new virtual machine (VM) with Ubuntu 14.04 and start it. The VM is already configured in the Vagrantfile, so all you have to do is tell Vagrant to start.
vagrant up- SSH in to the new VM you just created.
vagrant ssh- You are now in a new shell within the VM. Any commands that you run will be executed on the VM. First, we need to update the packages installed on the VM.
sudo apt-get update- This web application is built using Node.js, so we need to install a version of Node and NPM (Node package manager). We will use NVM (Node version manager). So first install NVM and then reload the shell's profile to load NVM into your current shell.
touch ~/.profile
wget -qO- https://raw.githubusercontent.com/creationix/nvm/v0.28.0/install.sh | bash
echo 'source ~/.profile;' >> ~/.bash_profile
source ~/.bash_profile- NVM is now installed (check by running 'nvm --version'). Now install the most stable version of Node using NVM and set it to be the default version of Node.
nvm install stable
nvm alias default stable- Next we will install GIT.
sudo apt-get -y install git- Now move into the BonVoyage directory, which has already been set up to be shared with the Vagrant instance.
cd BonVoyage- Install all the necessary Node modules.
npm install- Install MongoDB. You will need to get the download link for Ubuntu 14.04 from here. Replace the link below with the most recent stable version of MongoDB.
wget https://fastdl.mongodb.org/linux/mongodb-linux-x86_64-ubuntu1404-3.2.0.tgz
tar -zxvf mongodb-linux-x86_64-ubuntu1404*.tgz
mkdir ~/mongodb
cp -R -n mongodb-linux-x86_64*/* ~/mongodb
rm -rf mongodb-linux-x86_64-ubuntu1404*
echo 'export PATH="$HOME/mongodb/bin:$PATH";' >> ~/.bash_profile
source ~/.bash_profile
sudo mkdir -p /data/db
sudo chown -R $USER /data/db
// Start mongo's daemon in another terminal window
mongod- You are all set. Navigate back to the node folder and start the application.
cd BonVoyage
npm start- Open a web browser and navigate to localhost:8080.
I would recommend that you install nodemon to reload the app whenever code is saved.
npm install -g nodemon
cd BonVoyage
nodemon
Set up GIT to work properly on Vagrant.
git config --global user.email "[email protected]"
git config --global user.name "Your Name"
// Cache your GitHub logins
git config --global credential.helper cache
git config --global push.default simple
