This is the new generation Stamp Web editor written in Vue 3.
While the existing Stamp Web written in Aurelia 1.x has served as an outstanding application for over 10 years, I wanted to learn Vue and convert the application to this modern JavaScript framework stack. I love aurelia and continue to use it in any projects. But Vue was attractive and a perfect opportunity to learn an entirely new framework as well as TypeScript, Vite, Vitest and a whole slew of other technologies.
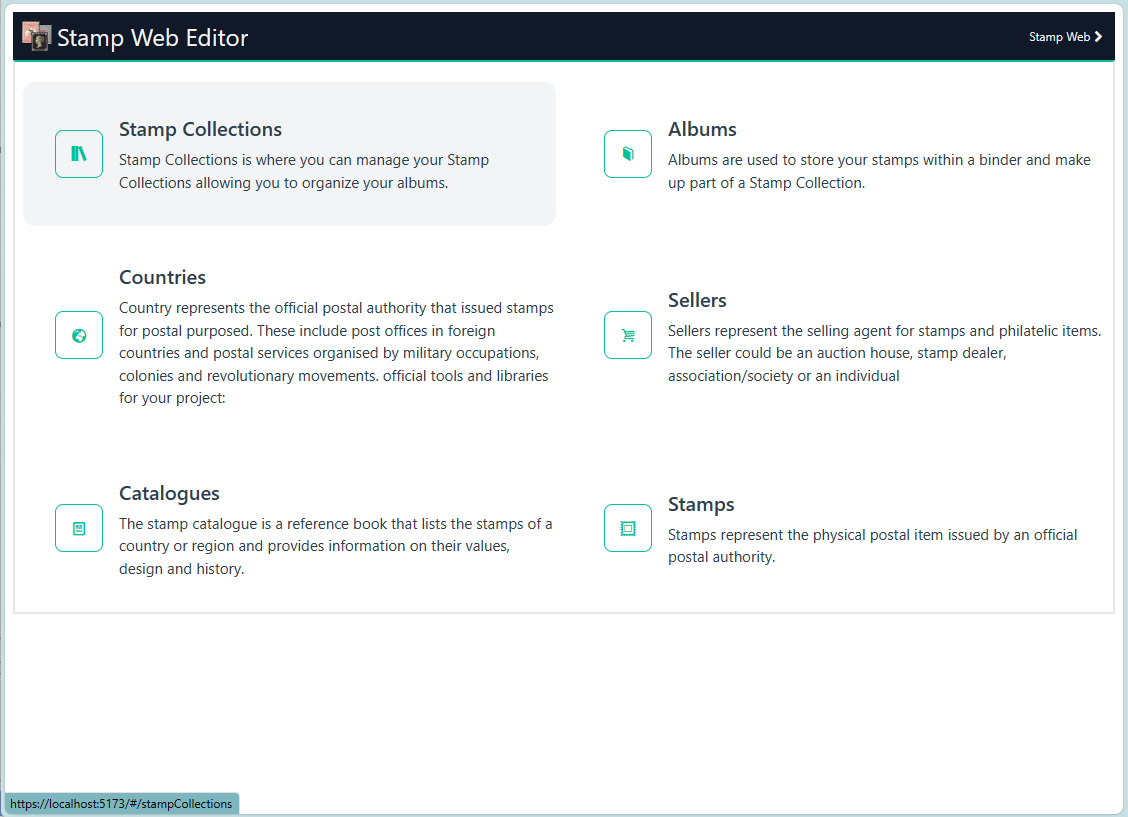
The Stamp Web application is used to manage stamp collections and is in use by myself and a few other collectors worldwide. It is not a commercial product and does not have any valid commercial propsects, but it does serve as a wonder platform for myself and other contributing developers to learn new technologies while advancing and organizing our collections. On my production server, I currently manage over 40,000 stamps with this number growing constantly. When you bring up the application you should see a welcome pages simliar to the following:
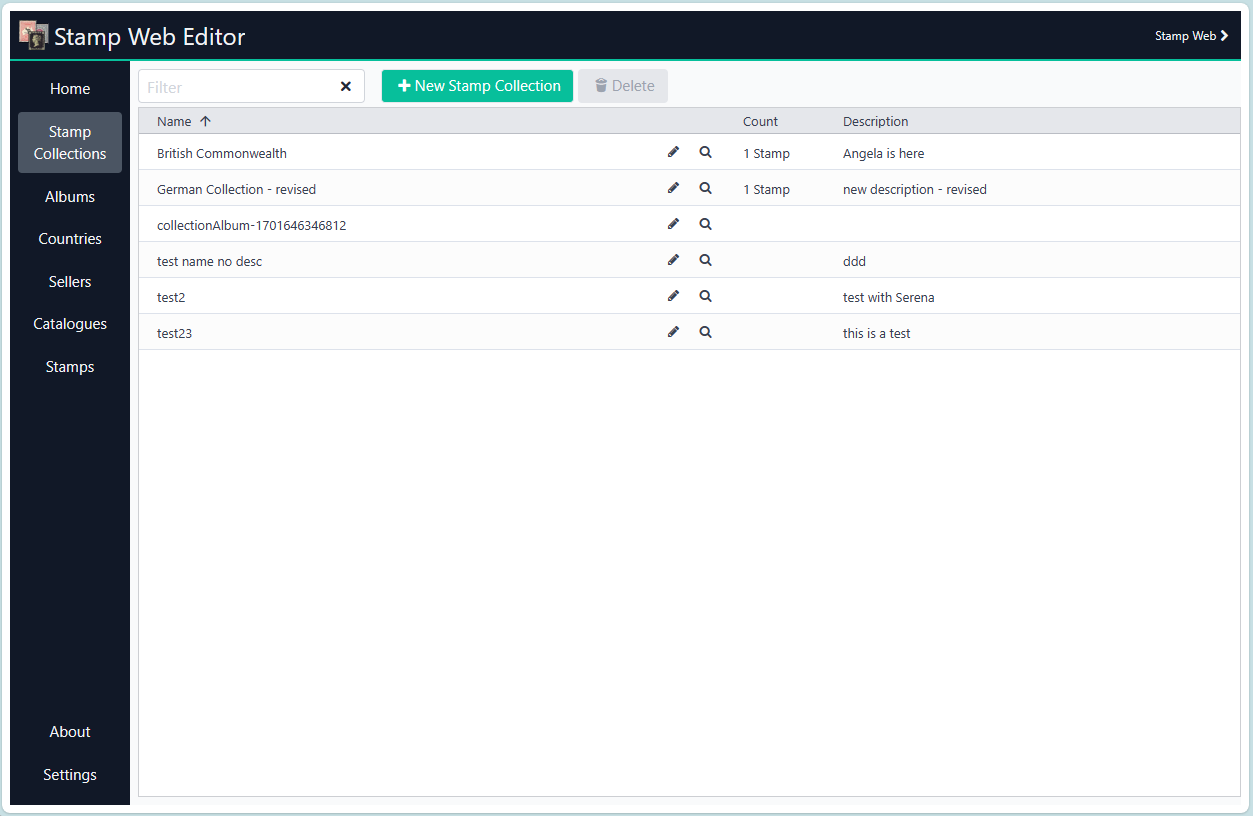
From this page you can navigate to other pages that allow you to manage the data. For example, the Stamp Collections management page looks like the following:
TypeScript cannot handle type information for .vue imports by default, so we replace the tsc CLI with vue-tsc for type checking. In editors, we need TypeScript Vue Plugin (Volar) to make the TypeScript language service aware of .vue types.
If the standalone TypeScript plugin doesn't feel fast enough to you, Volar has also implemented a Take Over Mode that is more performant. You can enable it by the following steps:
- Disable the built-in TypeScript Extension
- Run
Extensions: Show Built-in Extensionsfrom VSCode's command palette - Find
TypeScript and JavaScript Language Features, right click and selectDisable (Workspace)
- Run
- Reload the VSCode window by running
Developer: Reload Windowfrom the command palette.
See Vite Configuration Reference.
npm installnpm run devnpm run buildRun Unit Tests with Vitest
npm run test:unitRun End-to-End Tests with Playwright
# Install browsers for the first run
npx playwright install

# When testing on CI, must build the project first
npm run build

# Runs the end-to-end tests
npm run test:e2e
# Runs the tests only on Chromium
npm run test:e2e -- --project=chromium
# Runs the tests of a specific file
npm run test:e2e -- tests/example.spec.ts
# Runs the tests in debug mode
npm run test:e2e -- --debug
Lint with ESLint
npm run lintCreate a .env.development file and define the following parameters
VITE_PROXY_USER=<username>
VITE_PROXY_PASSWORD=<password>>
VITE_PROXY_URL="<proxy url path eg. https://localhost:9001>"
VITE_SSL_KEY="<location of key file>"
VITE_SSL_CERT="<location of cert file>"
This can be used for both development and test modes. If running the build for production, you can start an http-server from the 'dist' folder with a proxy pointing to the host
npx http-server -p 9000 -b -g --proxy https://localhost:9001 --proxy-options.secure false
