Tapeworm allows you to use the DOM as a reporter when testing in the browser using tape.
Tapeworm adds three features to tape.
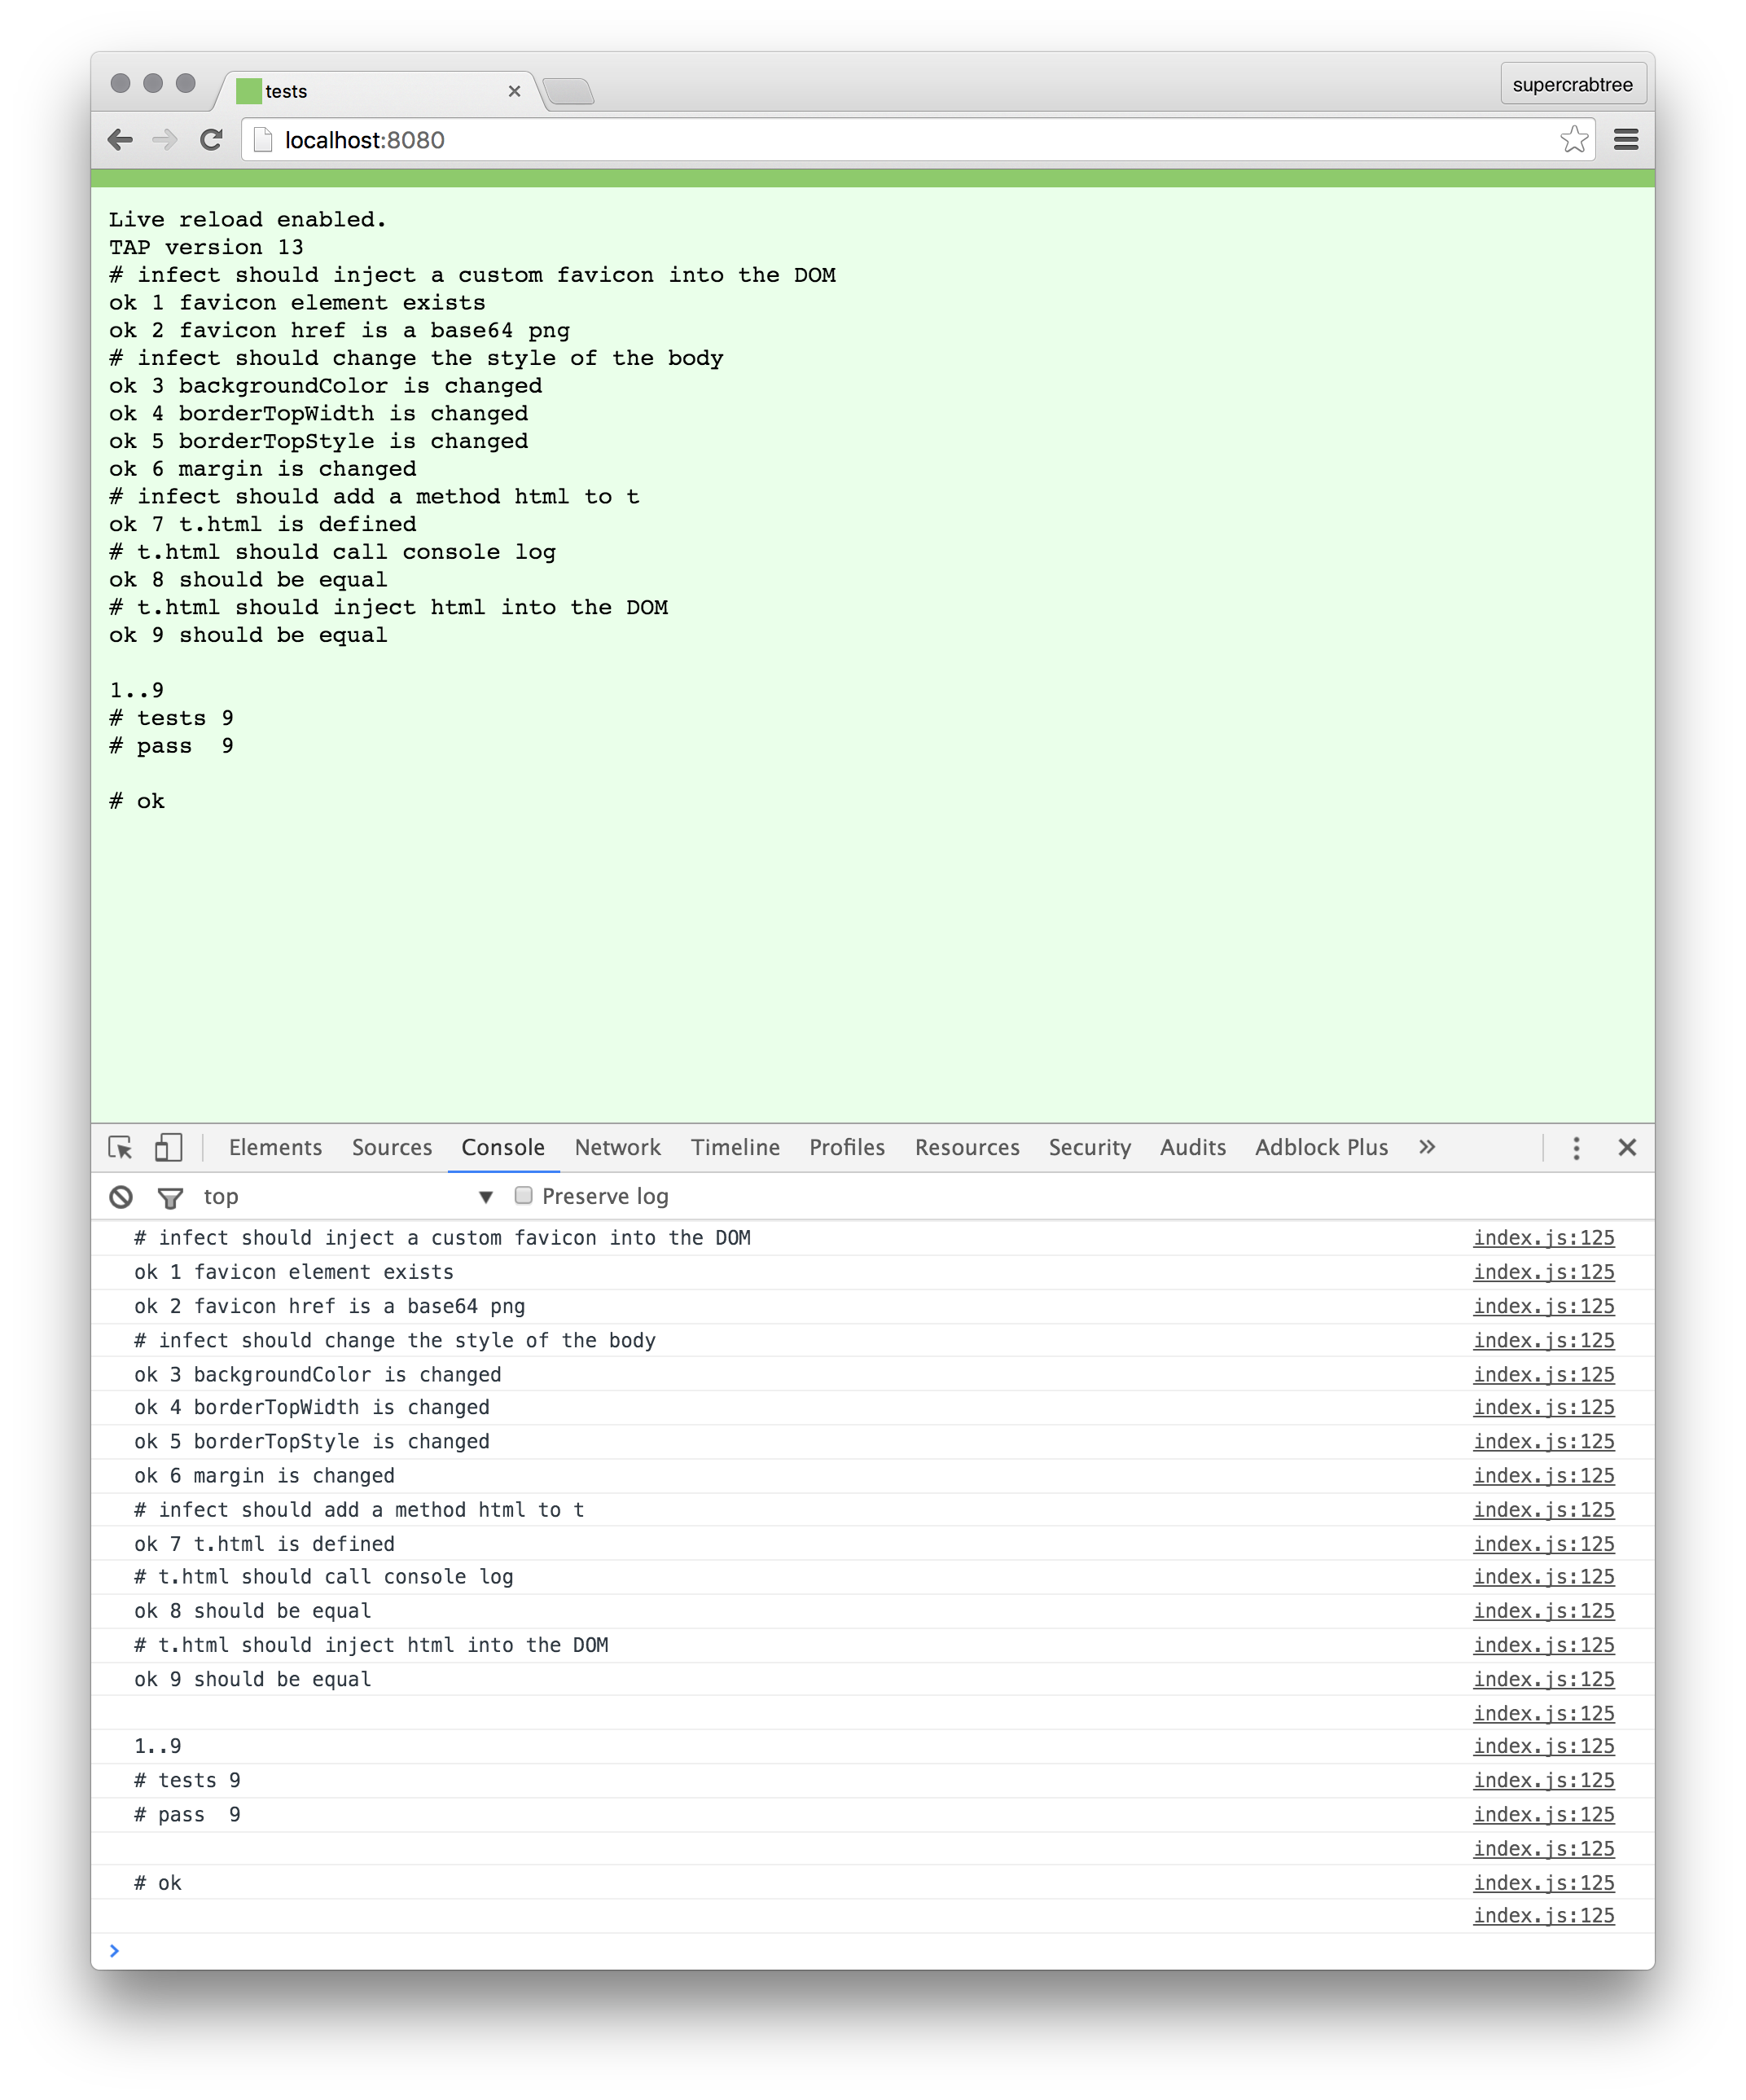
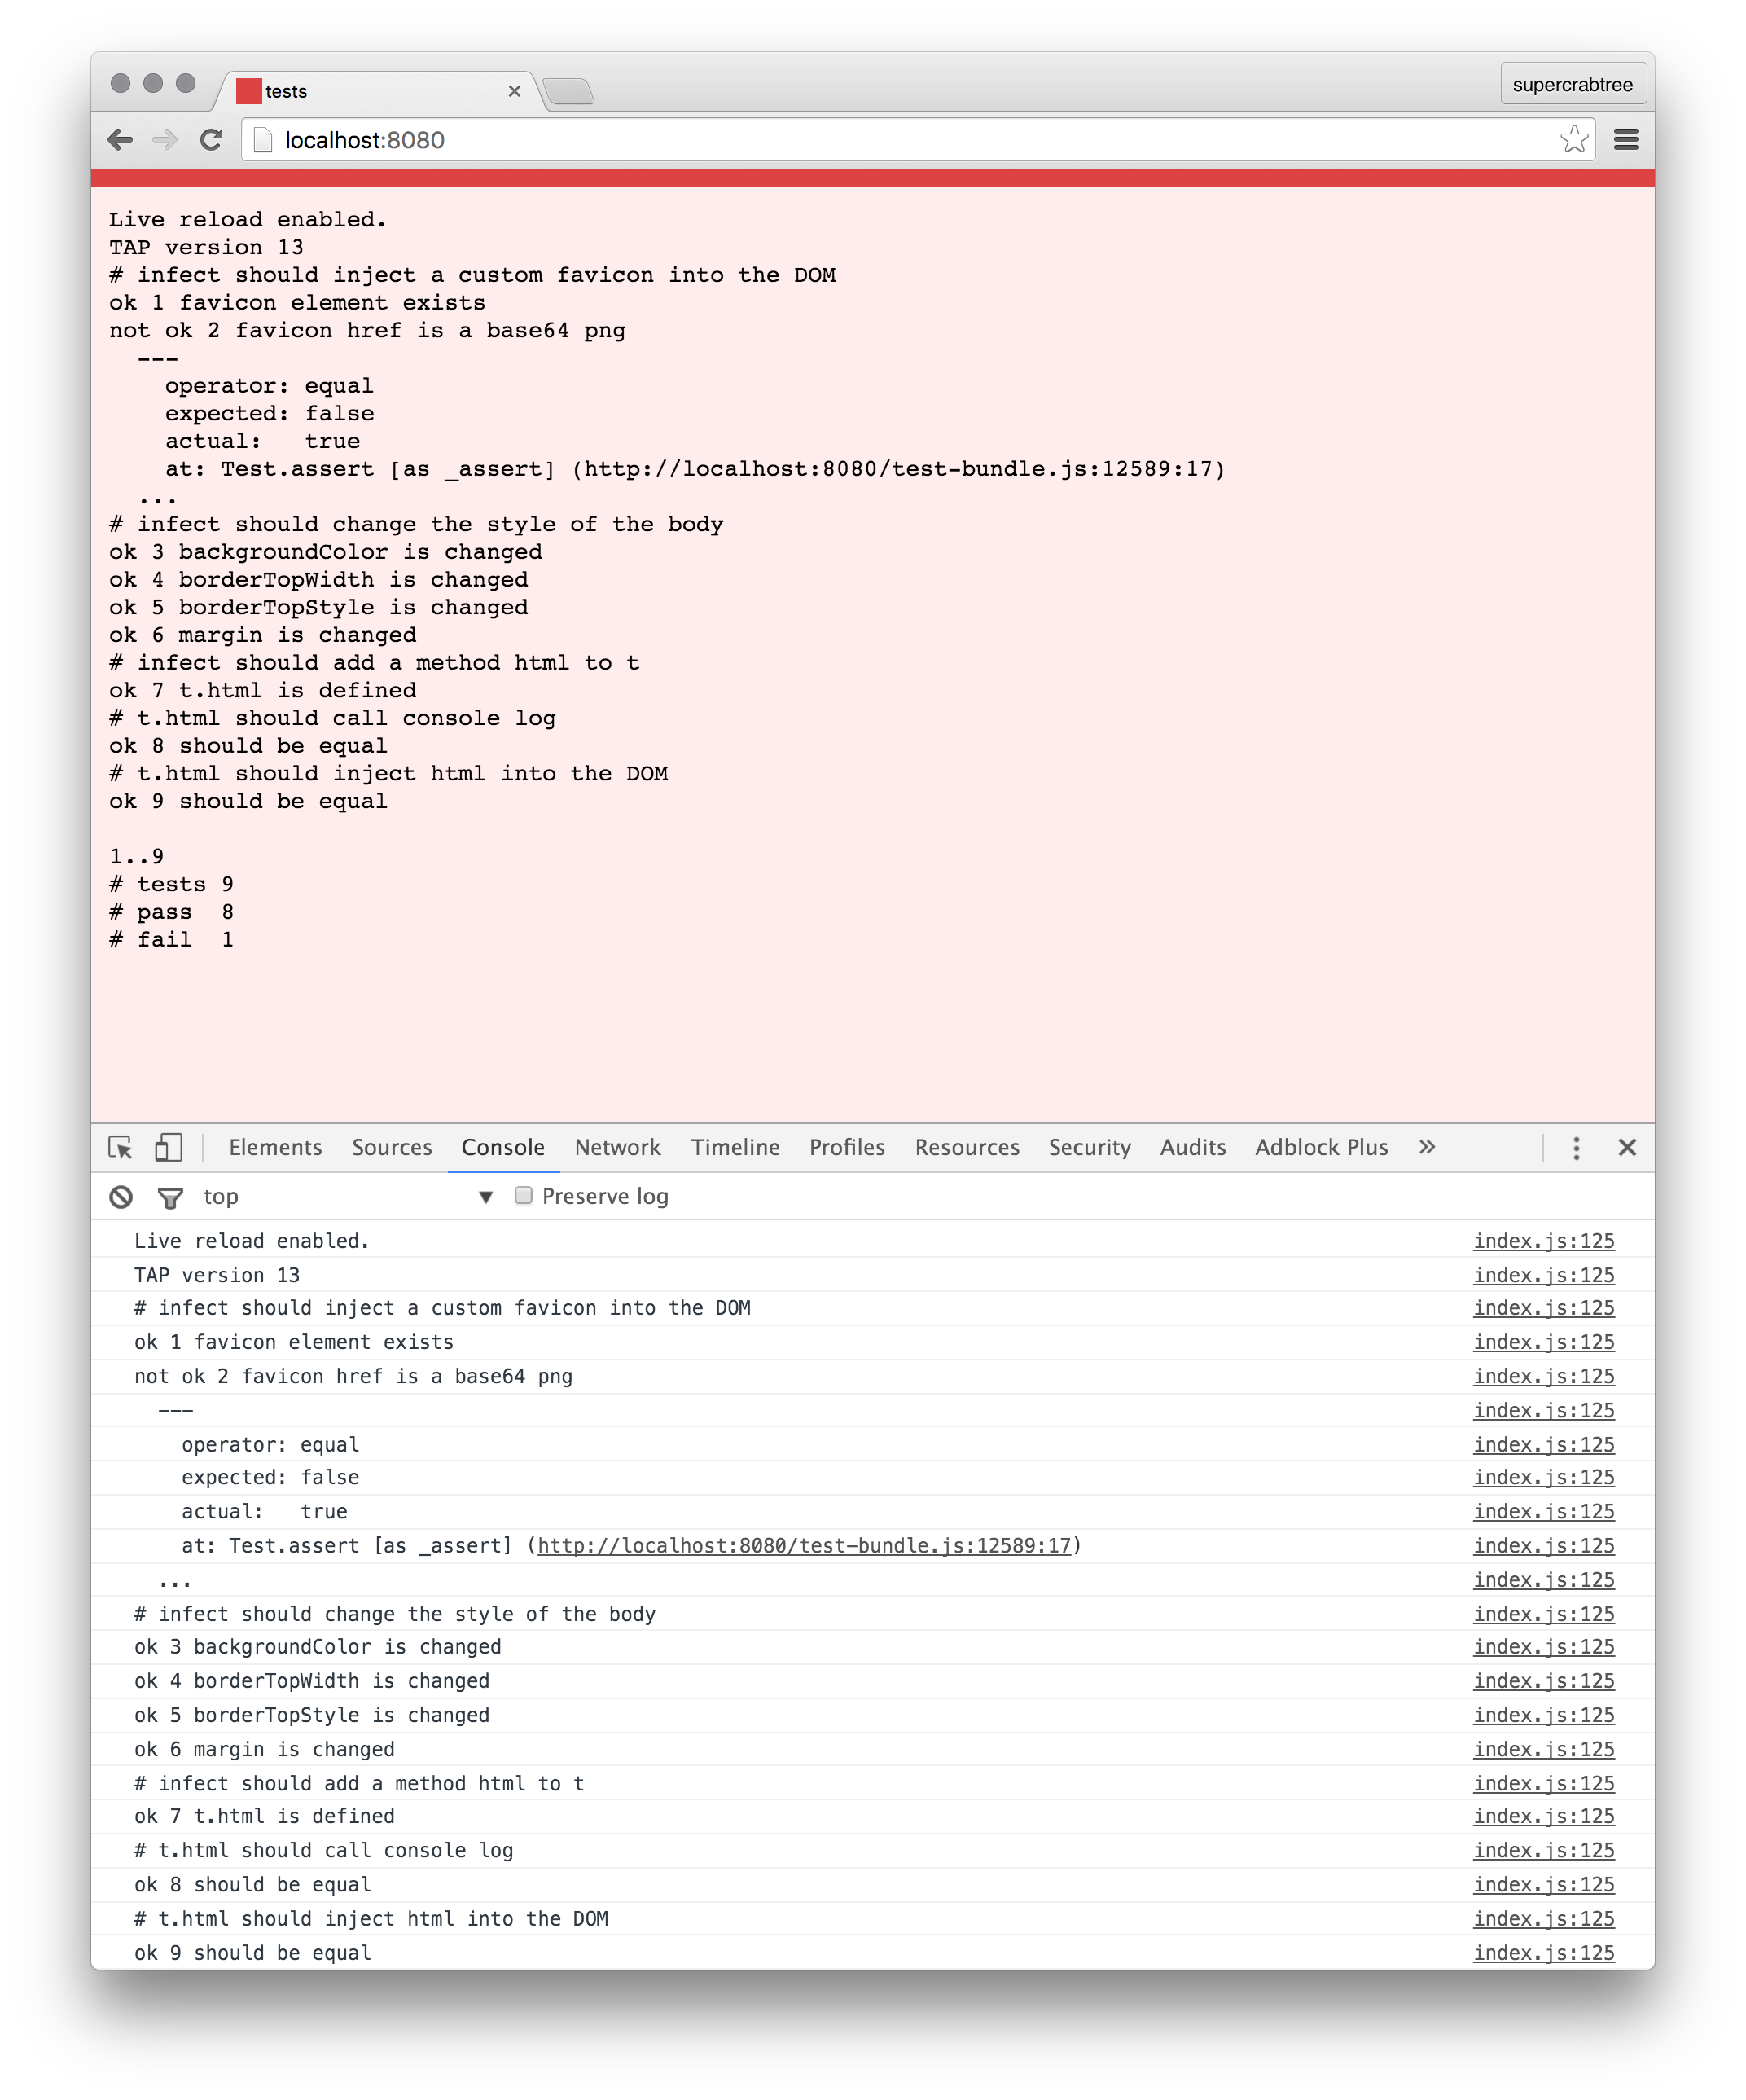
- Spits the test results into the DOM.
- Colors the background and favicon; green for passing, red for failing, yellow for pending.
- Adds an
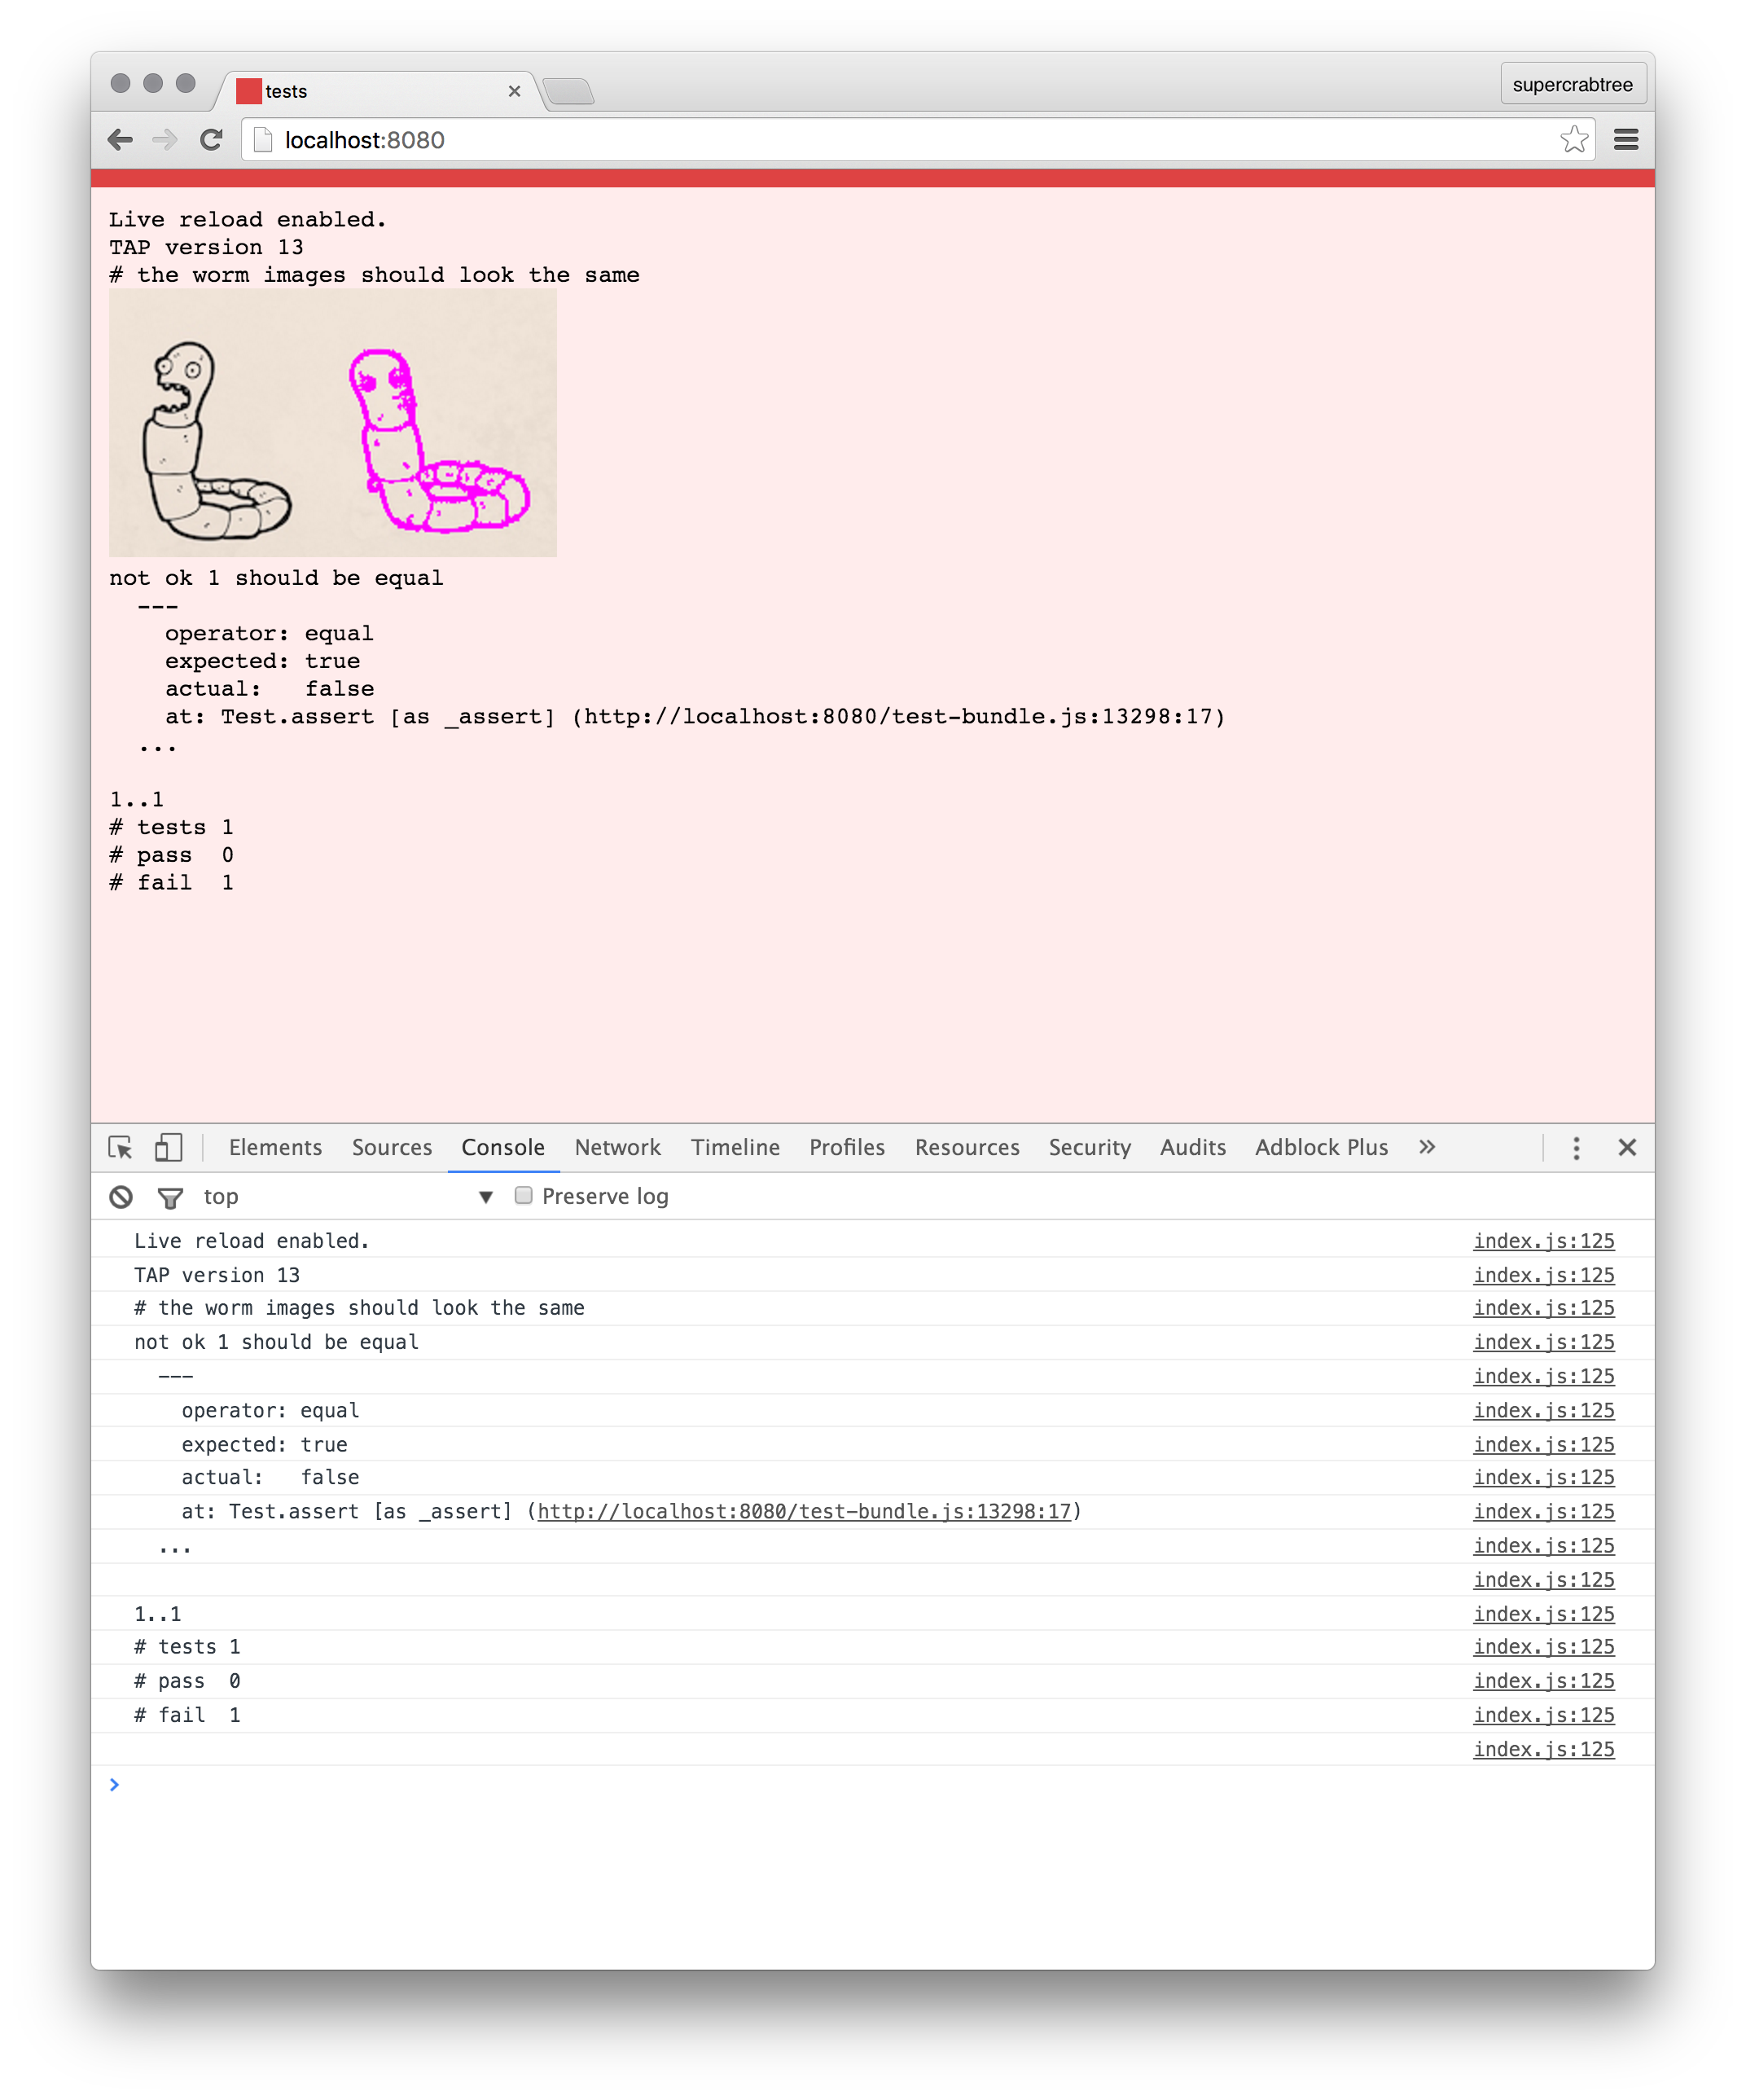
t.htmlmethod, where you can inject any arbitrary html into the DOM.
This is the main reason that tapeworm exists. By allowing you to add your own html you gain a really powerful test reporter.
Take these two images for example:
We can write a simple test using Resemble.js to diff the images.
test('the worm images should look the same', function (t) {

  t.plan(1);

  resemble('two-worms.jpg').compareTo('one-worm.jpg')
    .onComplete(function (imgDiffResult) {

      var pass = imgDiffResult.rawMisMatchPercentage === 0;

      if (!pass) {
        var base64DiffData = imgDiffResult.getImageDataUrl();
        t.html('<img src="' + base64DiffData + '">');
      }

      t.equal(pass, true);
    });
});
And now we have image diffs in our output, whoop!
npm install tape-worm
Tapeworm is designed to run with tape and all it's variants (blue-tape, redtape, etc). All you need to do is import it into your test file and then infect tape.
// test.js
var test = require('tape');
var tapeworm = require('tape-worm');

tapeworm.infect(test);
Use browserify to bundle up the code for browser
browserify test.js > test-bundle.js
Create a simple html wrapper (you need the head section for the favicon injection)
<!doctype html>
<html>
  <head>
    <meta charset="utf-8">
    <title>tests</title>
  </head>
  <body>
    <script src="test-bundle.js"></script>
  </body>
</html>
Now load this into the browser and you're done.
If you want it to reload on save you might end up with something like this:
watchify test.js -o test-bundle.js -vd & live-server --watch=test-bundle.js
Calling tapeworm.infect(test) is monkey patching and you should be aware of the potential pitfalls.


