-
Notifications
You must be signed in to change notification settings - Fork 9
Map overview
The game mode registers map overviews in a way that is similar to that of Counter-Strike: Global Offensive, however there are a few notable differences. Since Counter-Strike doesn't usually display the entire map to the player, the game mode expects you to pre-process the map sprites.
Warning! This guide assumes you have experience editing images.
First of all, you'll need to configure your video settings. Change the aspect ratio to 4:3, and resolution to 1280x1024.

Next, click [Advanced...] and set everything to low to avoid the map overlay looking blurry and way too anti-aliased.

Load your map in Sandbox game mode. Enable no-clip mode (which is bound to V by default) and position yourself above the map.
You will need to bind the screenshot command to create a high-quality picture of the map. Open the console window and type:
bind M screenshot
Feel free to replace M with any other key of your liking. Next up, enable the level overview mode by typing next commands:
sv_cheats 1
cl_leveloverview 1
cl_leveloverviewmarker 1024
You should now be able to see the map from a bird's eye, as well as a red square which you'll have to fit your map inside. Now, try to position yourself so that the map is as close to the top-left corner as possible. You might want to leave some padding around the edges if you're aiming for an outer outline around the edge of the map overview.
Fitting the map inside the red region requires some fiddle with the value of cl_leveloverview, so try giving it different values until it looks decent enough.
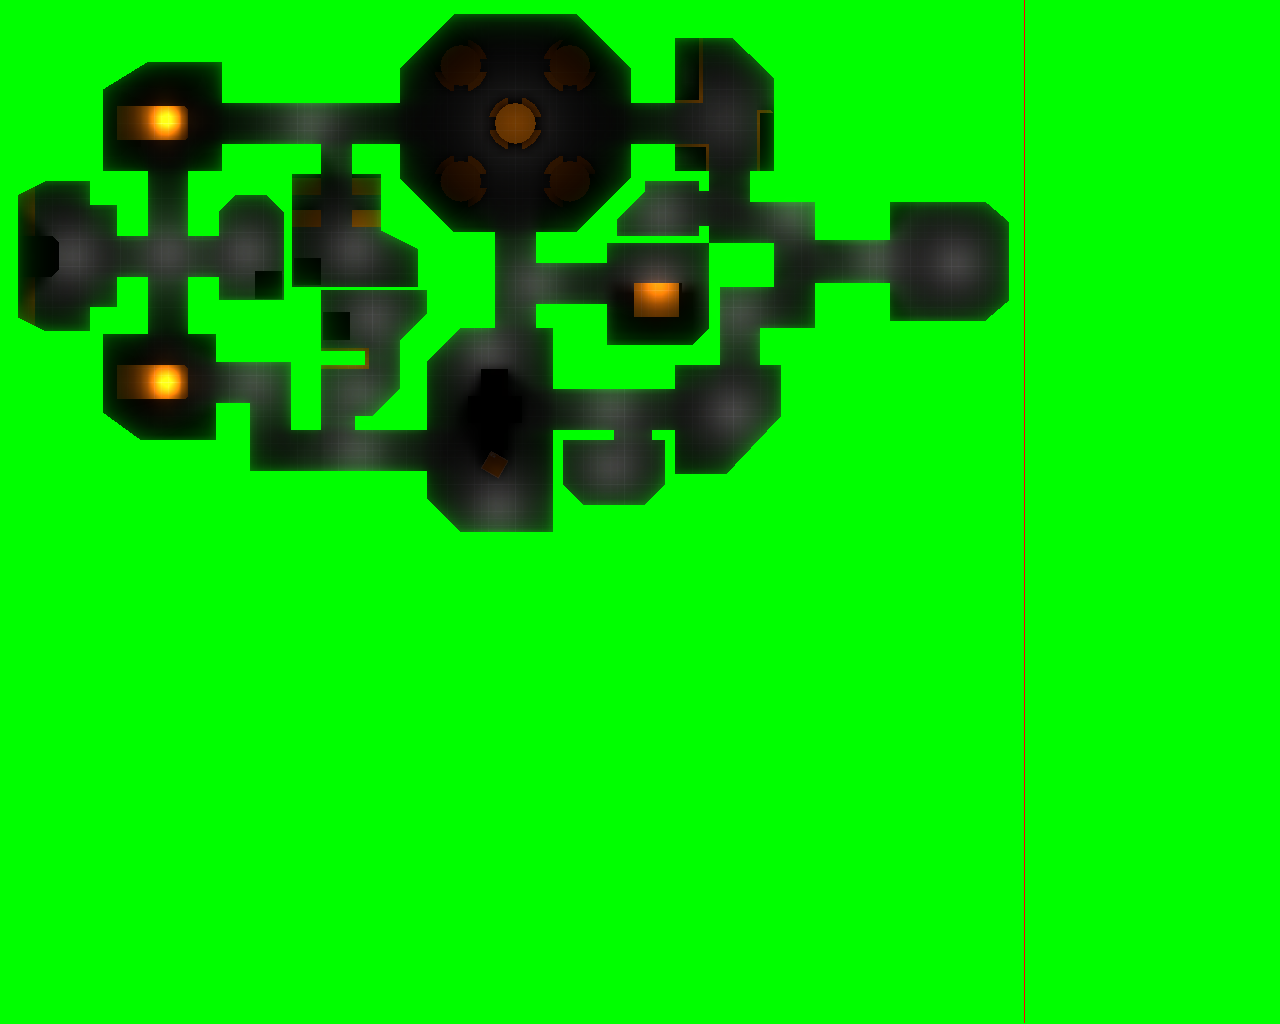
For example, the following map preview is created using cl_leveloverview 2.35.

Once you're satisfied with the map, press M (or whatever key you've bound screenshot to), open your console and copy the last line printed by cl_leveloverview. You will need it later.
Overview: scale 2.35, pos_x -1066, pos_y 161
During this part, we'll have to process the image and break it down into two layers.
Keep in mind that you can use any graphics editing software you like, and do it the way you want. If you're into vector graphics, I suggest using Inkscape.
Navigate into the Garry's Mod folder, open garrysmod/screenshots and locate your screenshot. Open it using your favorite graphics editor.
First, crop the map to square.

Next up, key-out the green background using your preferred method. In my case, I used Magic Wand Tool with Range set to 0.
Then, trim the transparent area by cropping the map sprite further down.
Finally, fill the map with a solid white color. You can do this via clipping layers, or alpha lock.

Next step, reduce the opacity of the layer to 50% and give the layer an outline. It's best to use outer outlines. If you prefer, you can make an inset outline, though it will end up looking worse.
The final image should look like this.

Save this as base.png.
Using the same project file, disable the outline and cut the room areas out into a different layer, leaving only the hallways on this one. The overlay image should end up looking like this.

Save this as overlay.png.
Finally, once you get both layers done, you'll need to open the manifest file. If you don't have one yet, see [TBD].
Under your manifest table definition
local manifest = {
	PrintName: "The Skeld"
	Tasks: {
		"swipeCard"
		"chartCourse"
		"uploadData"
	}
}
define the Map table as follows:
if CLIENT then
	manifest.Map = {
		BackgroundMaterial = Material("mymap/base.png", "smooth"),
		OverlayMaterial = Material("mymap/overlay.png", "smooth"),

		Position = Vector(-1066, 161),
		Scale = 2.35,
		Resolution = 1
	}
end
In my case, I used the data provided by cl_leveloverview 2.35 during the first part of this tutorial.
Overview: scale 2.35, pos_x -1066, pos_y 161
This is pretty much it. Reload the map to see the changes.
If found the default 1024x1024 resolution too low, you can upscale your map sprites as long as you specify how much you scaled the map using the Resolution field of the Map table above.