Images Numbered Lists and Tables
Step 1: Naming conventions
Step 2: Numbered lists
Step 3: Images
Step 4: Tables
Step 5: Commit your updates
Step 1: Naming conventions
Branch names
The branches in your local repository are initially visible only to you and become public when your local branch is published to GitHub. Each branch that you create is a temporary workspace that you can delete after your updates are approved and merged into the repository.
Sometimes after you create a branch, you’ll wish that you had given it a different name. Fortunately, it’s easy to rename a branch, especially before it is published to the server. If your work is related to a specific GitHub ticket, you can include the number in the branch name for reference.
-
Launch GitHub Desktop, and verify that the repository is
MerchDocsand the Current Branch ismy-branch. -
In the GitHub Desktop main menu under Branch, click Rename.
-
Enter the new name,
tutorial. -
Click Rename my-branch.
File names
-
Open the repository in your external editor, Visual Studio Code.
 Open in Visual Studio Code
 -
In the Explorer pane on the left, navigate to the
src/payment/folder. In the directory, related files are easy to find because they are are named so they sort into logical groups. Here are a few file naming conventions to keep in mind:- File names must be all lowercase
- Use a hyphen instead of a space between words
- Avoid using numbers in filenames
-
Open the
braintree.mdfile.
Step 2: Numbered lists
With Markdown, each step in a simple numbered (ordered) list begins with the number 1. at the beginning of the line, followed by a blank space and the associated text. Markdown increments numbers automatically, although our implementation of Markdown does not support alpha numbering. And as with bulleted (unordered) lists, always leave a blank line before and after a numbered list.
Pay attention that the indentation is correct, so the numbering sequence continues uninterrupted. As a rule, try to keep the number of steps in a procedure less than ten. An easy way to get more mileage out of numbered lists is to separate long procedures into smaller sections using a heading such as “Step 1: Naming conventions” and so on.
-
Scroll through the instructions to see how numbering is handled in this topic.
-
Notice that under Step 1, the instruction isn’t numbered. If there’s only a single instruction, there’s no need to number it.
 Numbered instructions
Text Formatting Conventions
Find an example of each of the following text formatting conventions in this topic:
| Format | Description |
|---|---|
| Bold | When writing instructions, any command that a user clicks is formatted in boldface by enclosing the text in double asterisks. Uisng the editor's default theme, boldface text is blue.**Command**Aside from instructions, do not boldface commands or keys when they are simply mentioned in a standard paragraph. |
| Button | Buttons to be clicked are enclosed in a tag and styled with a shaded background.<span class-"btn">Button Name</span>
|
| Italics | Any text that is enclosed in underscore symbols is italicized. Image captions are an example of italicized text._Caption_
|
| Monospace | Any value that the user enters or selects is enclosed in back quotes (`) and rendered in a monospace font. File names, variable names, and any syntax that appears inline with regular text should be rendered in a monospace font. Text that is enclosed in back quotes is highlighted orange in the editor.valueThe back quote and tilde (~) are located on the same key in the upper left of the keyboard. Do not confuse the back quote and the apostrophe key, which are frequently used together to create a set of single quotes. |
| Callout | Callouts can be used to emphasize additional information, a warning, or a tip. There are several different formats, depending on the context.{:.bs-callout-info}{:.bs-callout-tip}{:.bs-callout-warning}
|
Step 3: Images
Screenshots can be captured from the Magento Admin or storefront. For VBEs especially, some of the screenshots in your instructions will be captured from the Configuration section of the Magento Admin. The Configuration Reference is a distinct section of the user guide that has screenshots and field definitions for every configuration setting.
-
Open the published version of the Braintree topic in your browser.
-
Scroll down and click the first image in the topic to zoom in for a closer view.
-
Return to the editor and find the code for this image.
 {: .zoom} _Configure Braintree_ -
Identify the following components in the code.
[alt-text] [path/filename][zoom]
[caption]
This screenshot needs to be updated because the UI has changed since it was captured!
Capturing Screenshots
Screenshots should be captured at a consistent width, without scrollbars, and saved as PNG files. A width of 1440 pixels is wide enough to accommodate most Admin screenshots. Plugins such as Viewport Dimensions for Chrome make it easy to see the size of the current window. You can also capture screenshot with the following keystrokes:
| Mac Keystroke | Description |
|---|---|
| Shift + Command + 4 | Saves full screen to your desktop. |
| Shift + Ctrl + Command + 4 | Saves a selected area to the clipboard. |
| PC Windows Keystroke | Description |
|---|---|
| PrtScn | Saves full screen to the clipboard. |
| Alt + PrtScn | Saves active window to the clipboard. |
Some screenshots need to be staged and edited before they are ready to publish. As a best practice, remove any personal information that was captured with the image. To edit an image in Photoshop, use the Type tool to replace your personal information with sample data, or use the Blur tool to smudge the text.
Saving images
In the repository, screenshots are saved under the src/images/ folder in one of the following subdirectories:
| Folder | Description |
|---|---|
| images/ | Images that apply to Magento Open Source, as well as any image that is the same for all editions. |
| images-ee/ | Images that are captured from Magento Commerce (and also apply to Magento Commerce for B2B). |
| images-b2b/ | Images that are specific to Magento Commerce for B2B. |
To group all configuration screenshots together, each image filename begins with config-, followed by a description of where the image was captured in the configuration. For example:
config-sales-payment-methods-braintree.pngconfig-sales-payment-methods-braintree-basic-settings.png
Renaming Images
When you update an existing image, you can simply write over the original file. However, if the interface has changed significantly, the original file name might no longer apply. In such a case, you can save the image by a new file name and delete the old image file from your local repository. Before deleting the file, always search to see if it is used anywhere else in the documentation so you can update all image links with the new file name.
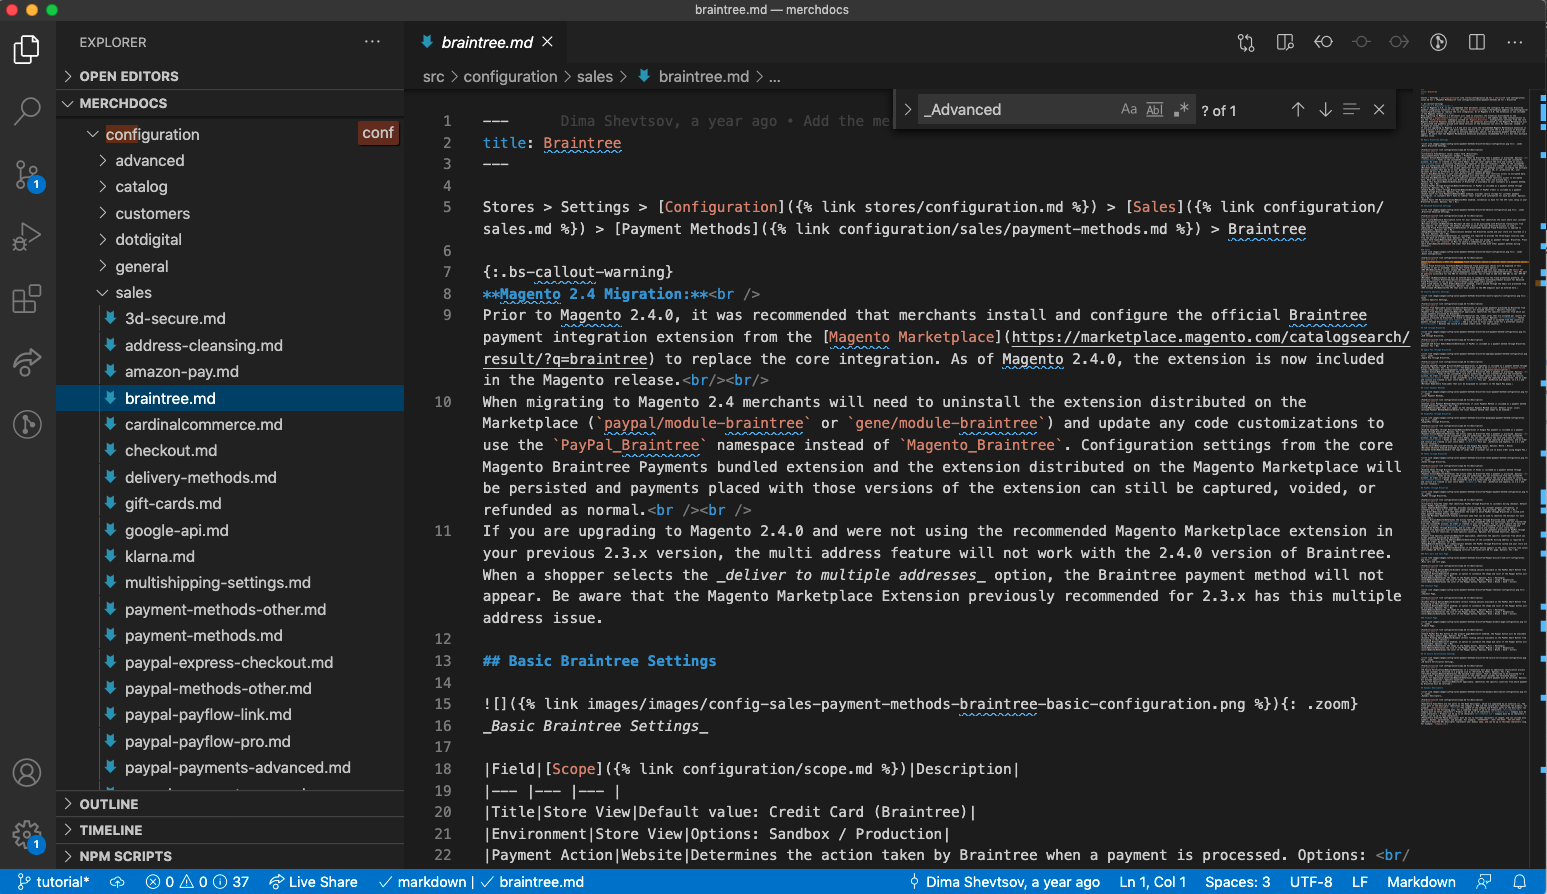
To search for all files that use a specific image, do the following:
-
In the left sidebar, click the Search icon.
-
In the Search box at the top of the pane, enter the file name that you want to find.
-
In the search results list, click each file to open it in the editor.
Each occurrence of the file name is highlighted in the code.
 Search for image
 -
Update all links to the file as needed.
-
Save each edited Markdown file.
-
It is now safe to delete the original file. Navigate to the
src/imagesfolder in your local repository and delete the file.
Optimize all images
To save space on the server, all images should be optimized before they are committed to the repository. In addition to validating the Markdown format, the rake check command optimizes images.
-
Return to the editor.
-
If necessary, go to Terminal > New Terminal to open the Terminal pane.
-
In the Terminal pane, enter the following:
rake checkThe Terminal pane output lists each image file optimized, and the percentage of file size reduced. The image file in this example was optimized by 28.82 %.
 Optimize images
 -
In the terminal pane, enter the
rakecommand to generate a preview of your branch.rake
Check in your work
Do the following to commit your updates to your local repository.
-
Return to GitHub Desktop.
The left column lists the files that have changed in your local branch. The list varies depending on the changes you made, but might include the following:
- New and/or edited images
- New and/or edited Markdown files
If you renamed a file, the list also includes:
- Old file to be deleted
- New file to be added
In this example, one image file was updated and overwritten. The pane on the left shows the original image (which was deleted) and the new image (which was added).
 Check in your work
 -
For each file, do the following:
- Select the checkbox for the file.
- In the Description box, write a brief summary of the change.
- Click Commit-to-tutorial.
It’s not always necessary to add a comment for each individual file. For similar updates, you can select multiple files and add a single comment for them all.
Step 4: Tables
Tables are used primarily for field descriptions in the Magento User Guide and Configuration Reference.
-
In your browser, open the published version of the Braintree configuration.
Most topics in the Configuration Reference begin with a breadcrumb trail at the top of the page, followed by a screenshot and table of field descriptions for each section of the configuration.
-
Scroll through the topic to become familiar with the layout.
 Basic Braintree Settings
 -
Return to the editor. Then in the Explorer pane, navigate to the
src/configurationdirectory. The file structure follows the basic organization of the Magento Admin Configuration. -
Navigate to the
salesfolder and open thebraintree.mdfile. Then, identify the following elements:- Title
- Breadcrumb trail
- Callout
- Level 2 heading
- Screenshot
- Table
 braintree.md
Creating tables
Markdown creates simple tables with the column headings and number of columns defined at the top of the table. Each row is entered as a single line, and the vertical bar (|) symbol marks the beginning and end of each column. A two- or three-column table renders well on most devices. Configuration field description tables have a three-column format.
|first column|second column|third column|
Creating tables in Markdown can take some getting used to, because all information in a row is entered on a single line. If the description includes multiple paragraphs, you can use HTML line break <br /> tags as needed to separate the text. However, the entire content of the row must be entered as a single string of text.
-
An easy way to create a table is to copy the first two lines from an existing table to get the basic column setup. Or, you can enter the following to create a three-column table with headings for
Field,Scope, andDescription. The table heading has a relative link to the Scope topic in the user guide.|Field|Scope({% link configuration/scope.md %})|Description|The next line defines the column structure of the table. Each column is represented by a vertical bar followed by three hyphens, a blank space, and vertical bar.
|Field|Scope({% link configuration/scope.md %})|Description| |--- |--- |--- | -
To add rows to the table, you can copy the second line and use it as a template. Paste as many blank rows as needed into the table. Then, replace the hyphens with content.
Fixing column width
When there are multiple tables on a page, the text in the first column might wrap differently, and change the width of the first column in each table. Here's how to fix this problem:
-
Return to the editor and add the following
styledeclaration at the end of the Markdown file:<style> .fields-table td:first-of-type { width: 270px; } </style> -
To apply the style, enter the following code on a blank line just above each table:
{: .fields-table } Table style script
 -
Save the file.
-
Generate a preview.
rake -
When the generated preview appears, click Configuration Reference in the main menu. Then in the left sidebar, go to Sales > Payment Methods > Recommended Solutions > Braintree.
-
Scroll through the topic to verify the column width change.
Step 5: Commit your updates
As a best practice, you should commit your work to your local branch at the end of each work session.
-
Return to GitHub Desktop.
-
For the Description heading, enter a brief summary of the changes. For example, “Tutorial examples”.
-
In the text box, enter a brief note that explains the changes.
For example, “Added script to format table column width.” -
When you are ready, click Commit to tutorial.
Congratulations!
 Go to Part 4