-
Notifications
You must be signed in to change notification settings - Fork 3
Beta Testing
In the course of beta testing, please submit any comments and problems you come across in the course of attempting any features. These comments could include:
- Bugs or error messages incurred
- You attempted to do something but the system didn't do what you expected
- Times when the method for attempting an action seems confusing or difficult
- Parts of the interface that have confusing labels or instructions
- Any interface changes that would help understand the task at hand
To submit one of these requests, click on the feedback question mark bubble at the bottom right of the screen. (If you use Slack you can reach out on our Beta-testers channel as well.)

Please fill out the form (shown below) that appears with your comments and contact info. If we need more information, we may contact you directly to get a better understanding. Also, we may contact you to report changes based on your feedback and ask you to test the feature again once we've changed it.
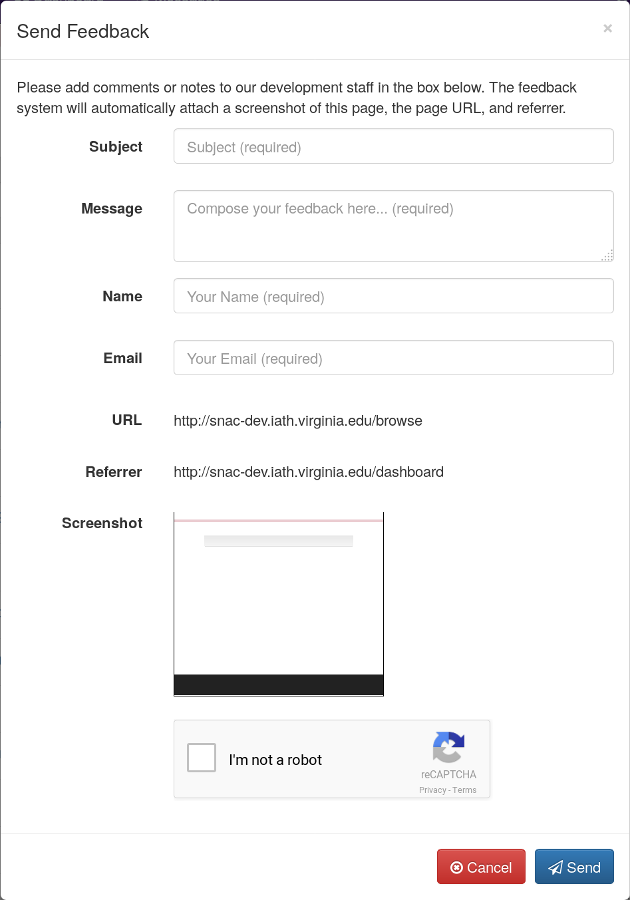
Why do you want us to fill out this form? We ask for this specific form because it gives us more information to understand what you encountered at the time of your comments and feedback. It tells us what page you are on, what page you came from, and gives us a rough screen shot of the page you are looking at. Specifically, it uses a script to generate an image of what is displayed on the page and sends that; it does not send a full screenshot of you computer nor does it have access to anything outside your currently open browser window. A thumbnail of the screenshot we receive as well as all information sent to us is displayed in the pop-up form you fill out.
Below is a listing of our current beta test needs and descriptions of their processes. Please use them as guidelines, but also "test around" them; that is, try something that deviates from the instructions below to see if it still works or produces an error message. We expect users to differ in their approaches to find what works best for them, and we want to ensure that our system is robust enough to handle it all. Thanks so much!
Reports can be found on at http://snaccooperative.org/reports. The test version of the stats are available on snac-dev at http://snac-dev.iath.virginia.edu/reports. Please let us know if there is any additional information you would like to see available on that page or any feedback on presentation of the data shown.
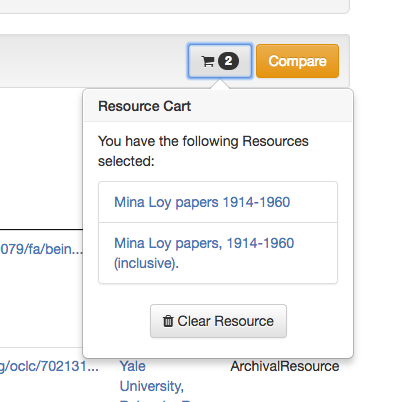
Occasionally, you might find two copies of the same resource in SNAC. In these cases, you can use Resource Merge to combine the two duplicates together. Simply go to the Resource Search page and add both resources to the cart.
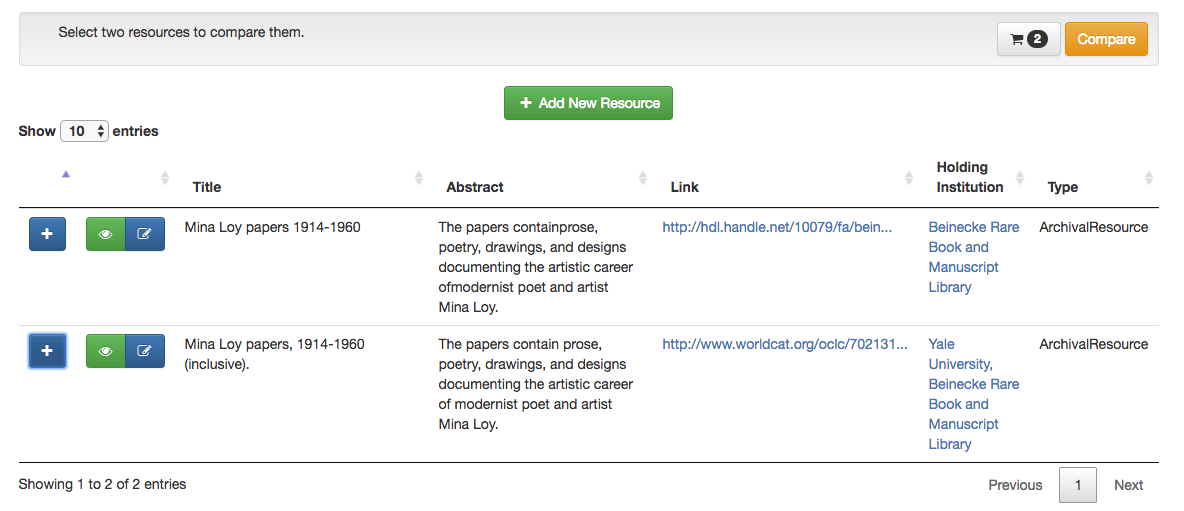
Then click the "Compare" button to the right of the cart.
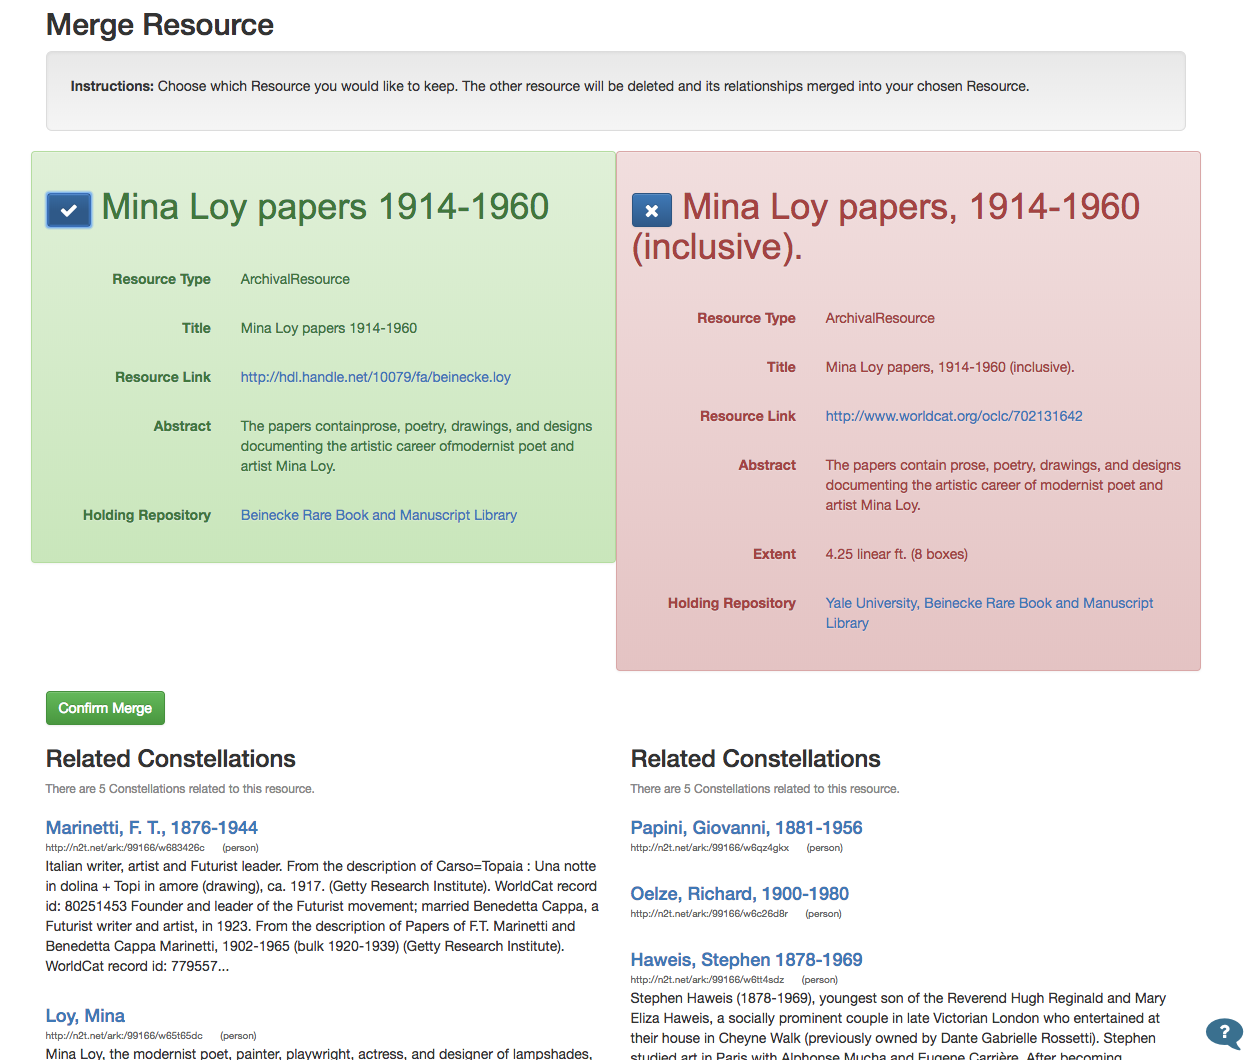
You will then be able to select which copy of the resource to keep, and which to delete. Hit the "Confirm Merge" move all the Resource Relationships into the chosen resource and discard the other resource.
There are multiple methods for merging to test out:
Auto-merge is an option on the Browse page. Select 2 or more items from the browse page using the checkboxes on the left. You may select items across pages, for example browsing to "C.S. Lewis" and then to "Lewis, C.S." You may also use Shift+Click to automatically select multiple Constellations in one screen.

Once a set of Constellations has been chosen, you will notice a few additional options at the top of the page along with "Compare Selected Constellations:" "Add Maybe Same" and "Auto Merge."
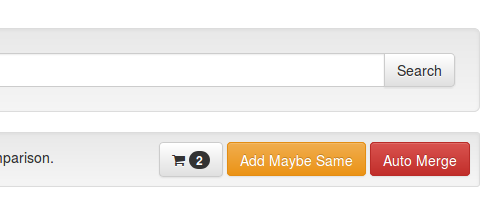
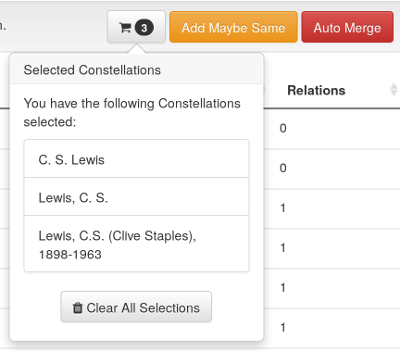
The shopping cart keeps a running total of the number of Constellations you have selected during this session. Clicking the button will list the names of all those Constellations and give you the option to empty the cart, i.e. deselect all Constellations. The cart is the best way to view which Constellations have been selected across browse screens. (In this screenshot, we've found both "C.S. Lewis" and two similar "Lewis, C.S." Constellations to merge.)
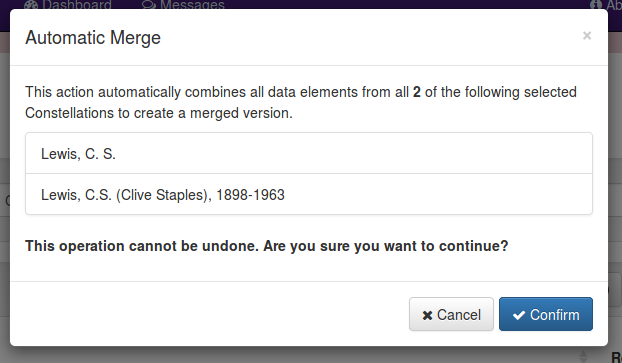
Once you've settled on a set of Constellations to merge, choose the "Auto Merge" button. This button presents you with an ominous message that the operation cannot be easily undone and lists again all Constellations that will be merged. Please double and triple check this list before continuing!
Once accepted, the system will begin merging the Constellations together. This all happens on the back-end, so the web browser will stay on this page for anywhere from a few seconds to a minute or more. Do not reload the page. After the merge is successful, you will automatically be sent to the new merged Constellation. At that point in time, you may edit the new Constellation and remove any duplicate or erroneous data that has been combined together.
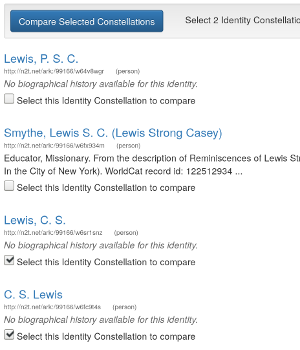
Another way to approach merging is manually. After selecting exactly 2 Constellations on the browse page or on the search page, as seen below, you have the option to "Compare Selected Constellations."
Comparing Constellations will show a three-paned view with small boxes identifying each piece of information in the Constellations. All the data for the first compared Constellation is in the left-most pane. All the data for the second compared Constellation is in the right-most pane. Any data they share in common will be displayed in the center (gray) pane. On that page, if both Constellations are available for merging, you'll see the "Begin Merge" button below.
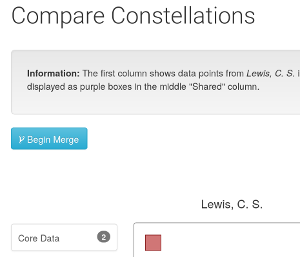
Clicking that button will open the Manual Merge page, which allows you to manually merge the Constellations together. It looks very similar to the Compare page above, with one major exception: the gray central pane defines the entire merged Constellation. Clicking on each data element will provide buttons to move them from the individual Constellations (left and right panes) into the central gray pane. There is also a green "Move All" button that moves all data elements from that pane into the central gray pane. You must move all data that you want in the final merged Constellation into the central pane, but you must include at least one NameEntry.

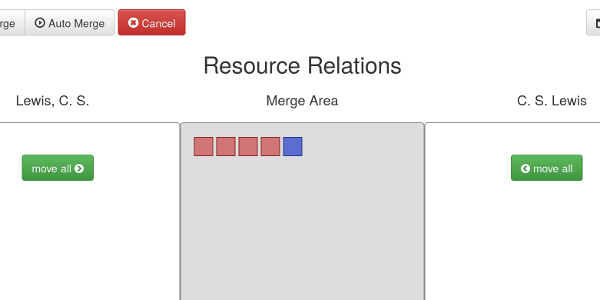
Once you have finished, there are a few options at the top to continue. The "Auto Merge" button will ignore every choice you made and automatically combine all data together, as performed by the Automerge functionality on the browse page. The "Preview" button will open the proposed merged Constellation (all data in the gray areas) will be displayed in the detailed view page. The "Preview HRT" button will open the proposed merged Constellation in the simplified (HRT) view page, but it does not evidence all data from the proposed Constellation; use this option lightly. The "Merge" button finalizes the merge, which cannot easily be undone. You will have to acknowledge that in the warning box before continuing.
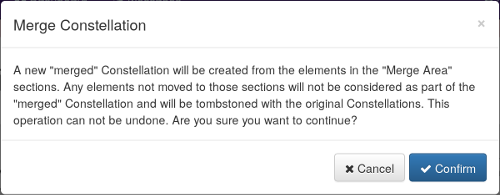
After the merge succeeds, you will be sent to the detailed view page for the new merged Constellation where you can enter editing mode to make modifications.