Address Metadata
- Introduction
- Upload Address Data
- Rejected File
- Accepted File
- Confirmation Message
- Upload Failed
- Upload Successfull
The “Manage Address Data” page defines the patient's address data across the CFL platform. For the app usage, this data is configurable on the “Main Configuration” page in the “Address Fields” section. In this section, the admin can define populated dropdown fields which will then be displayed in the app.
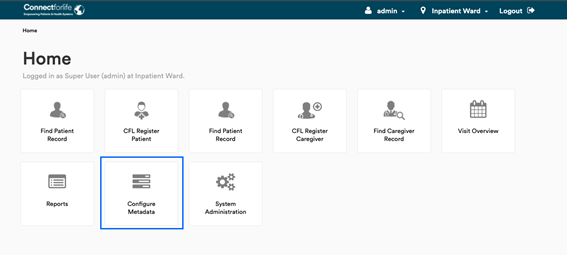
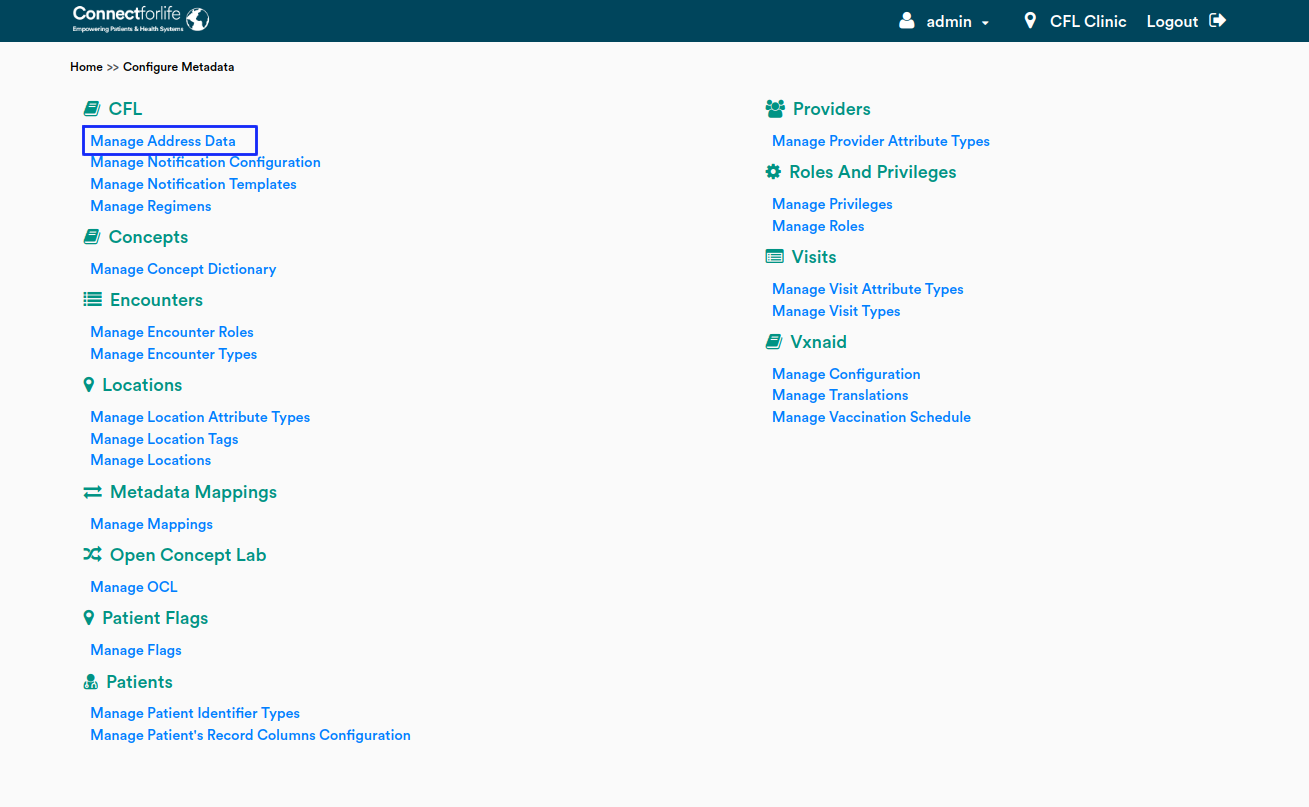
To access the “Manage Address Data” page, you need to select the “Configure Metadata” and click the “Manage Address Data” link in the “CFL” section.
To upload Address Data, you need to provide a file in .csv or .txt format. The file should contain a comma delimiter.
“Field 1” always represents the Country. The rest of the column fields are representing the hierarchy levels - the address data levels - of that country.
A maximum of 5 hierarchy levels can be defined.
A hierarchy level (except Country) can only be left blank if no other values are entered in the lower hierarchy.
- Hierarchy level 5 (Field 5) can always be empty.
- Hierarchy level 4 (Field 4) can only be empty when Hierarchy level 5 is empty.
- Hierarchy level 3 (Field 3) can only be empty when Hierarchy level 4 is empty.
- Hierarchy level 2 (Field 2) can only be empty when Hierarchy level 3 is empty.
- Country (Field 1) can never be empty.
Each invalid record will be skipped during the upload and will be shown after the upload in a report to the admin.
Below there is an example of an already uploaded file.

To upload the file, you can either drag and drop the file into the grey space or click the “Open file dialog” button to add it from the device.

The page provides instructions for a file structure in .csv and .txt format. In order to download the sample of the file, select one of the following links.

When an issue with attaching the file occurs, an error message with the file name will be displayed underneath the “drag and drop” space. In that case, please make sure that the format and file structure is correct.

When the provided file is accepted and ready to be uploaded, a success message will be displayed underneath the “drag and drop” space.

Before uploading a file, you need to select one of the following options:
- “Add to existing address data” (default option) means that the uploaded data will be added to the already existing file
- “Overwrite existing address data” merges new data with the existing one

When the desired option is selected, click the “Upload File” button.
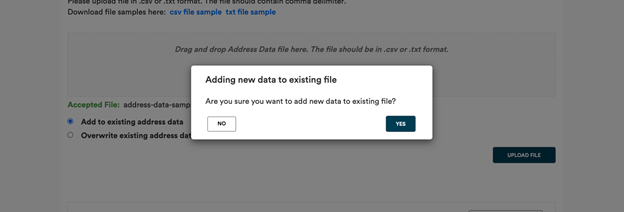
After clicking the “Upload File” button, a confirmation pop-up with a message corresponding to the chosen upload approach is displayed. Select “No” to cancel the action. Select “Yes” to proceed.

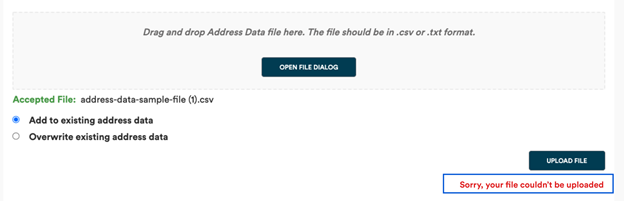
When the user successfully attached the file, but there was an issue with uploading it, an error message will be displayed.
When the upload is successful, the file view window will be displayed in the “Uploaded File” window. This section lets the user view the file already uploaded. The data is sorted alphabetically. It also has the possibility to download an existing file. To download the .csv file click the “Download file” button.
Note: The uploaded data is automatically saved.

If the uploaded file contained invalid records, a message will be displayed with information of the invalid records and a link to download the report. The report will indicate the error message for each invalid record.
