UserMan Identify Participant
You can identify the participant in 3 ways:
Make use of the unique ID which is provided to each participant for example:
- Via a campaign card carrying a unique number that can be manually entered into the tablet
- Via scanning of a unique number embedded in a barcode issued on a campaign card
- Via scanning of a unique number embedded in a barcode on a national ID card
Enter the mobile phone number of the participant.
Scan one or both irises of the participant.
At least 1 option should be used, but it is possible to combine multiple options. Depending on the configuration done by the administrator, some fields might be mandatory, while others may be skippable.
The first option to identify the participant is by a unique ID. This can be entered manually or if a QR/barcode is available for this unique ID, it can be scanned as well using the camera of the tablet.
To scan it, click on the scan icon  on the tablet interface. The camera will be activated and the scan can be performed. After a successful scan, the code will be shown in the manual ID entry field. It will still be editable in the participant page. To skip this identification option and move on to the next option, click on “Skip”.
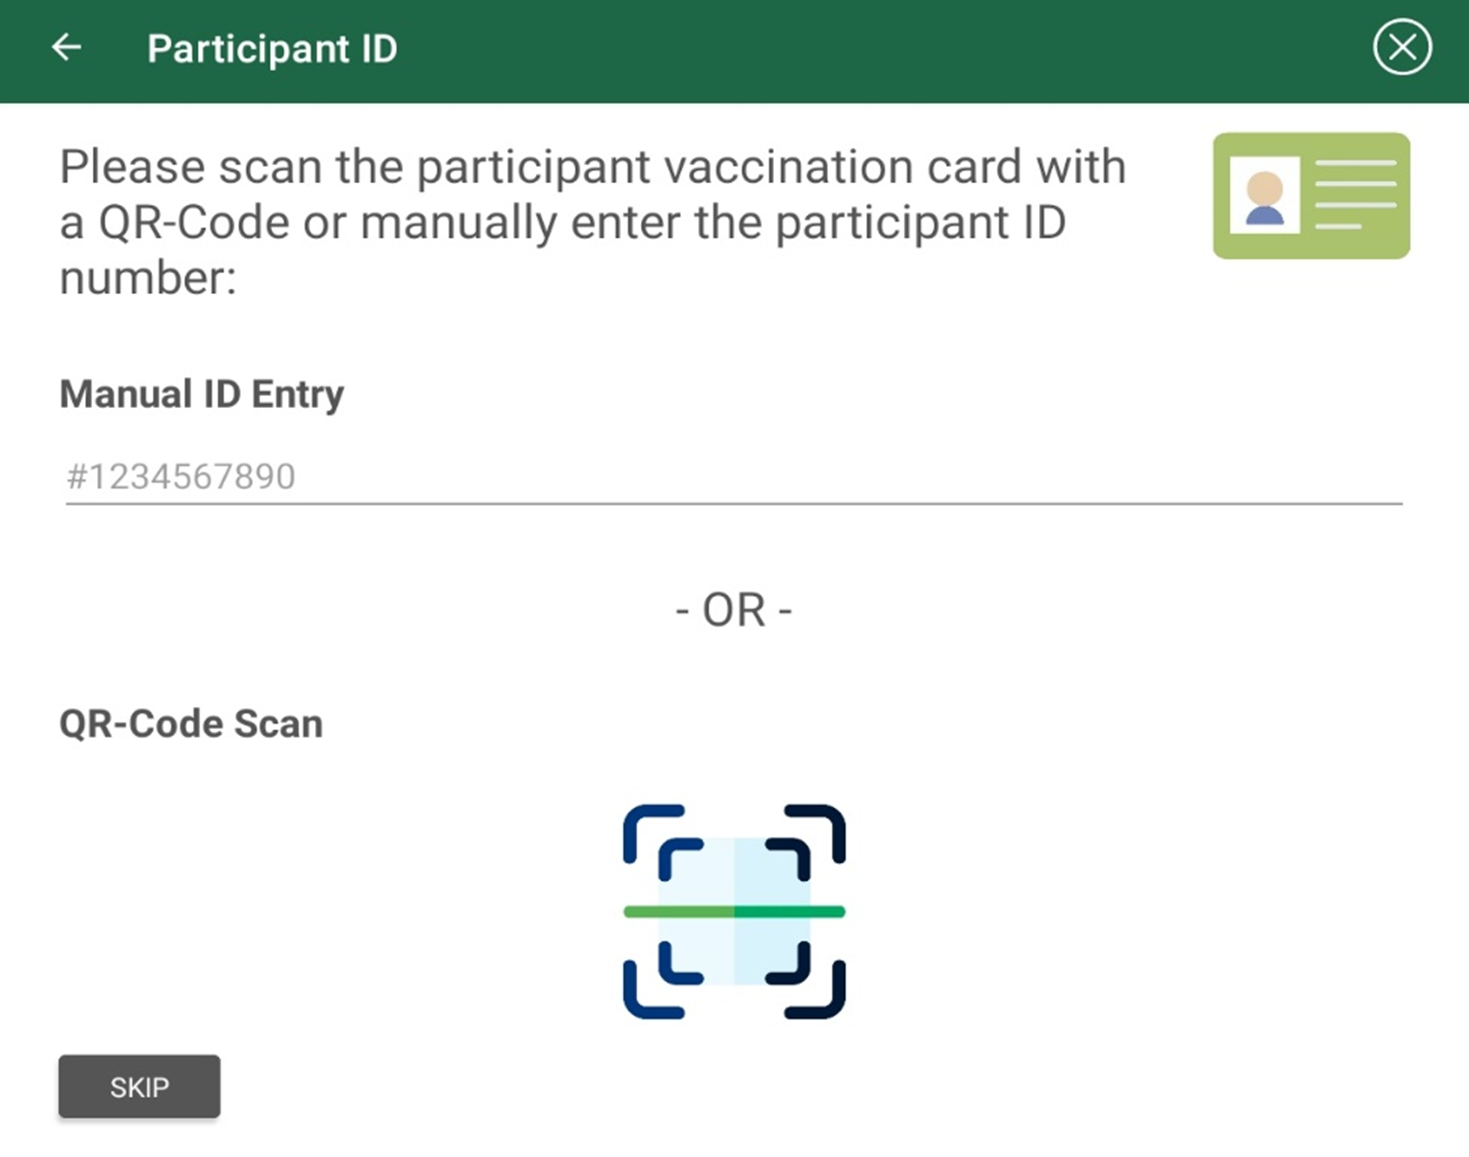
The supported 2D codes are Aztec, Data Matrix, PDF417, QR Code. The supported linear formats are Codabar, Code 39, Code 93, Code 128, EAN-8, EAN-13, ITF, UPC-A, UPC-E.
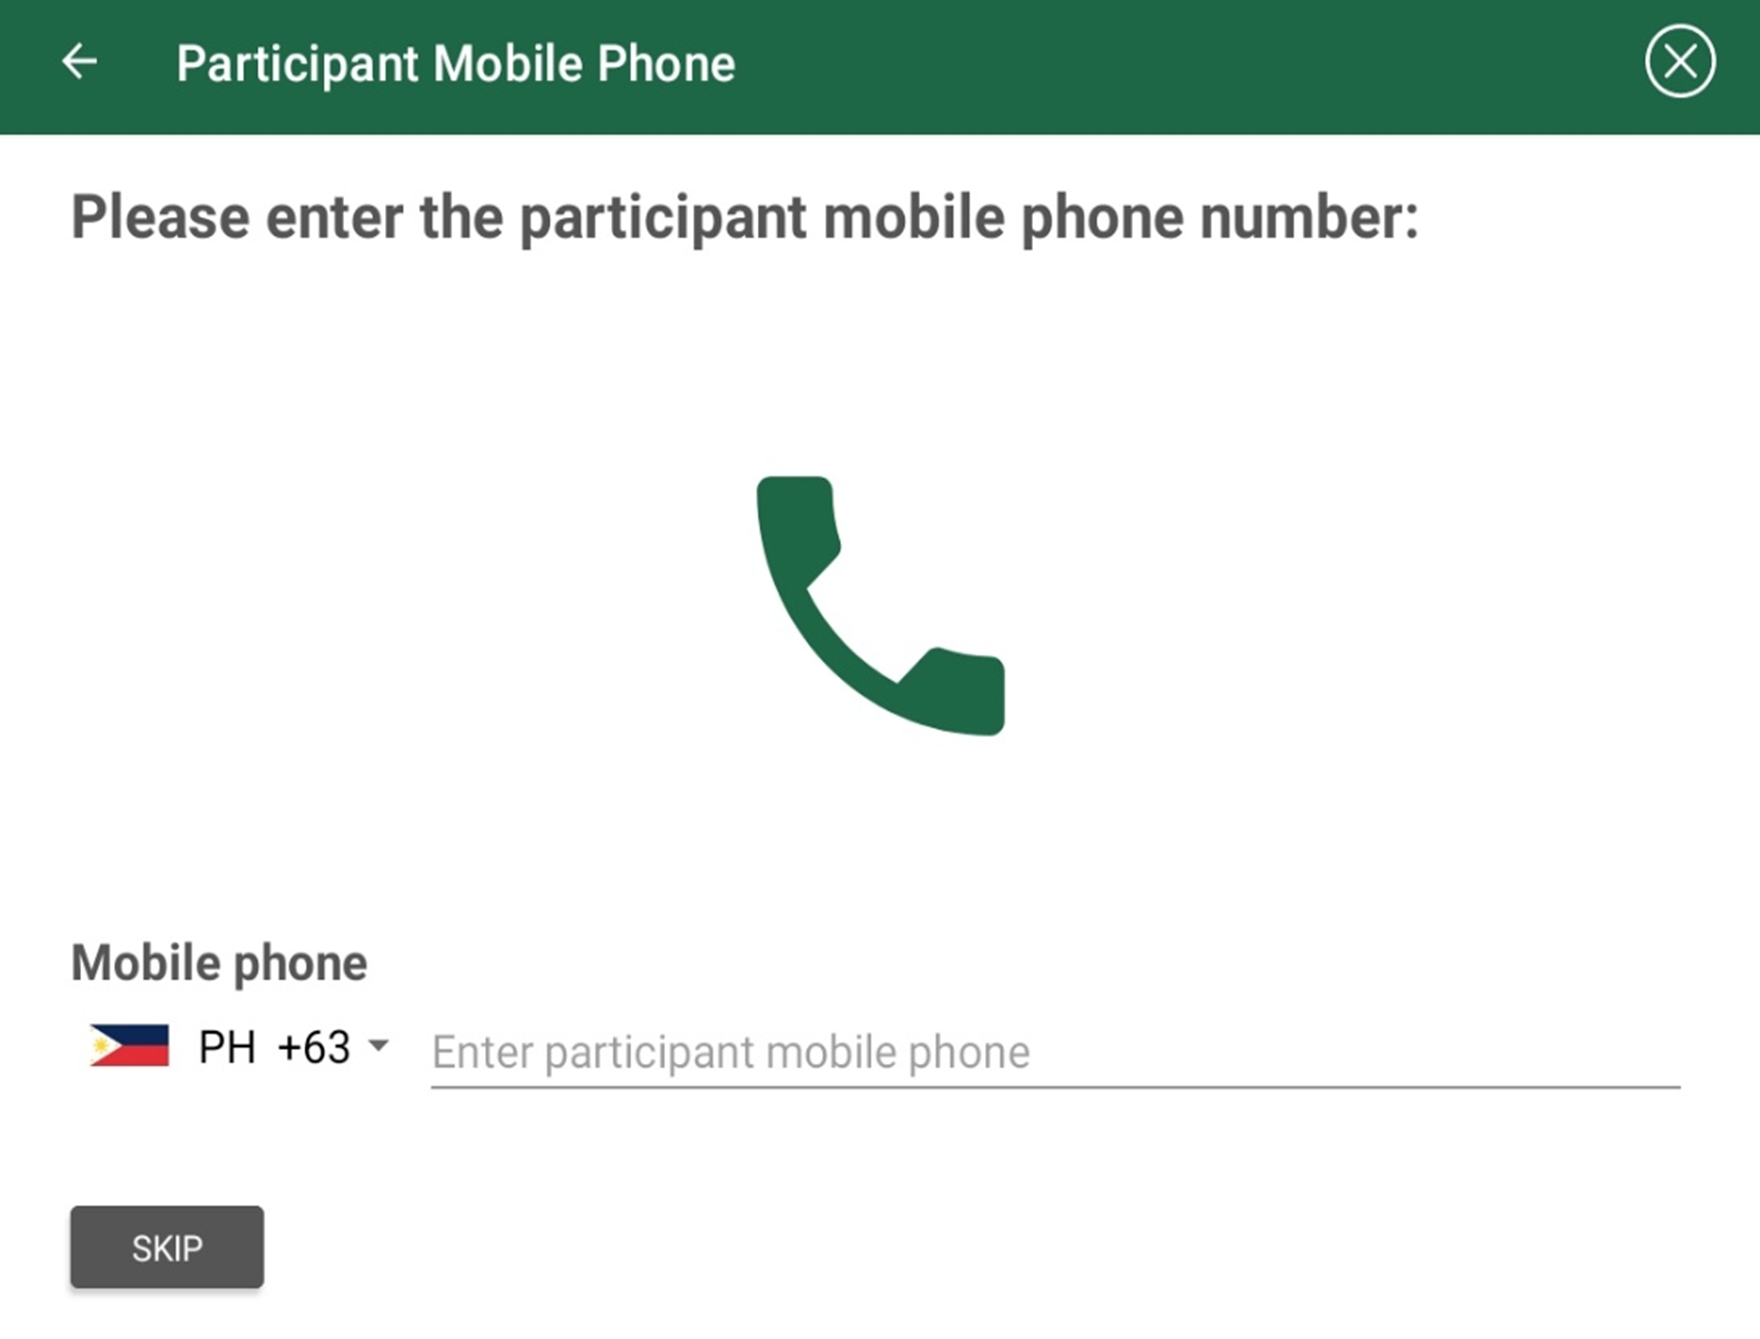
In this step you will be able to enter the participant’s mobile phone number. You will have the option to change the country code in the dropdown depicting country flags and national dialing codes (the country of your location will be selected by default).
To identify the participant via iris scanning, you will have the option to scan the right iris, the left iris or preferably both irises. To skip this identification option and move on to the next step, click on "Skip" to skip the right iris, then click again on "Skip" to skip the left iris.
To scan the right iris, click on “Capture iris” in the below screen.

Bring the iris scanning device (small external camera attached to the tablet) in front of the participant’s right eye. Best results are captured when the iris is centered in the image and the device is a few centimeters in front of the eye. When the iris scanner has located the iris and scans it, you will hear a beep. The scan will be shown on screen together with the quality of the scan. If the quality is sufficient, it will be shown in green and the button “Submit” will be enabled. If the quality is not sufficient, it will be shown in red and the button to save the scan will be disabled. Either way, you can always opt to redo the iris scan using the button "Redo Capture". It is important to capture the best quality of iris scan at baseline as this is subsequently referenced for later recognition purposes. To skip the right iris, click on the button "Skip". To save the iris scan, click on the button "Submit".

After having saved (or skipped) the right iris, you can scan the left iris in the same way.