Travis CI Integration
This page includes instructions on setting up continuous integration for Codename One applications using GitHub and Travis-CI.
Travis CI is a hosted, distributed continuous integration service used to build and test software projects hosted at GitHub.
Open source projects may be tested at no charge via travis-ci.org. Private projects may be tested at travis-ci.com on a fee basis. TravisPro provides custom deployments of a proprietary version on the customer’s own hardware.
Although the source is technically free software and available piecemeal on GitHub under permissive licenses, the company notes that it is unlikely that casual users could successfully integrate it on their own platforms.
Codename One provides single-click integration with Travis-CI via the Codename One Settings tool. Once integration is set up, Travis will automatically build your project and run unit tests following each commit of your project to GitHub.
Assuming you already have a Codename One project, you only need to do three things to enable Travis:
-
Enable Travis in Codename One Settings
-
Push the project to GitHub.
-
Turn on your repository on travis-ci.org if your repository is public or travis-ci.com if your repository is private.
|
Note
|
Travis CI is free for public Github repositories. If your repository is private, then you’ll need a travis-ci.com account. See their plans and pricing here. |
Open Codename One settings by right clicking the project, and selecting "Codename One" > Codename One Settings"
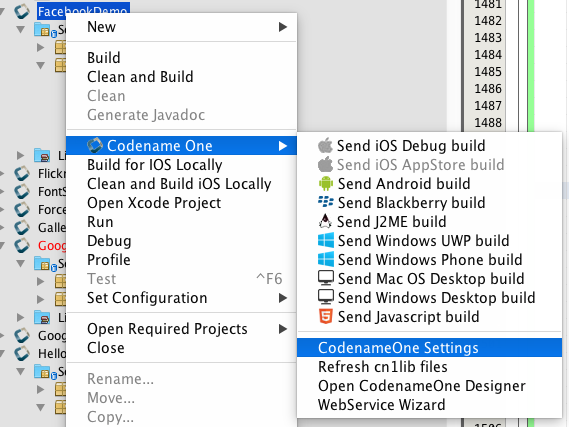
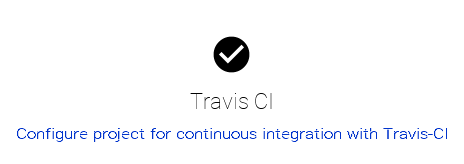
Then click on the "Travis CI Integration" button
If your project isn’t already configured for travis, you’ll see a form as follows:
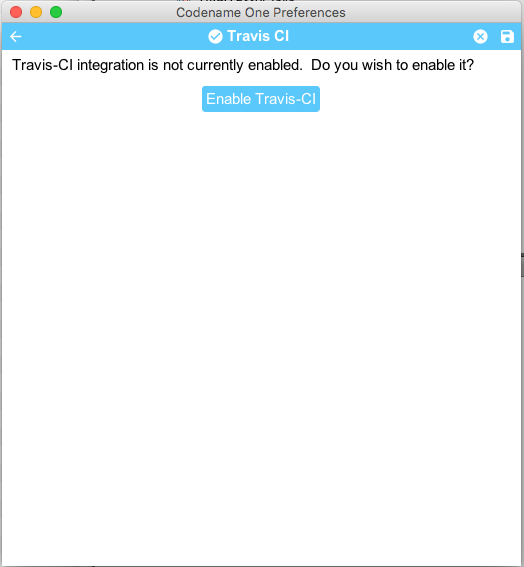
Click the "Enable Travis CI" button.
This will install some travis scripts from the cn1-travis-template project. In particular, it will add the following files to your project:
-
.travis.yml - A travis script that is set up to build your project and run its unit tests.
-
.travis/ - A directory containing some utility shell scripts that are used the
.travis.ymlscript.
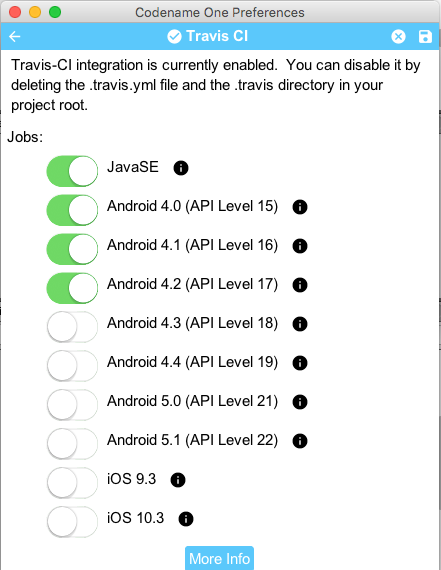
The .travis.yml script that was installed in the previous step includes jobs for testing your app on many different platforms. Currently JavaSE (the Codename One simulator), and a selection of iOS and Android versions are included, but we will be adding more platforms as time goes on. The goal is to provide jobs for every platform that Codename One supports.
You can select the platforms you want Travis to test against by selecting or deselecting the platform, as shown below.
|
Note
|
Only the JavaSE job is available for non-enterprise subscribers. If you don’t have an enterprise subscription, the Android and iOS options will be disabled in your settings. If you have an enterprise subscription, and your Android and iOS options are disabled, then you may not be logged in correctly. Check on the main menu of settings to ensure that you’re logged into the correct account. |
|
Important
|
On-device jobs such as Android and iOS require that you have the CN1USER and CN1PASS environment variables set in your Travis settings. These are used to build your project on the build server.
|
The process of setting up a Github repository is beyond the scope of this document. Please refer to github’s documentation for details on this process.
|
Tip
|
Add a .gitignore file to your project to prevent you from committing all of your .jar files along with your project. Take a look at the .gitignore file from the Kitchen Sink demo app for a sample .gitignore file that is suitable for a typical Codename One project. |
Now that your project is in a Github repository, you just need to activate the repository within Travis. For this part, you’ll need an account on travis-ci.org (for public repositories) or travis-ci.com (for private repositories).
Steps to activate your repository in Travis.
-
Go to travis-ci, and login.
-
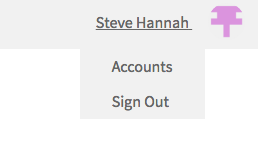
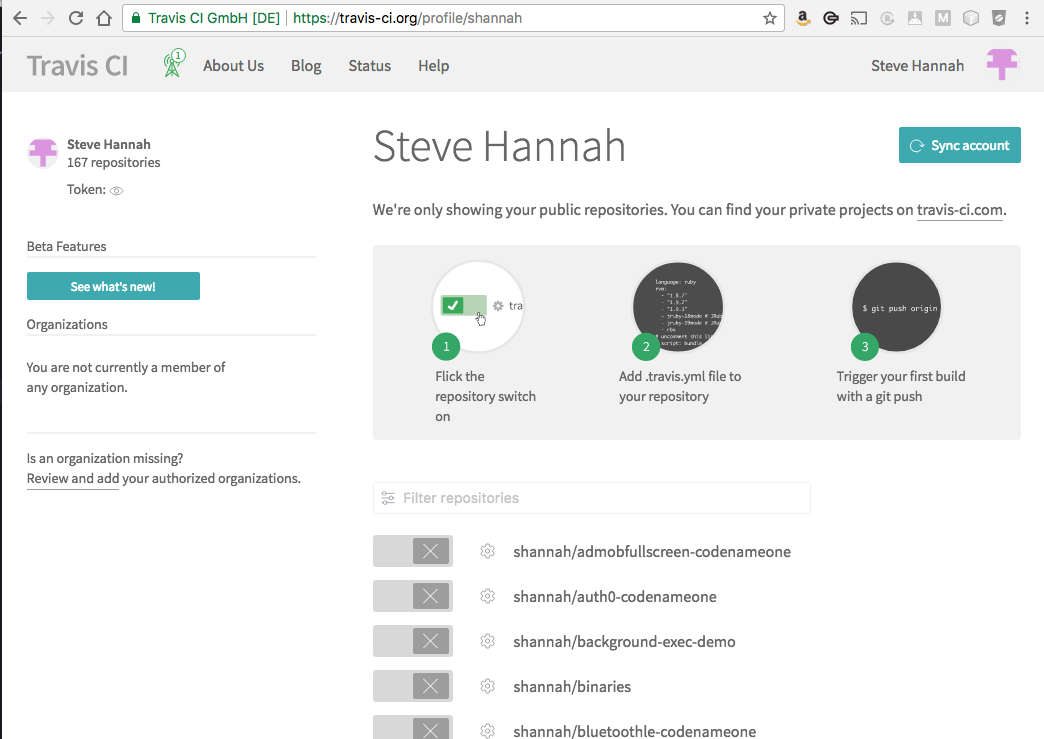
Click on your name in the upper right corner, to go to your profile page.
-
Click the "Sync account" button in the upper right to load your Github repositories.
-
Flip the switch next to the repository you want to activate in the list.
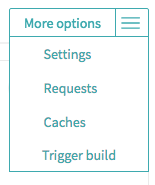
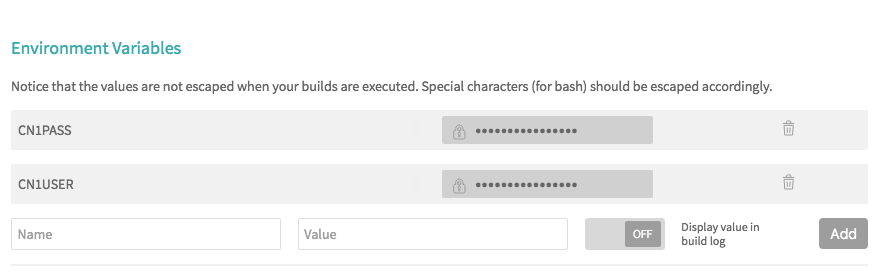
If you have any Android or iOS jobs activated in your travis script, you’ll need to set the CN1PASS and CN1USER environment variables in Travis. Do this by first clicking on the repository, then select "More Options" in the upper right, and "Settings".
The settings form will allow you to enter environment variables.
To test the travis script, all you need to do is commit a change to your project in it, then push it to github.
$ git add .
$ git commit -m "Some changes"
$ git push origin master
Then go to https://travis-ci.org, and you should see your repository listed in the left menu. Click on it to follow your build status

In order to make the most out of continuous integration, you’ll want to write unit tests for your app. See this video/post for a light introduction to Codename One unit testing, and also check out the javadocs for the com.codename1.testing package.
If you want to disable travis, or start fresh with a new travis script, you can simply delete the .travis directory and .travis.yml file from your project. If you want to reactivate travis later, you can do so through the Codename One settings using the same procedure as described above. That will re-download the latest travis script from the online template.